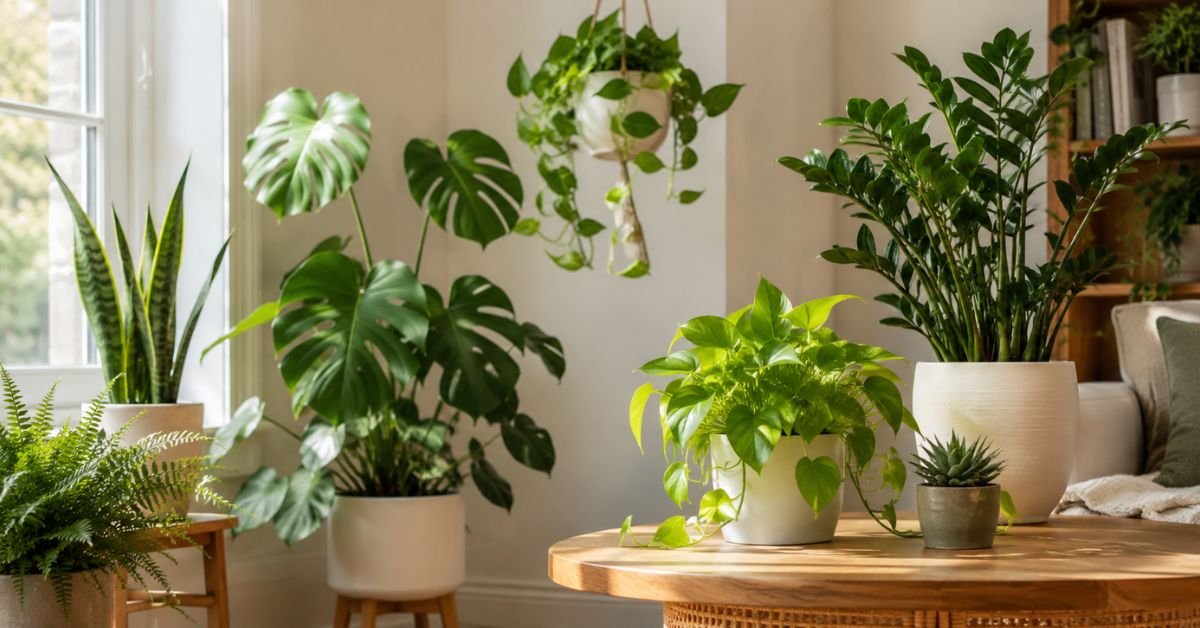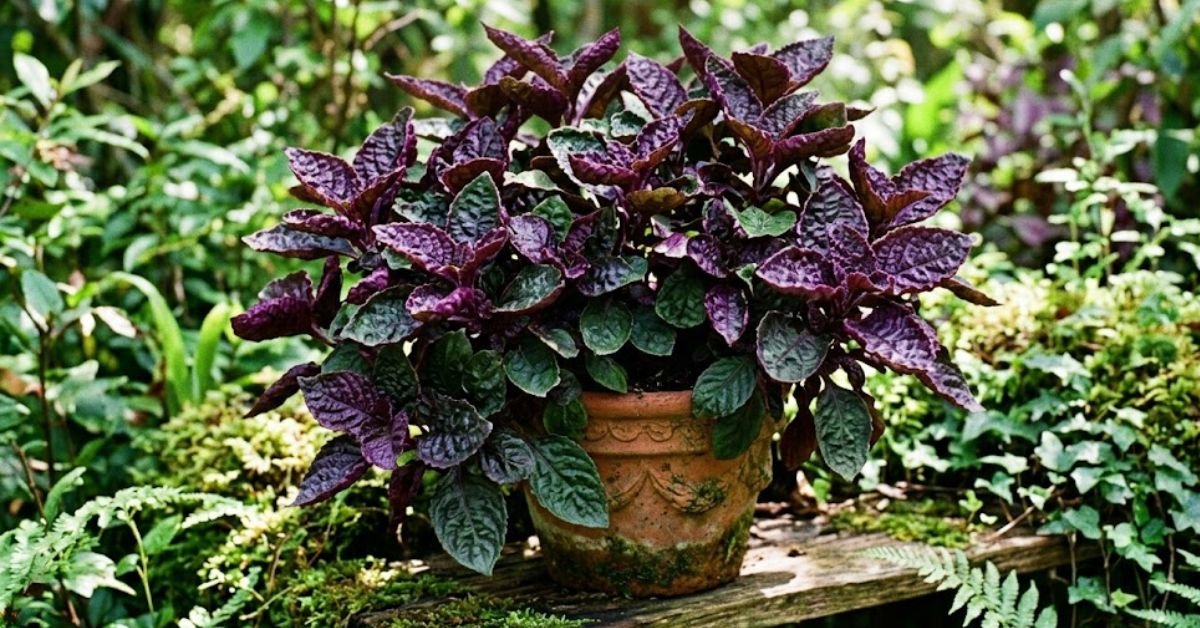
I have spent over fifteen years working as a professional horticulturist, and I can tell you that few houseplants turn heads quite like the purple waffle plant (Strobilanthes alternata). Those deeply puckered, metallic-green leaves with their rich, bright purple undersides look almost otherworldly. They look like textured little waffles, hence the name.
But here is the honest truth: this plant can be a dramatic little diva if you don’t understand what it wants.
It is native to the tropical, warm jungles of Indonesia. When you drop it onto a living room side table in an American home with blasting air conditioning or dry winter radiators, it can go downhill fast.
Don’t panic, though. Once you understand its basic rhythm, it is an incredibly rewarding plant to grow. Let’s look at exactly how to make it flourish in your space.
The Purple Waffle Plant Fast Care Reference
For those who just want the quick operating instructions before heading to the garden center, here is the baseline care routine.
| Care Component | What It Actually Wants |
| Sunlight | Medium to bright indirect light. Shield it from harsh afternoon sun. |
| Watering | Consistently moist potting soil. It hates drying out completely. |
| Soil Type | Rich, lightweight indoor potting soil blended with extra perlite. |
| USDA Zones | Hardy outdoors only in Zones 10–11. Grown indoors or as a summer annual elsewhere. |
| Humidity Needs | High. Prefers 50% or more. Keep it away from dry air currents. |
| Pet Toxicity | 100% Non-toxic to cats and dogs. Completely safe! |
Personal Pro-Tip: If you see this plant completely flatten out and collapse over the side of its pot like it just died, check the soil before you throw it away. It is famous for fainting dramatically when it gets thirsty. Pour some water from the faucet into the pot, and it will usually stand completely upright again within an hour.
How Much Light Does a Purple Waffle Plant Need to Keep Its Color?
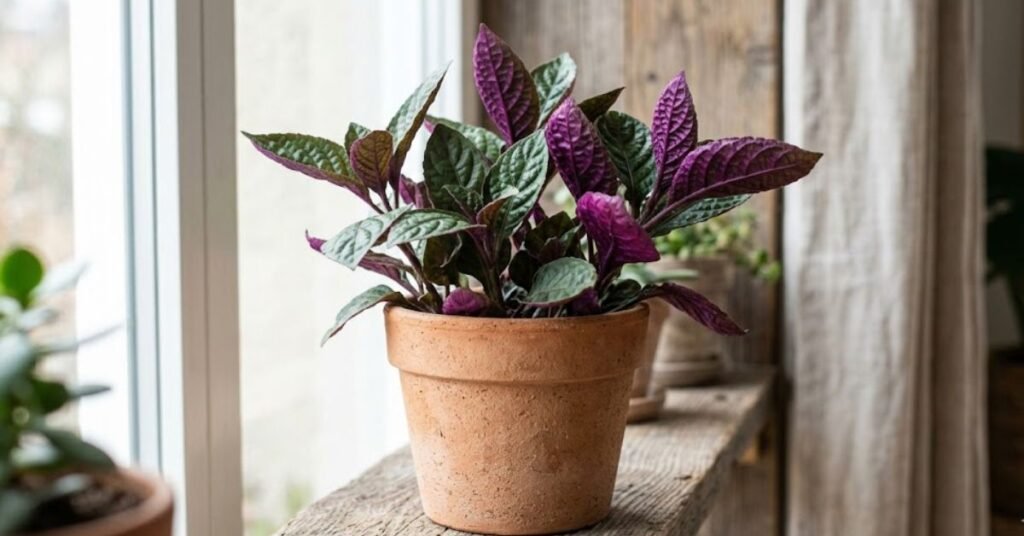
Light is the secret to keeping those leaves looking intensely purple. In my years of growing the purple waffle plant, I have found that its colors quickly fade to a dull, washed-out green if it sits in a dark hallway or a dim corner. It needs energy to produce that beautiful metallic sheen.
However, you have to be careful with window placement.
Direct, hot sunlight through a clear glass pane will scorch those delicate, wrinkled leaves. It bleaches them white.
The sweet spot is an east-facing window where it catches the gentle morning sun, or a few feet back from a bright south or west window. If you have a sheer curtain to filter the light, that is even better.
[Sunlight Source] —> [Sheer Curtain] —> [Your Purple Waffle Plant]
Personal Pro-Tip: Give the pot a quarter-turn every single week. Because it grows relatively fast during the active Spring and summer months, it will quickly lean toward the glass if you leave it in one position. Rotating it keeps the growth beautifully even and bushy.
Master the Watering Routine for Your Purple Waffle Plant
Watering is where most indoor gardeners get into trouble. A lot of generic plant advice tells you to let your houseplants dry out completely between waterings. If you do that here, your purple waffle plant will reward you with crispy, dead leaves.
This plant wants its roots to stay consistently damp. Think of the texture of a kitchen sponge that you have thoroughly wrung out. That is the ideal moisture level.
I check the pot every couple of days. Stick your finger an inch into the potting soil. If it feels like it is starting to dry out, take it to the kitchen sink and open the faucet. Soak the soil thoroughly until water drains out of the bottom holes.
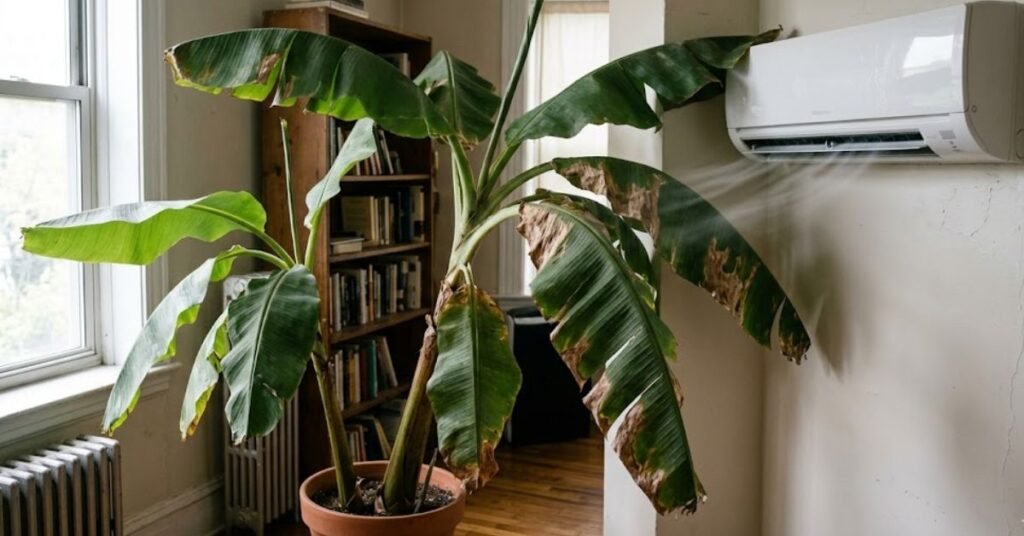
The Brutal Impact of Modern Air Conditioning on Tropical Foliage
Our home HVAC systems are a major hurdle. In the summer, central air conditioning strips moisture from the air. In the winter, forced-air heating makes things bone-dry.
Because the purple waffle plant loves high humidity, these dry air currents will quickly cause the edges of the leaves to turn brown and brittle. Keep your pot far away from any active vents, registers, or drafty windows.
Personal Pro-Tip: If your home air is naturally dry, don’t waste your time misting the leaves with a spray bottle. The moisture evaporates in seconds and does nothing long-term. Instead, set the pot on a shallow tray filled with pebbles and water. As the water evaporates around the base, it creates a localized pocket of humid air that the foliage loves.
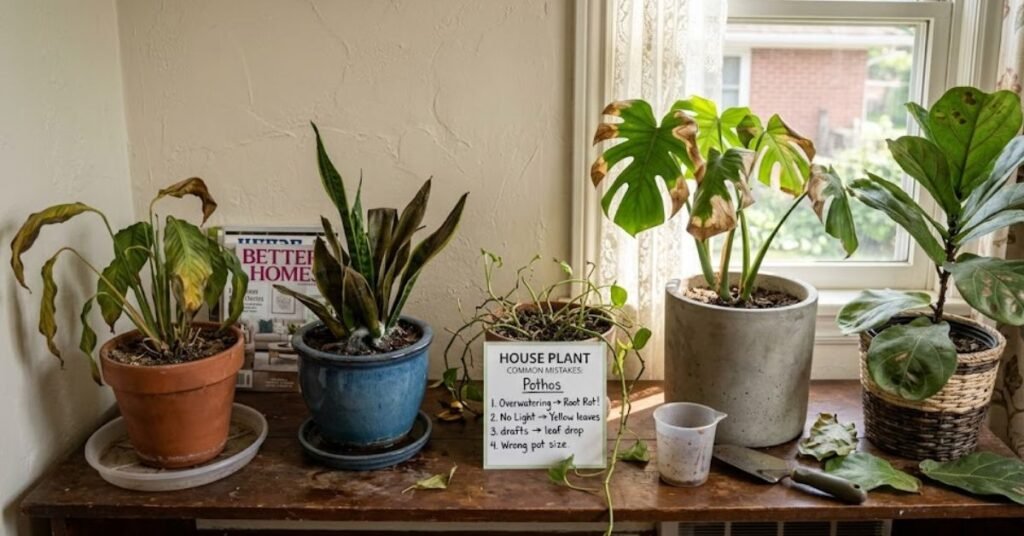
Typical Mistakes That Kill This Metallic Beauty
We often care for our plants a little too hard, or we treat every species exactly the same. Here is why Americans usually struggle with this specific tropical import:
- Using containers without drainage: Planting it directly into a cute ceramic pot with no hole at the bottom. Water pools at the base, suffocating the roots and causing root rot.
- Heavy yard dirt: Using dense outdoor dirt instead of a lightweight indoor potting soil. Outdoor dirt packs down like concrete in a pot, preventing the shallow roots from spreading out.
- Ignoring the indoor seasons: Flooding the plant with fertilizer during the dark winter months. When growth naturally slows down in late Fall, the plant cannot use those nutrients, and they end up burning the root system.
Personal Pro-Tip: When you are shopping for supplies, buy a bag of standard indoor potting soil and a small bag of perlite. Mix three parts potting soil with one part perlite. This creates a blend that holds the moisture the plant craves while letting the excess water drain away instantly.
Troubleshooting Common Purple Waffle Plant Problems
When this plant is unhappy, it lets you know immediately. You just have to learn how to read the signs and react quickly.
Leaves Turning Yellow and Stems Soft
If you notice the leaves losing their green and purple tones, turning a sickly yellow, and feeling mushy, you are overwatering. The roots are drowning. Pull the plant out of its pot and check them. Healthy roots are firm and tan; rotted roots are black, slimy, and smell foul. Cut away the dead roots and repot the plant into fresh, dry potting soil.
Crispy, Brittle Brown Edges
This is the opposite problem. It means either the humidity is too low or you are letting the potting soil stay dry for too long. Trim off the ugly brown parts with a sharp pair of scissors following the natural curve of the leaf. Then, increase your watering frequency and move the plant away from any dry drafts.
Personal Pro-Tip: Don’t be afraid to prune this plant if it starts looking wild or leggy. During the peak Spring growing season, I regularly pinch off the very tips of the long stems using my thumb and forefinger. This forces the plant to branch out from the sides, making it look much thicker and fuller.
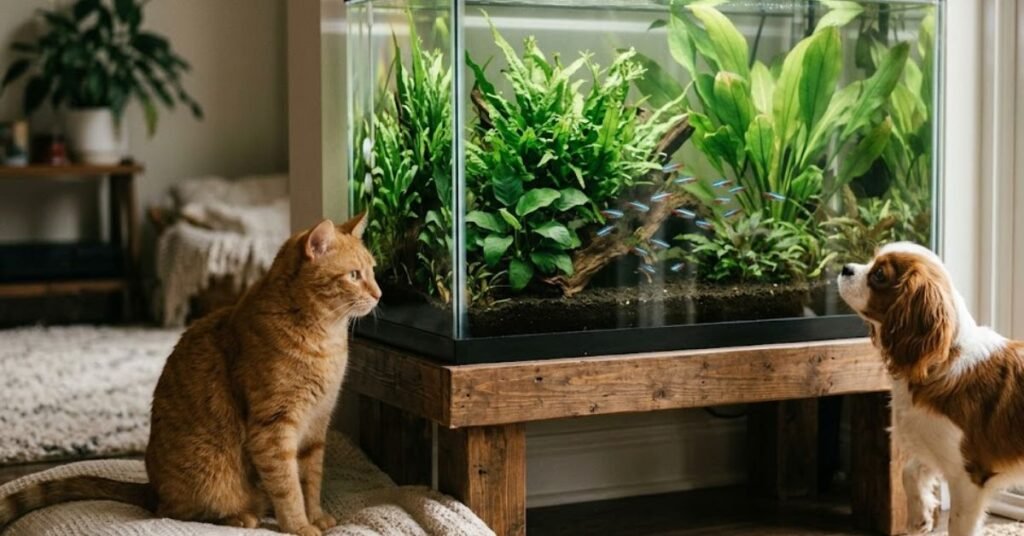
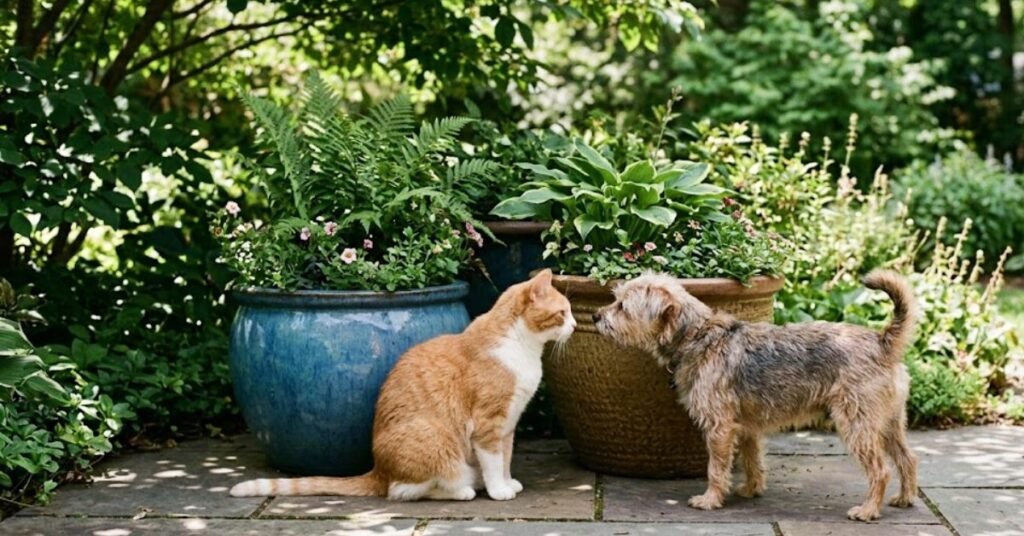
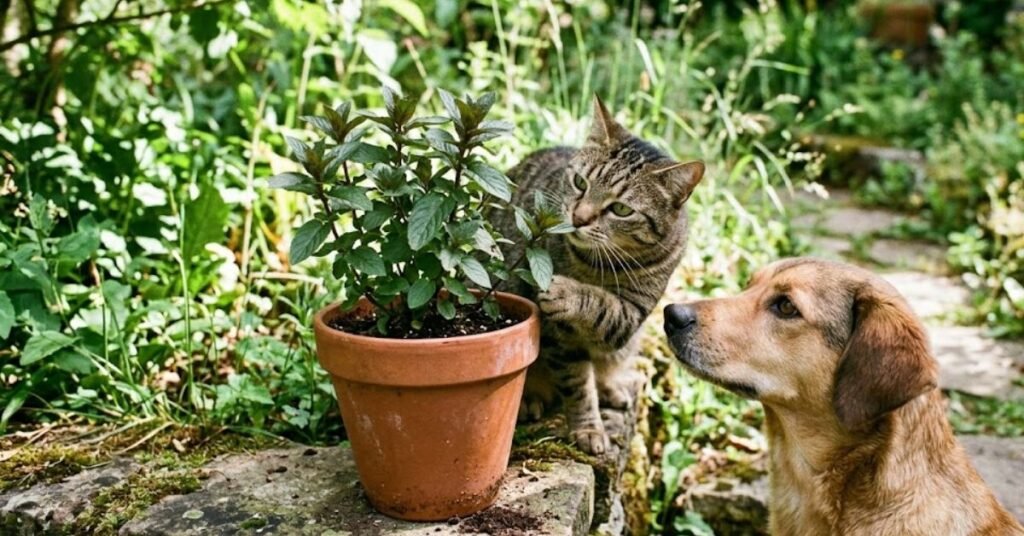
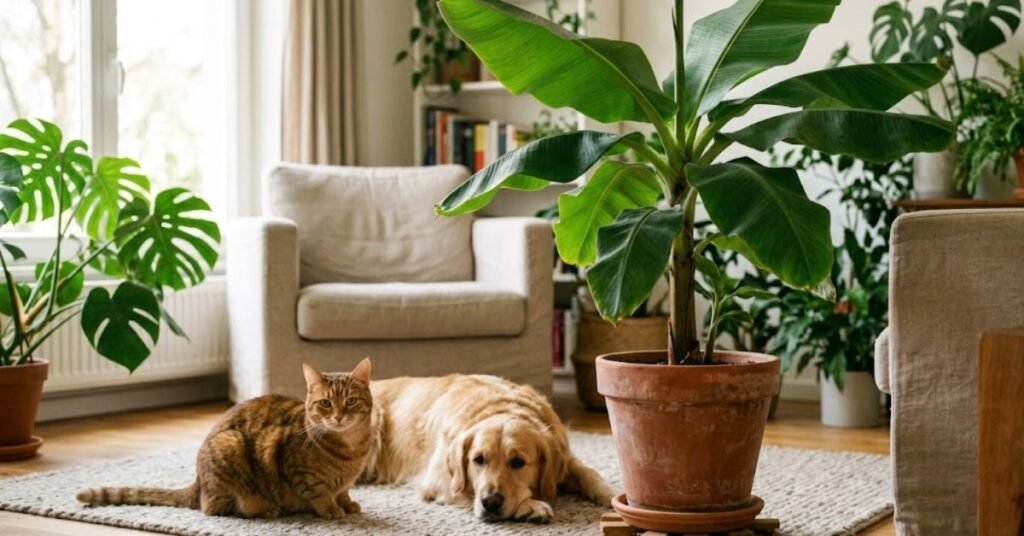
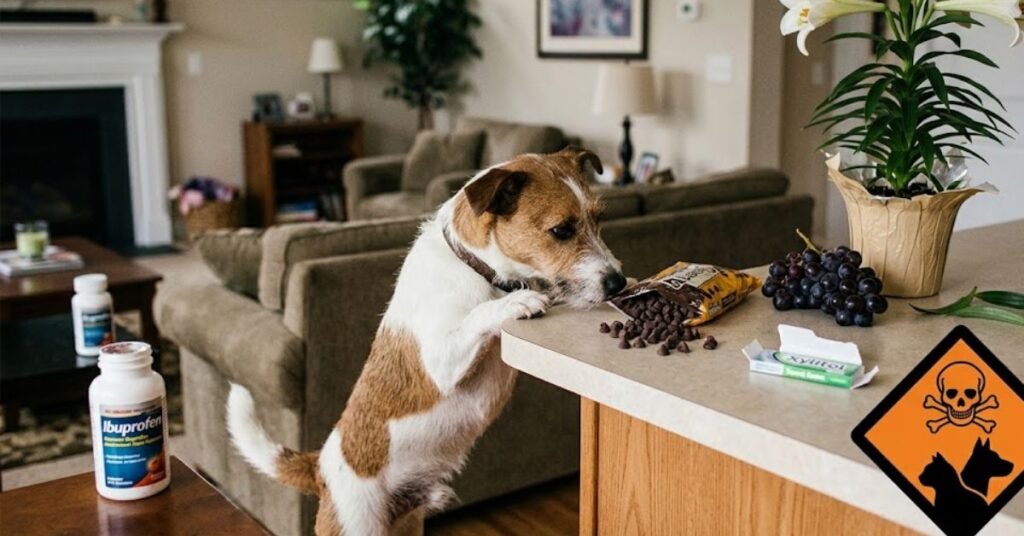
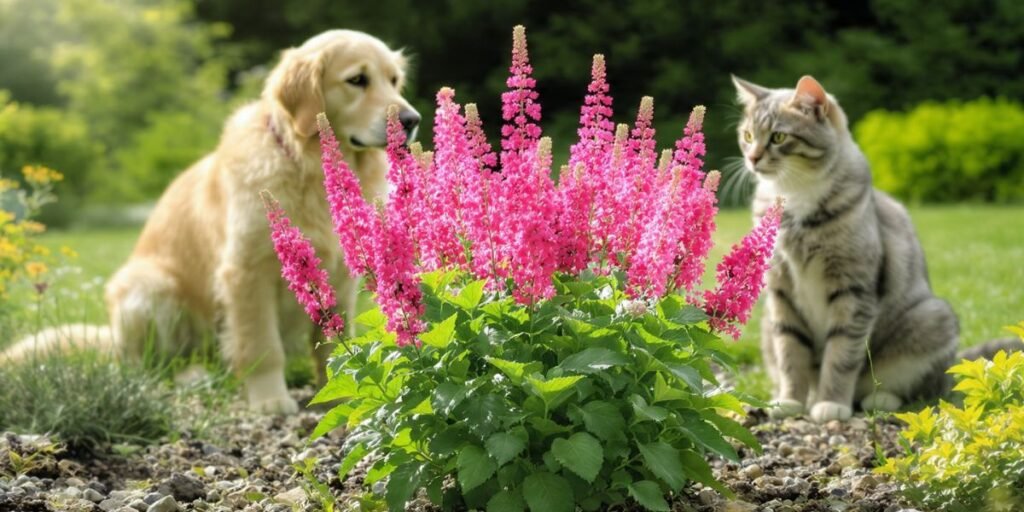
Is the Purple Waffle Plant Safe for Cats and Dogs?
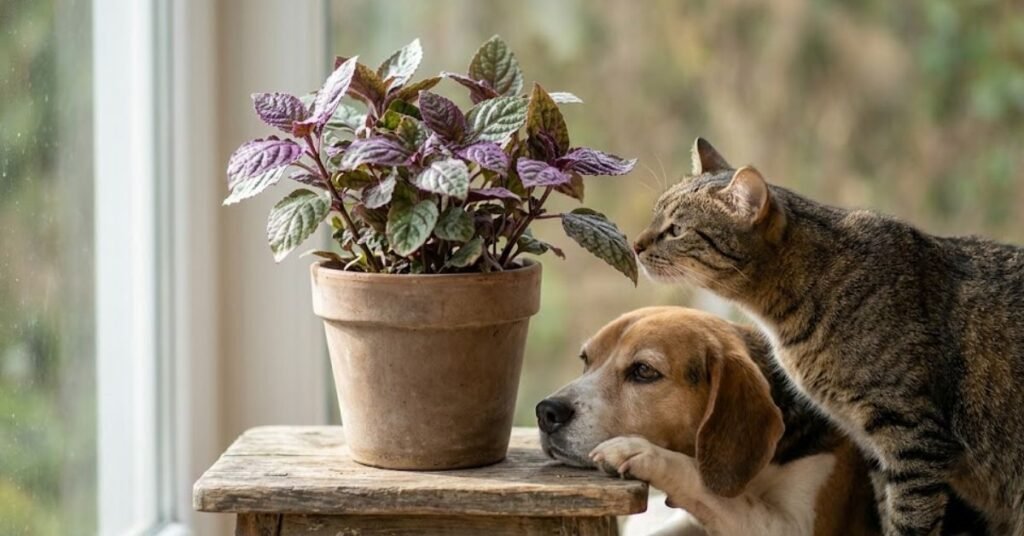
Here is some fantastic news for pet parents: the purple waffle plant is completely non-toxic to both cats and dogs. The ASPCA officially lists it as safe.
If your curious cat decides to bite the crinkly leaves or your dog knocks the pot over, you don’t need to make an emergency run to the vet. The plant won’t harm them.
Of course, a heavy chewing session will ruin the look of your beautiful foliage, so it is still smart to keep it slightly out of reach on a high shelf or a heavy plant stand.
Personal Pro-Tip: If your cat is obsessed with the texture of the leaves, try placing a few large, smooth river rocks on top of the exposed potting soil. This prevents them from digging in the dirt, which is usually what attracts pets to the container in the first place.
Real Questions From the Houseplant Community
1. Can I grow a purple waffle plant outside in the US?
Yes, but only if you live in the tropical climates of USDA Hardiness Zones 10 or 11, like Southern Florida or Hawaii. For the rest of the country, it makes a great outdoor summer annual for a shaded patio, but you must bring it indoors before the night temperatures drop below 50°F in the Fall.
2. Why is my plant losing its deep purple color on the underside of the leaves?
This is almost always due to a lack of light. When the room is too dark, the plant stops producing the pigments that create that purple hue. Move it closer to a bright window with indirect sun to bring the vibrant colors back.
3. How fast does this plant grow?
Under the right conditions during Spring and summer, it is a moderate to fast grower. It grows as a low, spreading groundcover, so it will fill out a small 4-inch or 6-inch pot within a single season.
4. Do I need to fertilize my purple waffle plant?
Yes, but keep it light. Feed it once a month during the Spring and summer using a balanced liquid houseplant fertilizer diluted to half the strength recommended on the bottle. Stop feeding entirely during late Fall and winter.
5. Why are the leaves on my plant turning white or looking bleached?
Your plant is getting sunburned. This happens when it gets hit by intense, direct afternoon sunlight. Move it a few feet back from the window or place it behind a sheer curtain to protect the foliage.
6. Can you grow a purple waffle plant in a terrarium?
They are absolutely perfect for closed terrariums. Because they love high humidity, consistent moisture, and small spaces, they flourish in glass enclosures alongside mosses and ferns.
7. How do I propagate this plant?
It is incredibly simple. Cut a 4-inch piece of a healthy stem right below a leaf node, strip off the bottom leaves, and stick it into a small jar of clean water. It will start growing fresh white roots from the stem within two weeks. Once the roots are an inch long, pot it up in fresh potting soil.
Final Thoughts
The purple waffle plant might look high-maintenance with its intense colors and dramatic fainting spells, but it is actually one of the most expressive and rewarding houseplants you can own. Keep its potting soil damp, give it a bright room away from your AC vents, and you will enjoy a stunning splash of metallic purple for years to come.

Amin Khalid is a professional horticulturist and the founder of LeafyWisdom. With a deep passion for home gardening and horticultural research, he specializes in providing practical, easy-to-follow care guides for indoor plants. Amin’s goal is to simplify gardening for everyone and help fellow plant lovers build their own thriving green spaces.