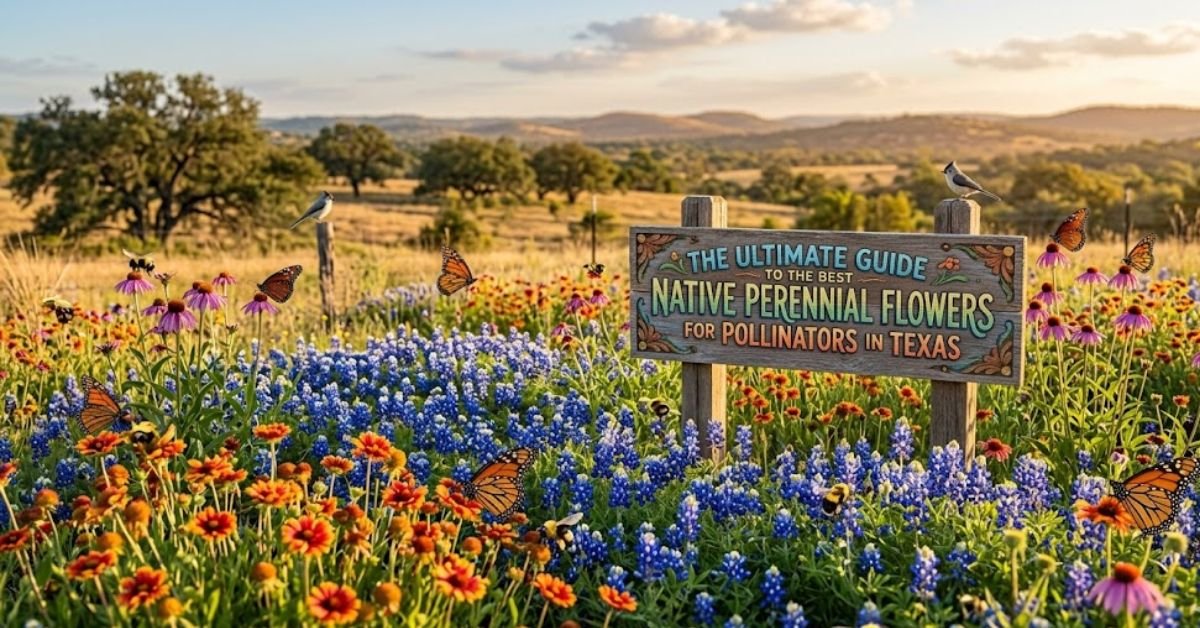
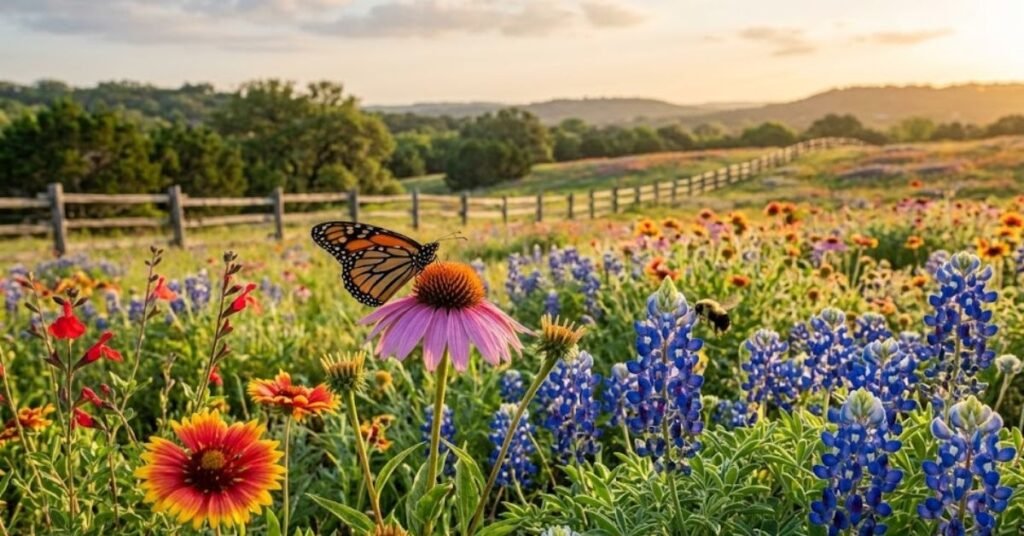
Finding the best native perennial flowers for pollinators in Texas is the most effective way to ensure your garden survives the record-breaking 2026 heat domes. These locally adapted survivors provide a vital buffet for our bees and butterflies while other non-native plants quickly wither. By planting these durable species, you create a beautiful sanctuary that thrives even when temperatures hit 105°F.
Quick Care Overview: Texas Native Pollinator Plants
| Feature | The Texas Reality (2026 Edition) |
| USDA Hardiness Zones | Zones 6b through 10a. |
| Sunlight | Full sun (6+ hours). In 2026, afternoon shade is a “luxury” for some species. |
| Water Needs | Low once established. Deep soakings are better than daily sprinkles. |
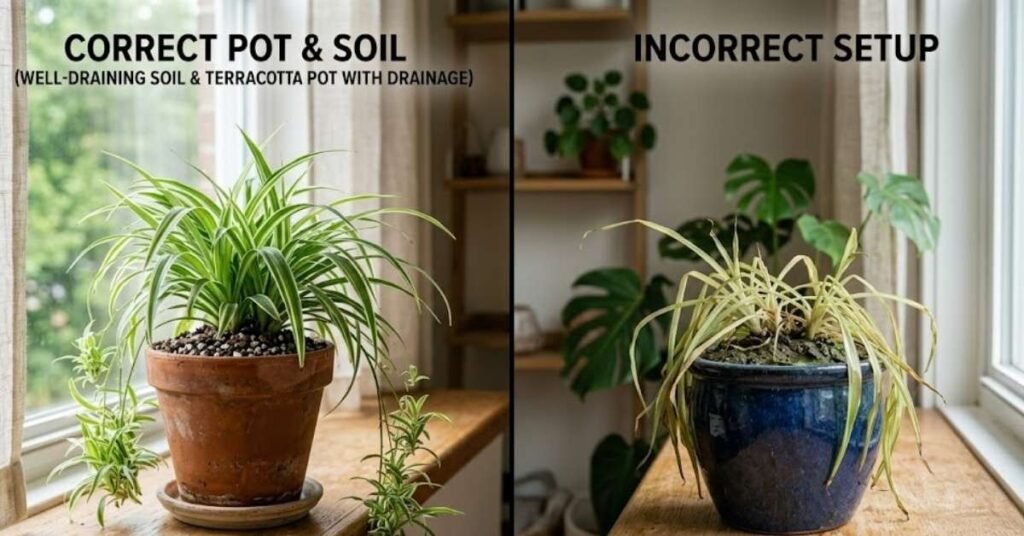
| Soil Type | Well-draining is key. Use high-quality potting soil for all containers. |
| Mulch Choice | Cedar mulch is my top recommendation for cooling soil temps. |
| Bloom Time | March through November (with a “heat nap” often taken in August). |
Personal Pro-Tip: When you’re at the garden center, ignore the “General Perennial” aisle. Head straight for the “Texas Native” section. If a plant isn’t tagged for our specific heat, it’s likely going to be a high-maintenance disappointment.
Why You Need the Best Native Perennial Flowers for Pollinators in Texas
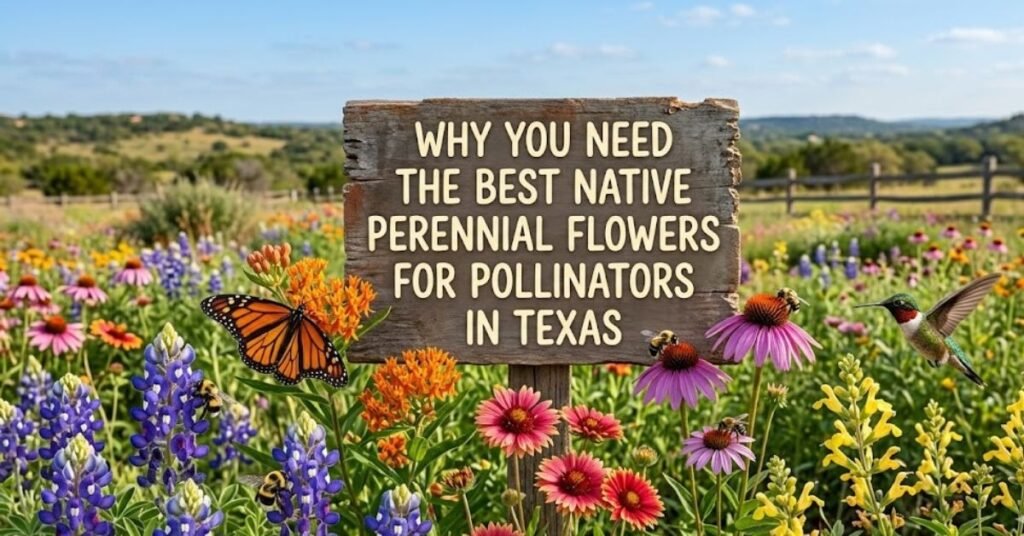
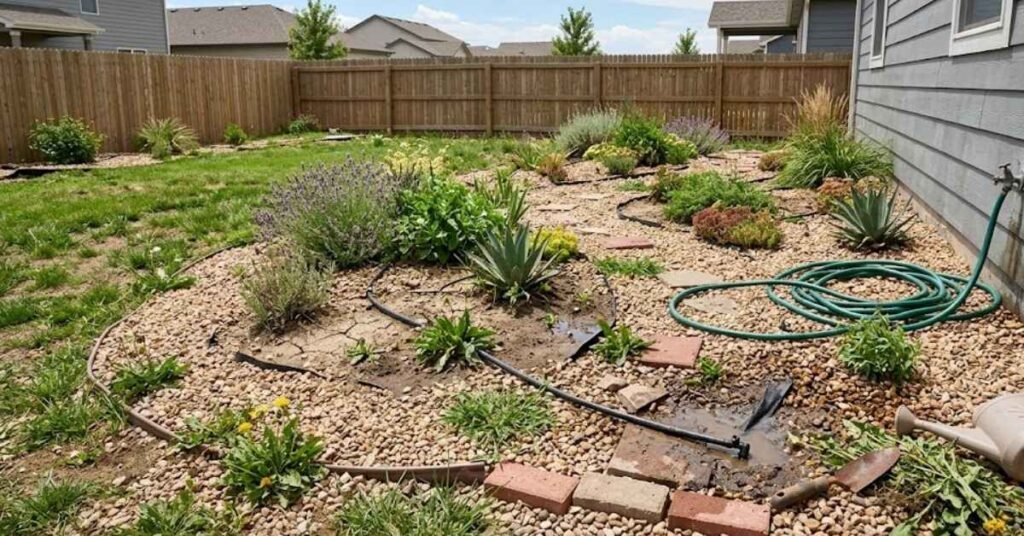
In my years of consulting, the biggest mistake I see is people trying to fight the Texas climate instead of joining it. We have intense UV indexes and drying winds that can turn a “hardy” plant into kindling in 48 hours.
When you plant the best native perennial flowers for pollinators in Texas, you’re working with nature. These plants have deep root systems designed to find water when the faucet stays off. Plus, our local pollinators—like the iconic Monarch butterfly and the specialized Texas bumblebee—depend on these specific blooms for survival. It’s an ecosystem in your own backyard.
Personal Pro-Tip: Don’t forget that “native” is regional. A plant that loves the swampy humidity of East Texas might struggle in the arid heat of El Paso. Always double-check your specific USDA zone before buying!
My Top 4 Picks for the Best Native Perennial Flowers for Pollinators in Texas
I’ve trialed hundreds of species, but these four are the absolute best native perennial flowers for pollinators in Texas for most home gardens.
1. Gregg’s Mistflower (Conoclinium greggii)
I call this the “Butterfly Magnet.” It produces fuzzy, light blue flowers that seem to vibrate with Queen and Monarch butterflies. It spreads via rhizomes, making it a great groundcover for those awkward spots in the yard.
2. Autumn Sage (Salvia greggii)
Don’t let the name fool you—this starts blooming in the Spring and keeps going through the Fall. It’s a woody perennial that comes in reds, pinks, and whites. Hummingbirds will fight over this plant, so I suggest planting a few to keep the peace!
3. Texas Lantana (Lantana urticoides)
This is the “Old Reliable.” It loves the heat and actually blooms better when the sun is scorching. Just be careful not to confuse it with the non-native “New Gold” or trailing varieties if you want the maximum pollinator benefit.
4. Mealy Blue Sage (Salvia farinacea)
With its beautiful spikes of violet-blue, this plant is a staple for native bees. I’ve found it to be incredibly drought-tolerant once it’s had one full season to get its feet under it.
Personal Pro-Tip: When planting these in pots on your patio, remember that the air conditioning exhaust can be just as drying as the sun. Keep your containers a few feet away from the AC unit to prevent “flash-frying” your foliage.
Beating the 2026 Heat: Mulching Your Best Native Perennial Flowers for Pollinators in Texas
As I mentioned, we are seeing 105°F heat domes staying longer than ever this year. This “long-stay” heat bakes the soil, which can stress even the toughest natives.
The secret weapon I use in my own garden is mulching with cedar. Native Texas cedar (Juniper) is readily available, and it’s a powerhouse for temperature regulation. A 2-to-3-inch layer of cedar mulch acts like an insulated blanket, keeping the soil significantly cooler and holding in every drop of moisture from your faucet.
Personal Pro-Tip: Spread your mulch in a “donut” shape around the base of the plant. Never pile it up against the stem (the “mulch volcano”), or you’ll invite rot and pests.
Common Mistakes When Growing Texas Native Pollinator Perennials
Even with the best native perennial flowers for pollinators in Texas, things can go south if you treat them like pampered tropicals.
- Over-fertilizing: Most Texas natives prefer lean soil. If you use too much high-nitrogen fertilizer, you’ll get a giant green bush with zero flowers.
- The “Daily Sprinkle” Habit: Watering for 5 minutes every day is the worst thing you can do. It encourages shallow roots. Instead, give them a deep, 30-minute soak once or twice a week.
- Wrong Soil in Pots: Never use “Topsoil” or “Garden Soil” in a container. It’s too heavy and will suffocate the roots. Always use a dedicated potting soil mix.
Personal Pro-Tip: I like to keep a rain gauge in the yard. If we get a good 1-inch soak from a thunderstorm, I turn my irrigation system off for the rest of the week. Let the plants work for their water!
Troubleshooting and Pet Safety for the Best Native Perennial Flowers for Pollinators in Texas
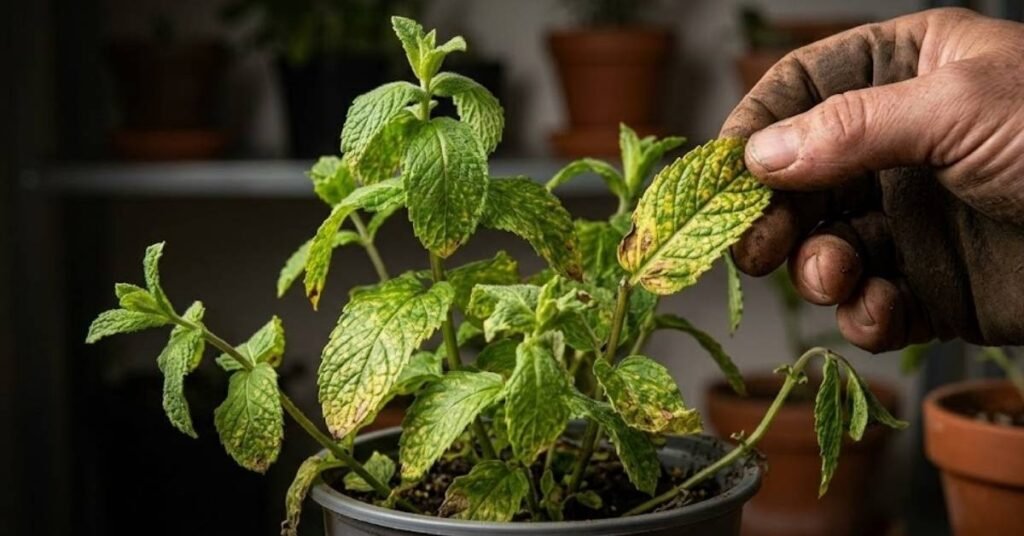
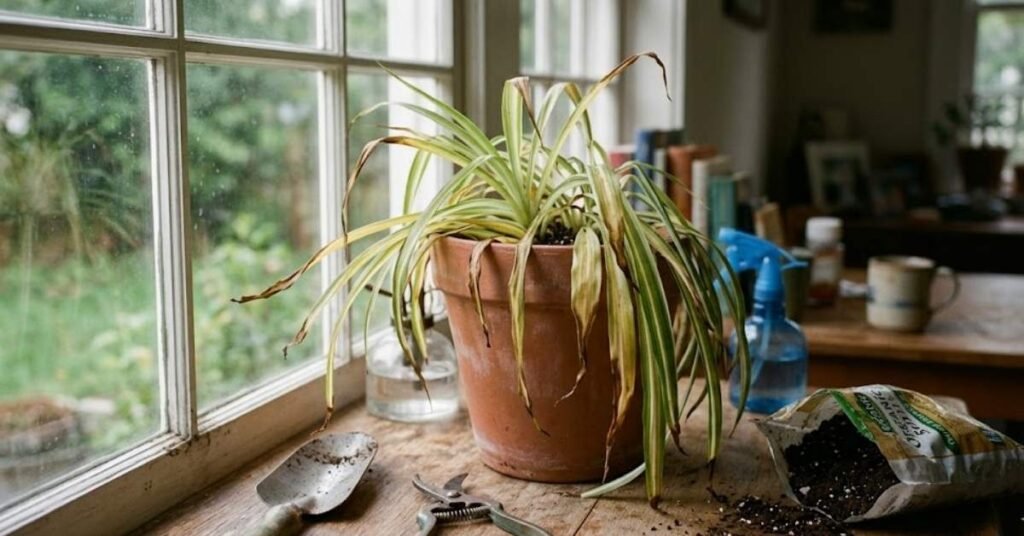
Why are the leaves turning yellow?
In my experience, this is 90% of the time caused by overwatering. If the soil feels like a wet sponge, stop watering immediately. If the leaves are yellow with green veins (chlorosis), your soil might be too alkaline, which is common in North and Central Texas.
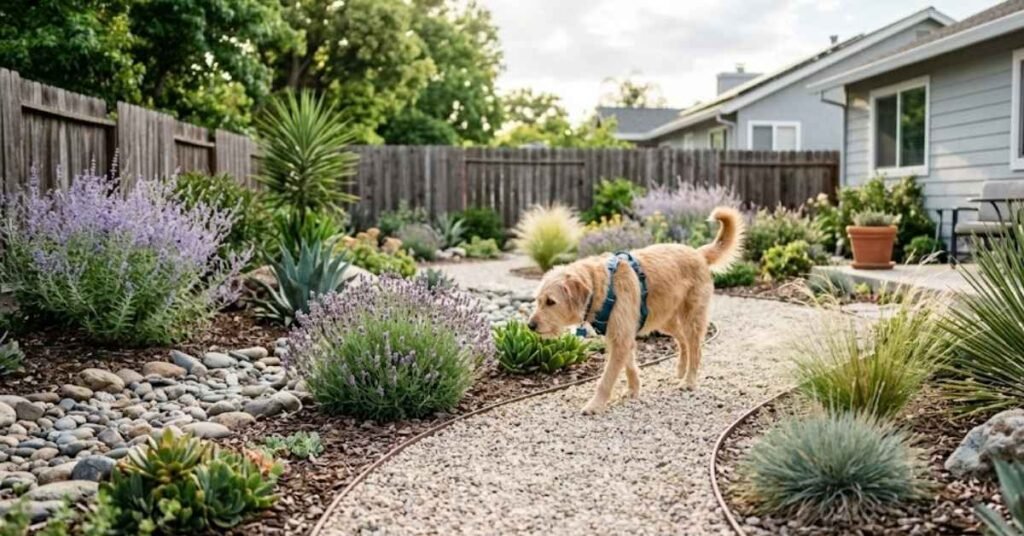
Is it safe for my dog?
This is the question I get most often from US homeowners.
- The Good News: Purple Coneflower and Blue Sage are generally safe.
- The Warning: Texas Lantana is toxic to dogs and cats. The berries and leaves can cause serious stomach upset or worse. If you have a “nibbler” in the family, stick to the Sages and Coneflowers.
Personal Pro-Tip: If you see brown, crispy edges on your leaves during a 105°F stretch, don’t panic. The plant is just protecting itself. As long as the stems are flexible, it will bounce back when the temperature drops.
FAQs About the Best Native Perennial Flowers for Pollinators in Texas
Q1. How long does it take for these perennials to get established?
Typically, it takes one full growing season. I tell my clients: “The first year they sleep, the second year they creep, and the third year they leap!”
Q2. Should I cut my native flowers back in the winter?
Wait until late February! Many of our native bees nest inside the hollow stems of dead perennials. If you clean up too early, you’re tossing out next year’s pollinators.
Q3. Do I need to add compost to the planting hole?
A little bit won’t hurt, but don’t overdo it. Native plants are adapted to our “poor” soil. If you make the hole too rich, the roots might never want to grow out into the surrounding native dirt.
Q4. Can I grow these from seed?
Yes, but many Texas native seeds need “stratification” (a cold period). Planting them in the Fall allows the winter weather to naturally prep the seeds for Spring sprouting.
Q5. Why aren’t there any butterflies on my Lantana?
Check if you bought a sterile hybrid. Some modern cultivars are bred for color but produce very little nectar. Always try to buy the straight species when possible.
Q6. Will cedar mulch change the pH of my soil?
This is a common myth! While cedar is slightly acidic, it won’t significantly change your soil pH just by sitting on top. It’s perfectly safe for your pollinators.
Q7. How do I handle the AC vent blowing on my outdoor pots?
If your patio is small, use a decorative screen or a large empty pot to deflect the hot air away from your living plants. That dry heat is a silent killer.
Final Thoughts:
Gardening in the 2026 Texas heat is a challenge, but by choosing the best native perennial flowers for pollinators in Texas and using local resources like cedar mulch, you can create a sanctuary that survives the dome. Happy planting!

Amin Khalid is a professional horticulturist and the founder of LeafyWisdom. With a deep passion for home gardening and horticultural research, he specializes in providing practical, easy-to-follow care guides for indoor plants. Amin’s goal is to simplify gardening for everyone and help fellow plant lovers build their own thriving green spaces.