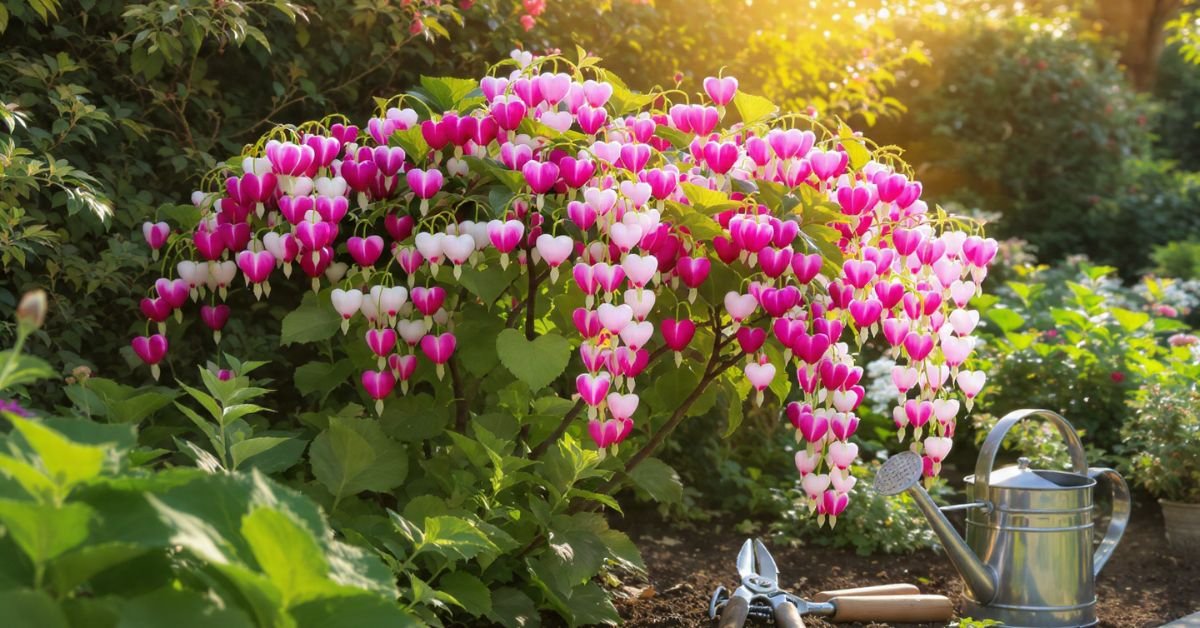
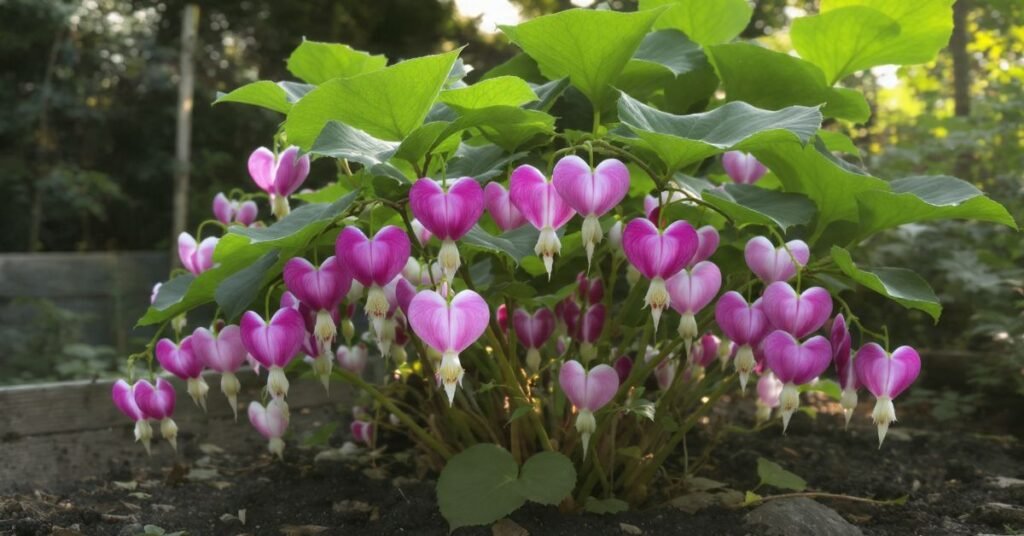
Walk into any shade garden I’ve designed over the last decade, and you’re almost guaranteed to spot a bleeding heart plant (Lamprocapnos spectabilis). When Spring hits, nothing else in the yard commands attention quite like its signature heart-shaped blooms. It’s an absolute classic, but it isn’t a “set-it-and-forget-it” type of perennial. To save you the frustration of common trial-and-error mistakes, I’ve broken down the essential rules of thumb every US gardener needs to know to make this woodland gem thrive.
Quick Care Guide for the Bleeding Heart Plant
| Feature | Care Needs |
| USDA Hardiness Zones | Zones 3 – 9 |
| Sunlight | Partial to full shade (Morning sun is okay) |
| Soil | Rich, well-draining, slightly acidic |
| Water | Keep consistently moist, do not let it dry out completely |
| Bloom Time | Mid-to-late Spring |
| Pet Safe? | No (Toxic to cats and dogs) |
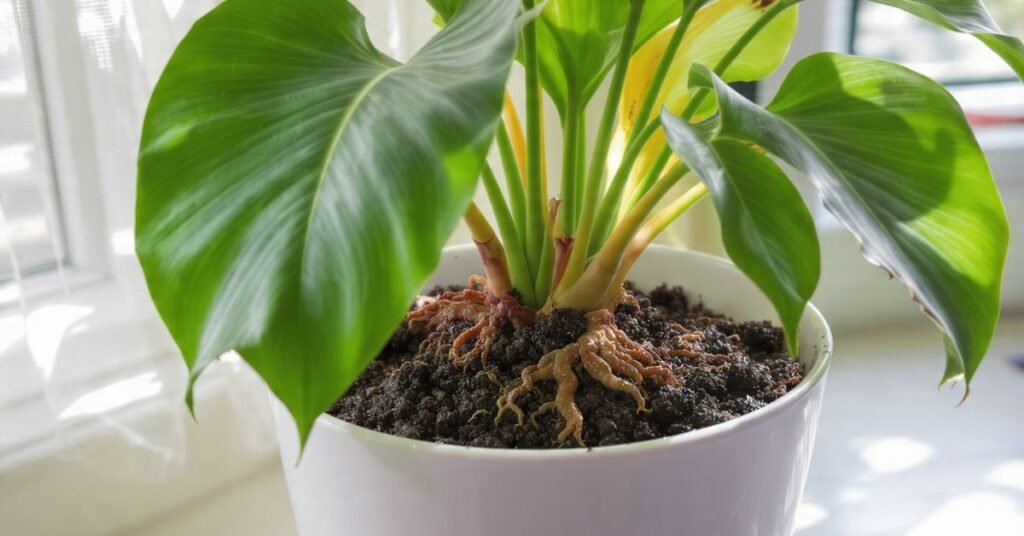
Personal Pro-Tip: Before planting, work a healthy amount of organic matter right into your garden bed. I always mix in leaf mold or aged bark. It mimics their natural woodland habitat perfectly!
How to Care for Your Bleeding Heart Plant
Getting a bleeding heart plant established in the US is mostly about mimicking a cool, damp woodland forest. They wake up early in the Spring, long before many other perennials have even broken ground.
Sunlight and Soil Needs for Bleeding Hearts
If you live in the cooler northern zones (like USDA Zones 3 to 5), your plant can actually handle a fair bit of morning sun, provided it gets shade during the hot afternoon. Down south in Zones 7 through 9, you want to give it full shade to protect it from the intense heat.
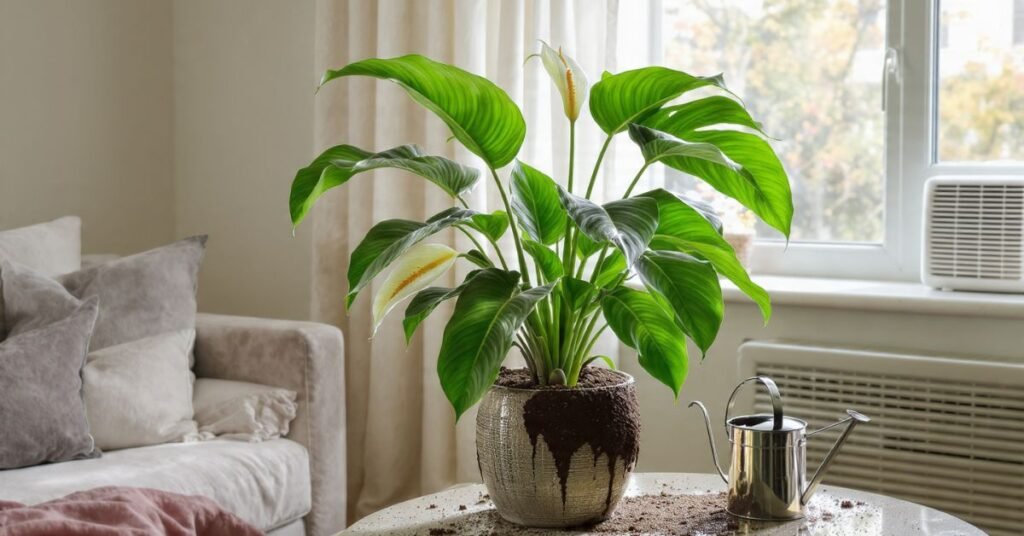
If you are growing one on a shaded patio in a container, skip the heavy garden dirt and use a high-quality, moisture-retaining potting soil.
Watering Rules: Keeping Your Bleeding Heart Happy
These plants love a drink, but they hate wet feet. You want the soil to feel like a wrung-out sponge. During the spring growing season, check the soil a few inches down. If it’s dry, it’s time to water.
Personal Pro-Tip: If I’m watering my container bleeding hearts, I never use water straight out of the outdoor faucet if the hose has been sitting in the sun. Let the water run cool first so you don’t accidentally boil your plant’s sensitive roots!
Common Mistakes When Growing a Bleeding Heart Plant

Why do so many people think they’ve failed with this plant? The number one reason is completely misunderstanding the plant’s life cycle.
Here in the US, our summers get hot fast. By mid-summer, especially in July and August, the bleeding heart plant does something called “going ephemeral.” This means it naturally dies back to the ground when the heat kicks in. So many folks see the yellowing leaves in July, assume they killed it, and rip it out of the ground! It’s not dead; it’s just sleeping until next spring.
Another big mistake I see in suburban homes is planting them right next to the house where the central air conditioning unit exhausts hot air. That continuous blast of hot, dry AC air will fry their delicate foliage in days.
Personal Pro-Tip: I like to plant late-emerging perennials—like Hostas or Ferns—right next to my bleeding hearts. As the bleeding heart goes dormant and fades away in the summer, the Hosta leaves unfurl and hide the empty gap in the garden!
Troubleshooting Bleeding Heart Plant Problems
Even with the best intentions, things can go sideways. Here’s how I read the leaves to figure out what my plant is asking for:
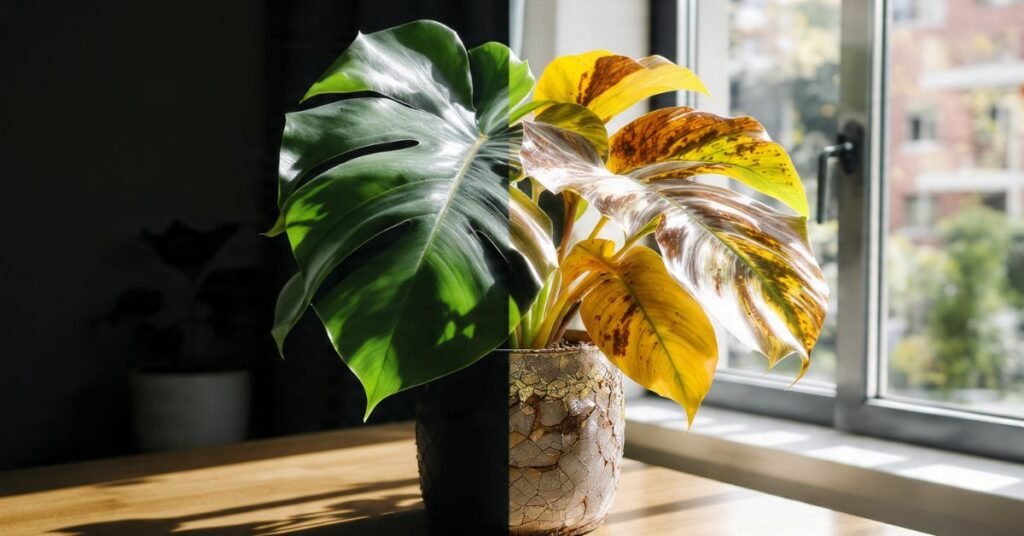
- Leaves Turning Yellow in Spring: If it’s May and your leaves are yellowing, you are likely overwatering, or your soil doesn’t drain well. The roots are suffocating. Back off on the watering and check your drainage. (If it’s July, refer to the summer dormancy I mentioned above—that’s completely normal!)
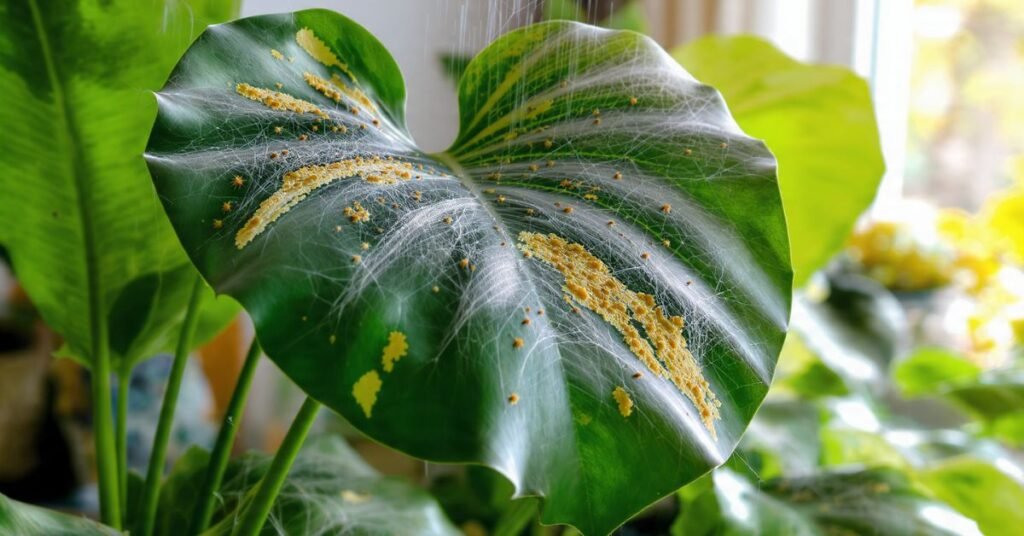
- Brown, Crispy Leaf Tips: This usually means the air is too dry, or the plant is getting hit by too much direct sun or wind. If they are in pots, move them to a more sheltered, shaded spot and ensure you are watering deeply.
- No Flowers: If you have lots of lush green growth but no hearts, you might be using a fertilizer that is too high in nitrogen (which pushes leaf growth over flowers), or the plant is in total, pitch-black shade. They do need some indirect light to bloom.
Personal Pro-Tip: If I notice brown tips during an unseasonably dry spring, I’ll add a two-inch layer of hardwood mulch around the base of the plant. It traps the moisture in the soil brilliantly.
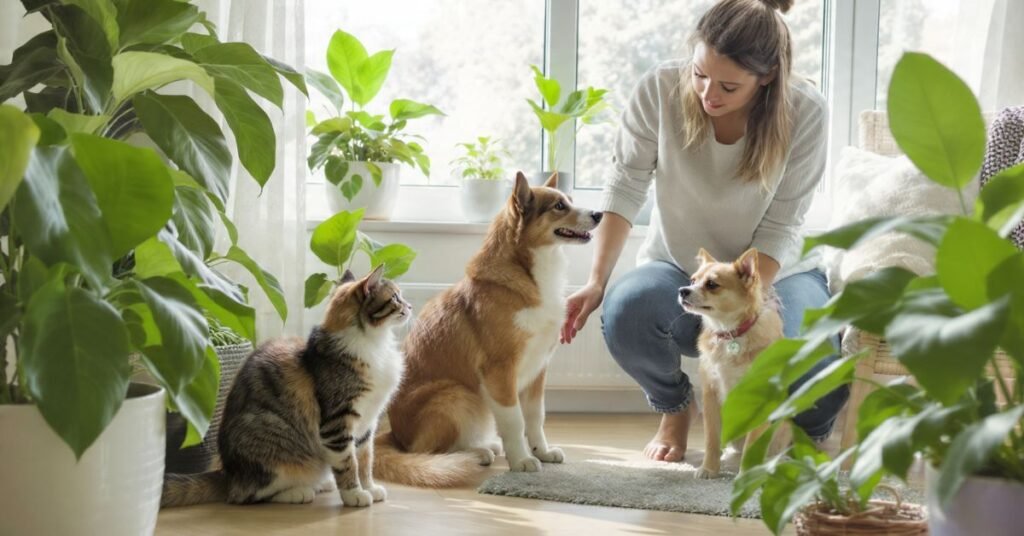
Pet Safety: Are Bleeding Heart Plants Toxic?
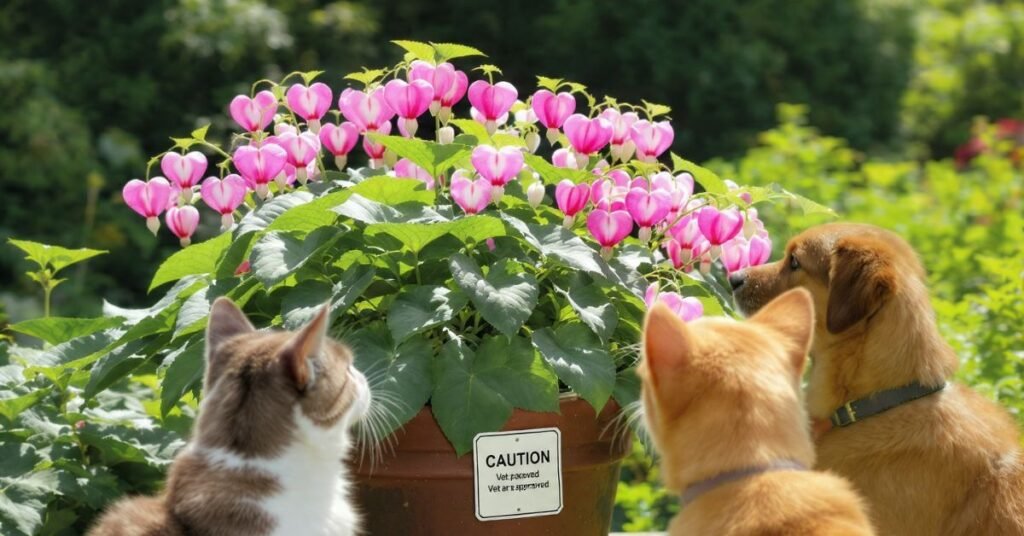
As much as I love this plant, I have to be completely honest with you if you share your home or yard with furry friends. The bleeding heart plant is toxic to both dogs and cats. It contains isoquinoline alkaloids, which can cause vomiting, tremors, diarrhea, and lethargy if your pet chews on the leaves, stems, or roots. The roots are the most toxic part. If you have a dog that loves to dig up garden beds, I highly recommend planting these in tall containers or skipping them altogether for a pet-safe alternative like Coral Bells (Heuchera).
Personal Pro-Tip: I always keep the ASPCA Animal Poison Control number saved in my phone just in case. If you ever suspect your pet nibbled on a bleeding heart, call your vet immediately rather than waiting for symptoms.
FAQs
I constantly see the same questions popping up in gardening forums and from my own neighbors. Here are the clear answers to the most common queries.
Q1. Does the bleeding heart plant spread?
Yes, but very politely. They slowly expand their root clumps over the years and will occasionally self-seed if the conditions are right, but they are not aggressive or invasive.
Q2. Can I grow a bleeding heart indoors?
Honestly, it’s tough. Modern US homes, especially in the winter with central heating, are far too dry and warm. These plants require a cold winter dormancy period to bloom the following year. They are best kept outdoors.
Q3. When should I cut back the dead foliage?
Wait until the leaves have completely turned yellow or brown and easily pull away from the base of the plant (usually mid-to-late summer). While they are yellowing, they are still sending energy down to the roots for next year.
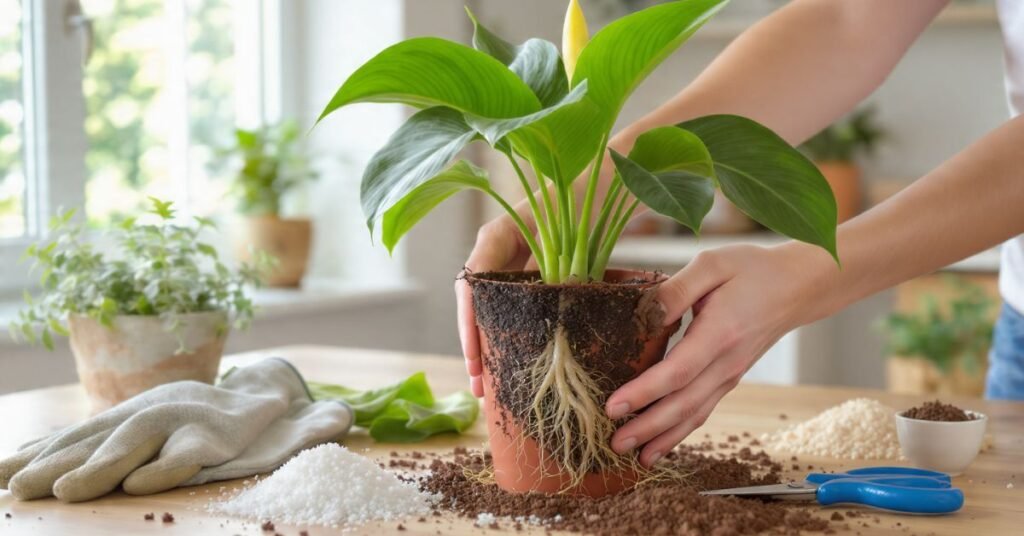
Q4. Can I divide my bleeding heart plant?
Absolutely! I usually divide mine every 3 to 4 years. The best time to do this is in the early Spring right as the little red shoots are poking through the soil, or in the Fall after they’ve gone dormant.
Q5. Do deer and rabbits eat them?
Because of those toxic alkaloids we talked about earlier, bleeding hearts are highly deer and rabbit resistant! They will usually walk right past them.
Q6. Why are the flowers on my new plant white instead of pink?
You likely purchased a Lamprocapnos spectabilis ‘Alba’—the stunning white variety. Sometimes garden centers mix up the tags. Care for it exactly the same way!
Q7. Should I fertilize them?
They aren’t heavy feeders. I usually just top-dress the soil around the plant with an inch of fresh organic matter or a slow-release granular fertilizer once a year in early Spring.
Personal Pro-Tip: When dividing your bleeding heart plant, use a sharp, sterilized spade to cut straight down through the root ball. Replant the divided sections immediately and water them deeply to help them recover from the shock
Final Thoughts
At the end of the day, growing a bleeding heart plant comes down to working with its natural rhythm rather than fighting it. It’s a plant that demands very little from you for most of the year, gives you an unforgettable show in the spring, and then quietly steps aside so your summer garden can shine.
Once you get past that initial surprise of its mid-summer disappearing act and protect it from harsh afternoon sun or dry AC vents, it really is one of the most reliable, low-maintenance shade perennials you can add to an American landscape. Plus, the fact that deer and rabbits naturally leave it alone is a massive win for those of us dealing with neighborhood wildlife. Give it that rich, woodland-style soil, keep the roots comfortably damp, and you’ll be enjoying those magical, arching stems of hearts for years to come.

Amin Khalid is a professional horticulturist and the founder of LeafyWisdom. With a deep passion for home gardening and horticultural research, he specializes in providing practical, easy-to-follow care guides for indoor plants. Amin’s goal is to simplify gardening for everyone and help fellow plant lovers build their own thriving green spaces.