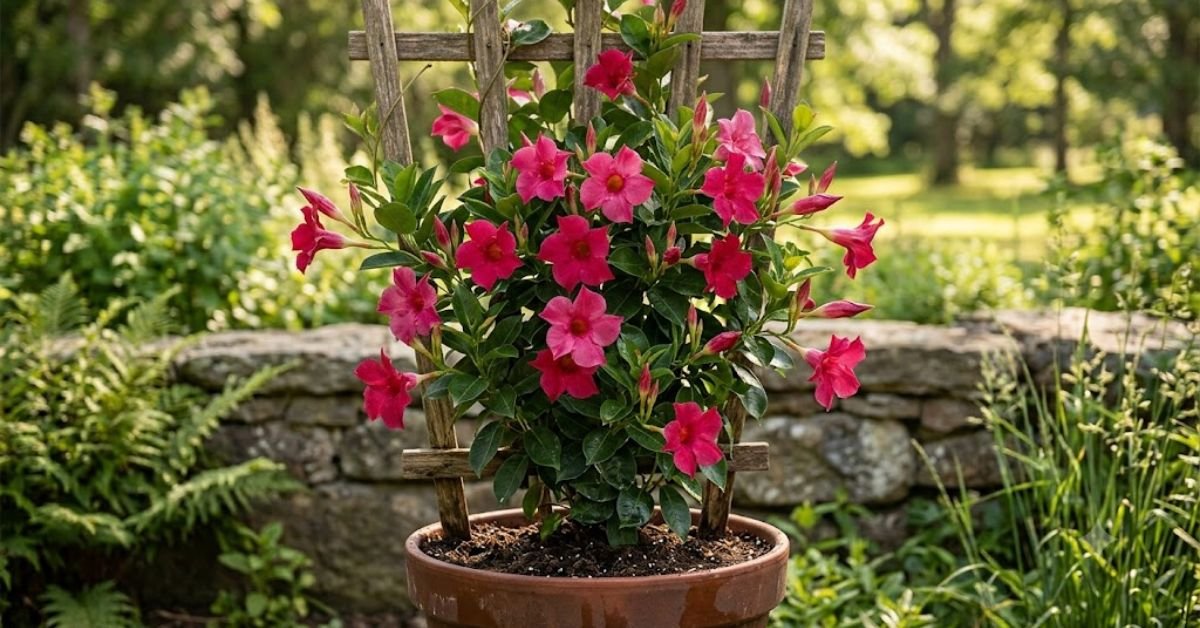
If you want massive, tropical blooms on your patio all summer long without a ton of headache, the mandevilla plant is your best bet. It’s easily the star of the garden center every spring. However, this beautiful vine can get a little dramatic if you don’t know the basic ground rules for its care.
In my years of growing the mandevilla plant, I’ve made all the classic mistakes from drowning the roots to letting the indoor AC blast it to death. Here is the quick, honest breakdown of how I keep this tropical favorite thriving in typical US backyards.
| Care Metric | Quick Details |
| USDA Zones | Zones 9-11 (Grow as a summer annual elsewhere) |
| Sun Exposure | 6+ hours of direct sun (Afternoon shade in hot climates) |
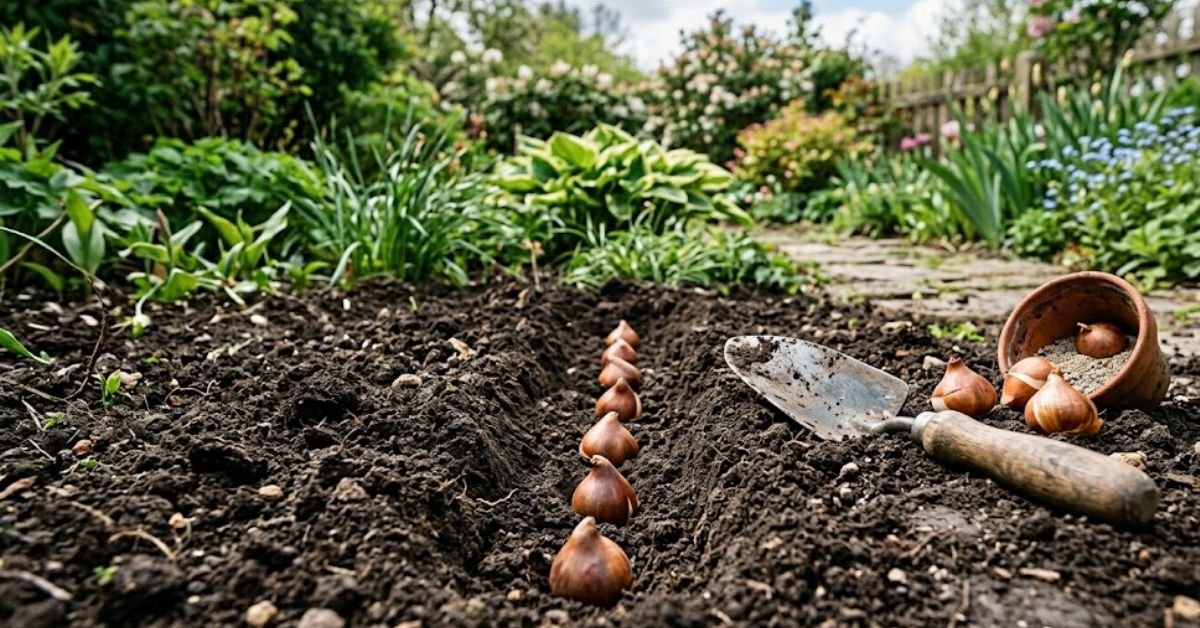
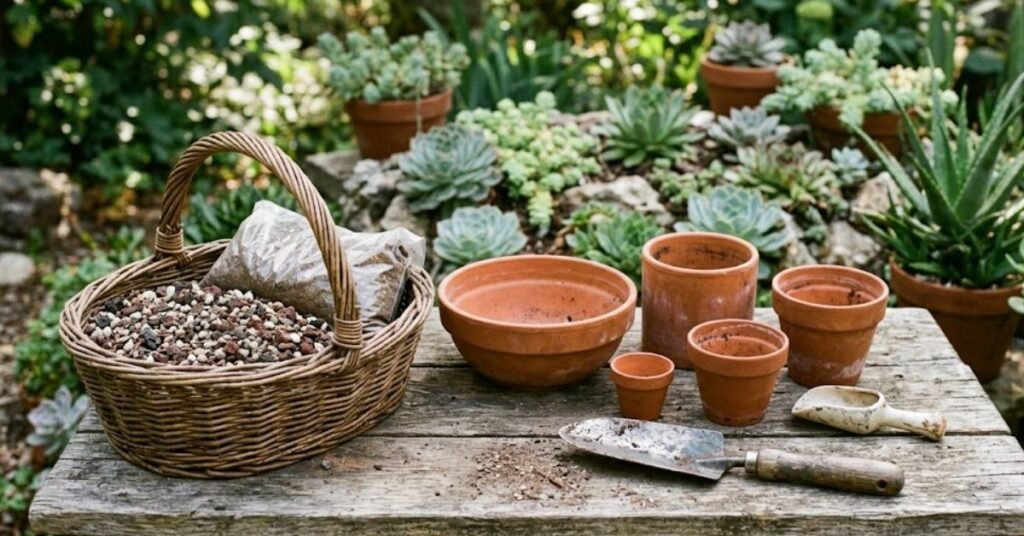
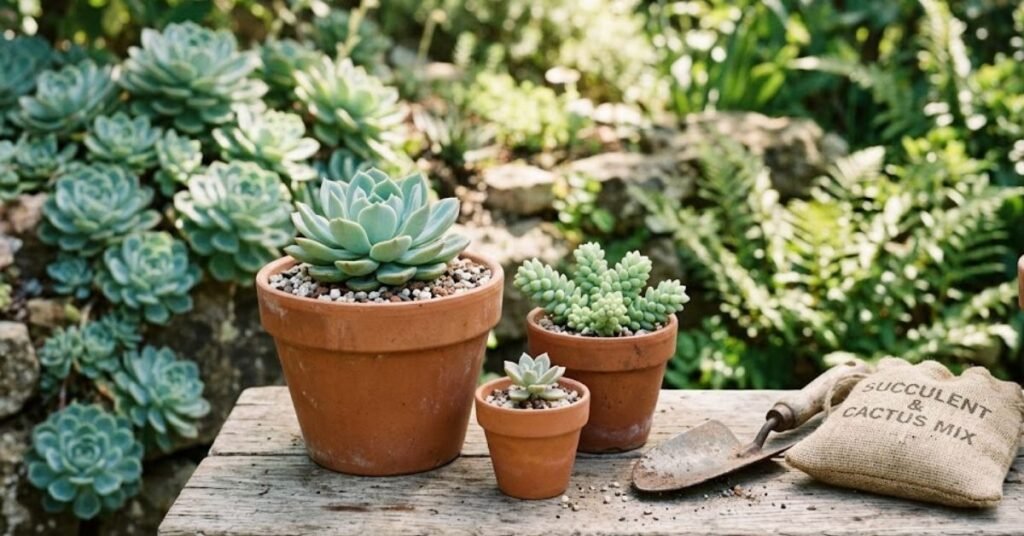
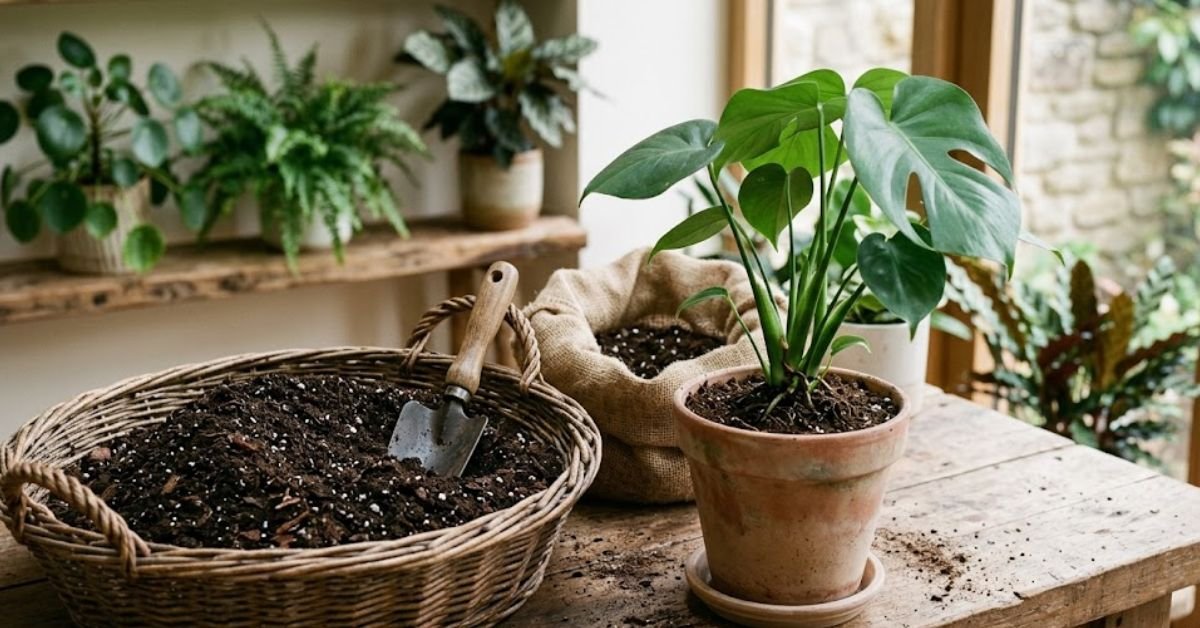
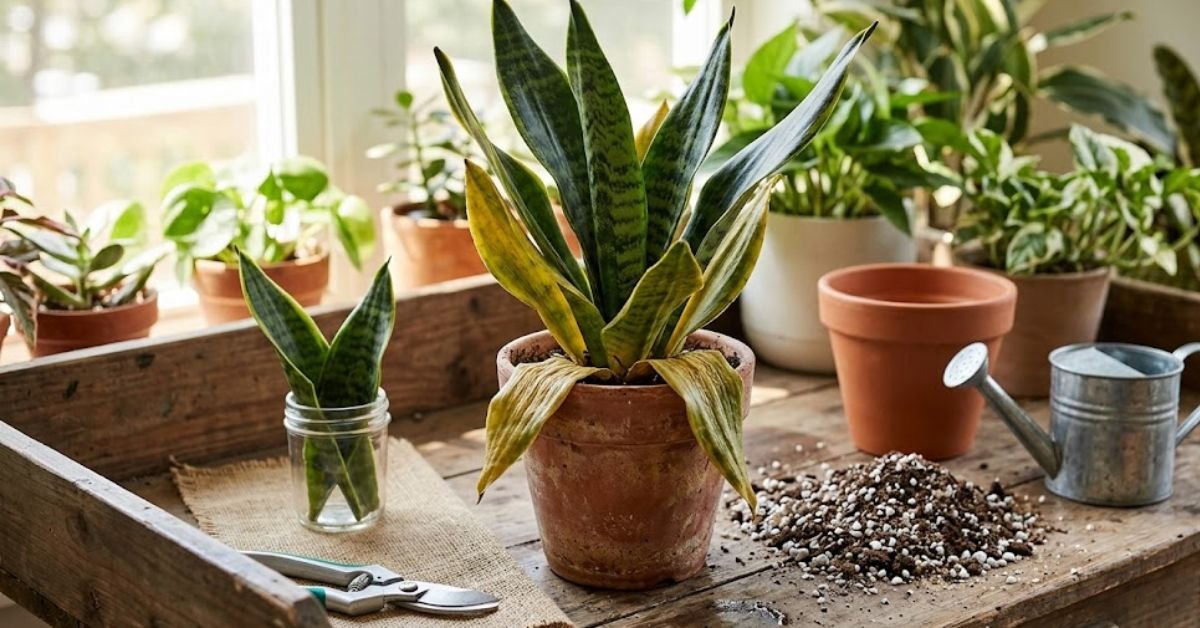
| Soil Type | Loose, well-draining potting soil (Avoid heavy yard dirt) |
| Watering | Let the top 2 inches dry out before soaking again |
| Toxicity | Toxic to dogs, cats, and horses |
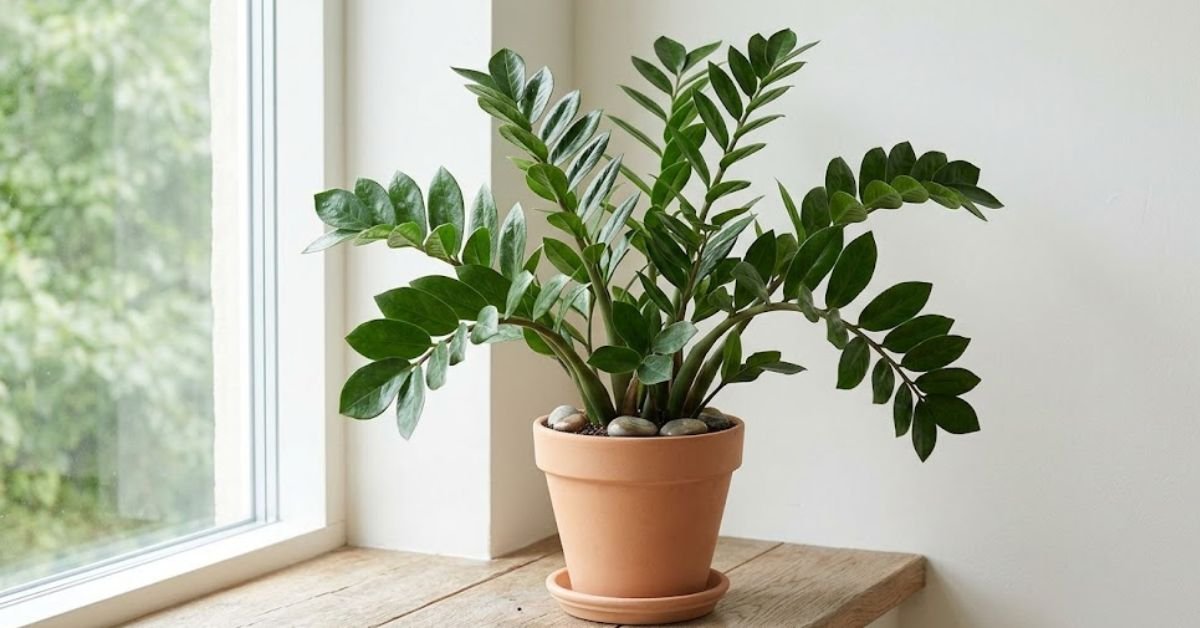
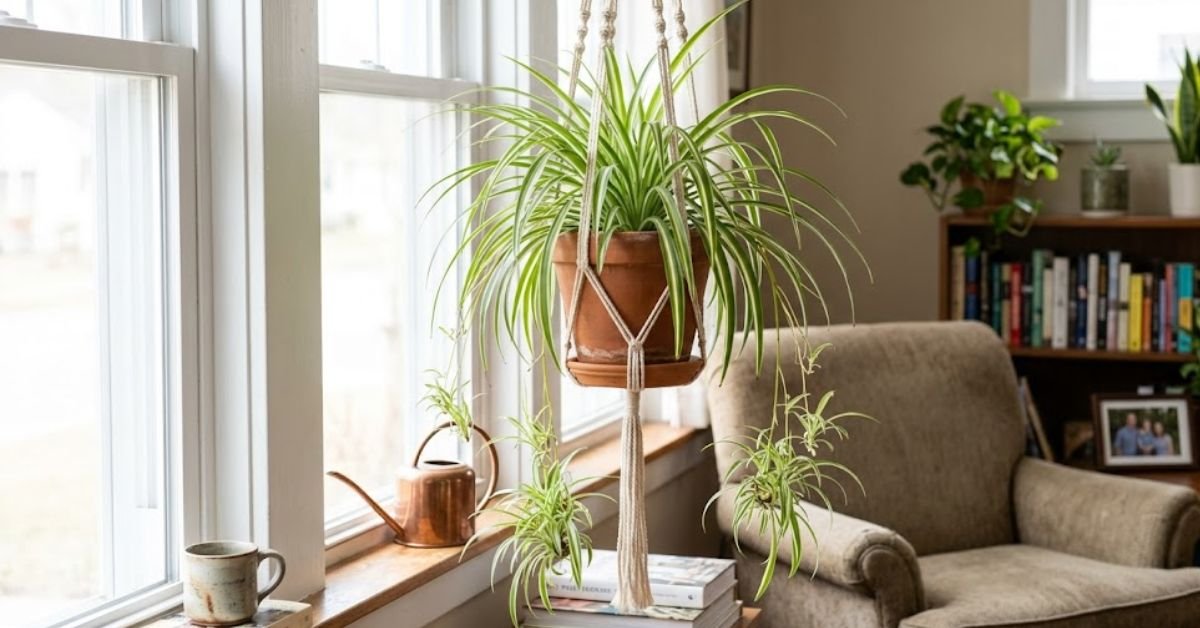
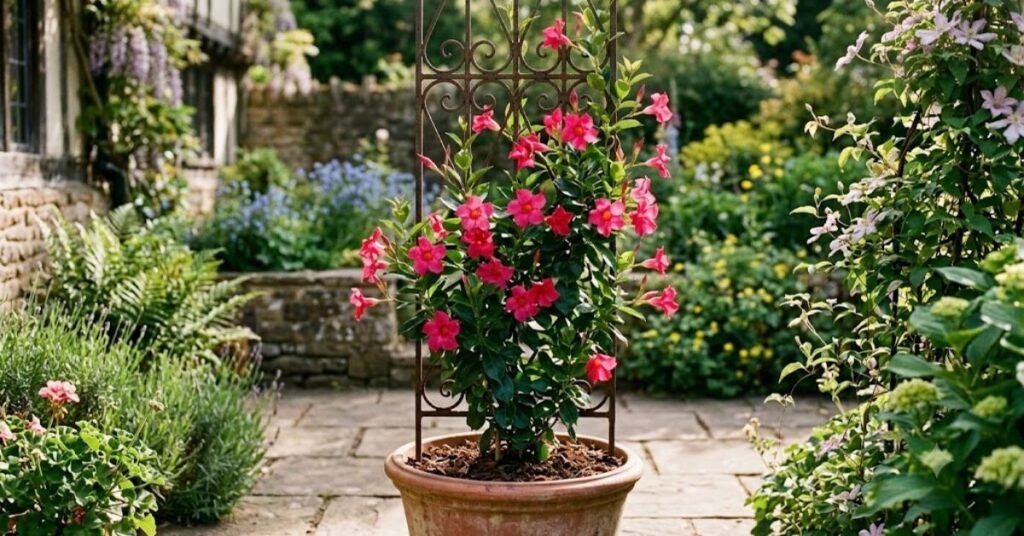
Every May, I find myself wandering the aisles of my local garden center, completely drawn to the tropical display. It never fails. The star of the show is always the mandevilla plant, sporting those massive, trumpet-shaped flowers that look like they belong on a Hawaiian postcard rather than a patio in the American Midwest.
A few years ago, I bought my first one, threw it on my deck, and assumed it would just take care of itself. It didn’t. Between our blasting summer air conditioning and a few bad watering habits, I almost killed it in a month. Since then, I’ve figured out exactly what makes this vine tick. Here is my completely honest, original guide to making sure your plant does not just survive, but absolutely explodes with color all summer long.
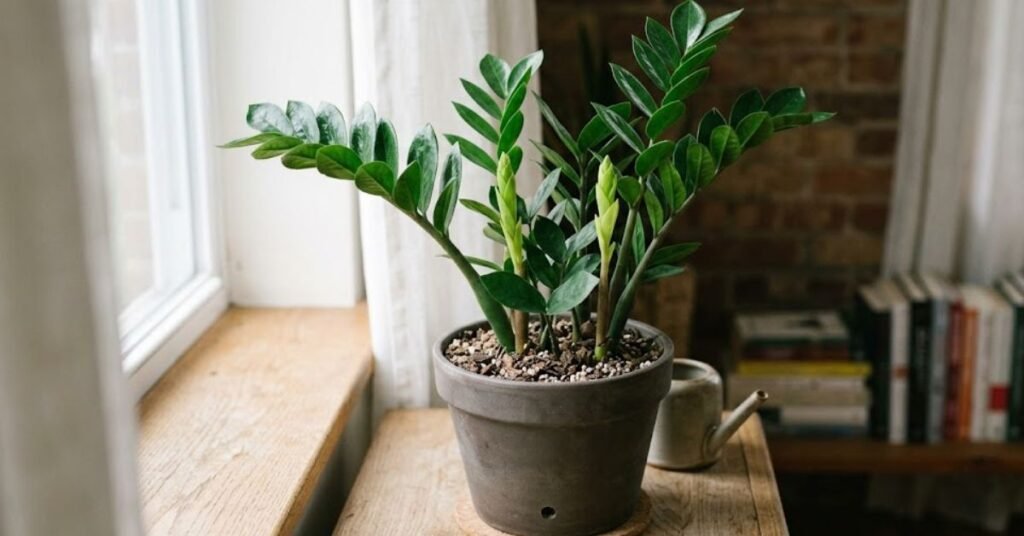
Finding the Perfect Spot for Your Mandevilla Plant to Bloom
These vines are sun worshippers, plain and simple. If you stick your mandevilla plant in a dark, shady corner of your porch, you’ll get plenty of green leaves but zero flowers. I learned this the hard way when I tried to shade my seating area with one.
For the absolute best results, find a spot that gets at least six hours of direct sunlight daily. Morning sun is ideal because it’s bright but not scorching. If you live down south where the July heat gets oppressive, a little bit of filtered shade in the late afternoon will keep the leaves from getting sunburned and crispy.
Personal Pro-Tip: If your vine looks healthy but refuses to produce buds, it is begging for more light. Move the container out into the open sun near a driveway or patio edge, and you’ll usually see new buds forming within a week or two.
How I Figure Out When to Water a Mandevilla Plant
Watering is where most people completely mess up. Because it’s a tropical species, it’s easy to assume the soil needs to stay muddy. It doesn’t. In fact, soggy soil is the fastest way to rot the root system.
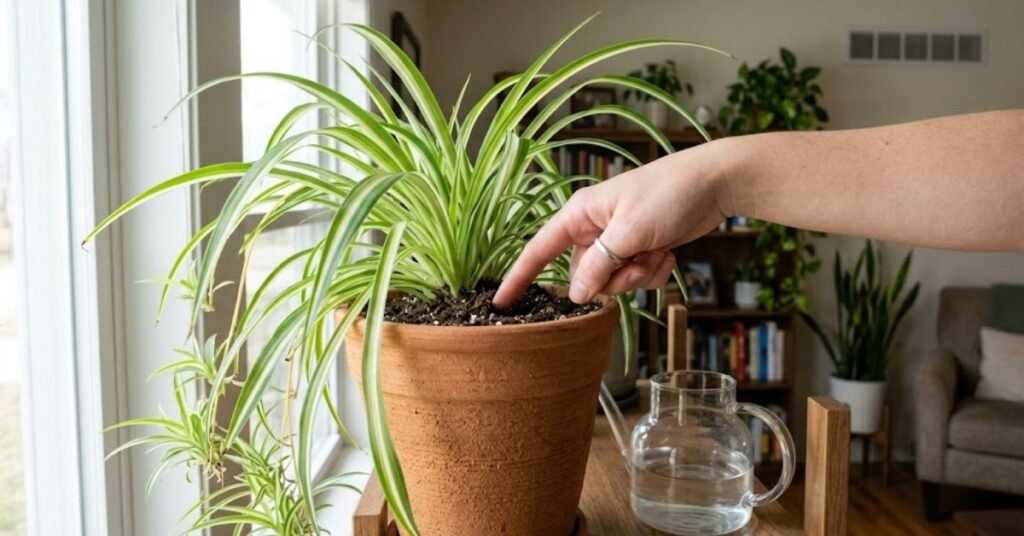
I use the finger test. Shove your index finger two inches deep into the container. If it feels dry and warm, it’s time to water. When you do water, don’t just give it a quick splash from a watering can. Take it to the outdoor faucet or use a hose to soak the potting soil completely until water pours out of the bottom drainage holes. Then, leave it alone until it dries out again.
Personal Pro-Tip: Get used to the weight of your plant pot. Pick it up right after a heavy watering to see how heavy it feels. A few days later, lift it again. When it feels incredibly light, you know the soil is dry all the way through and ready for a drink.
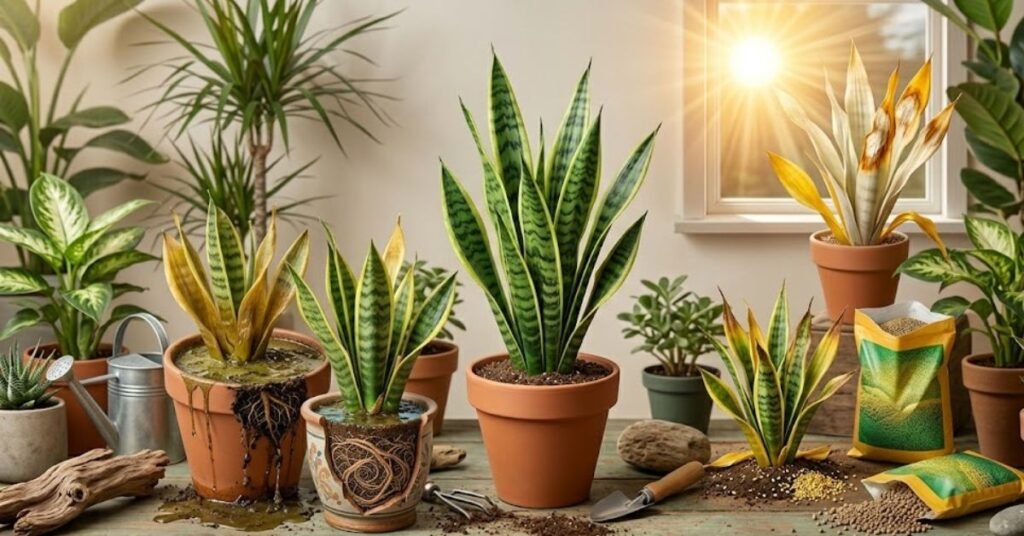
Mistakes Americans Make That Kill the Mandevilla Plant
We love our climate-controlled homes, but our plants usually hate them. If you are struggling with your vine, one of these common US household issues is likely the culprit:
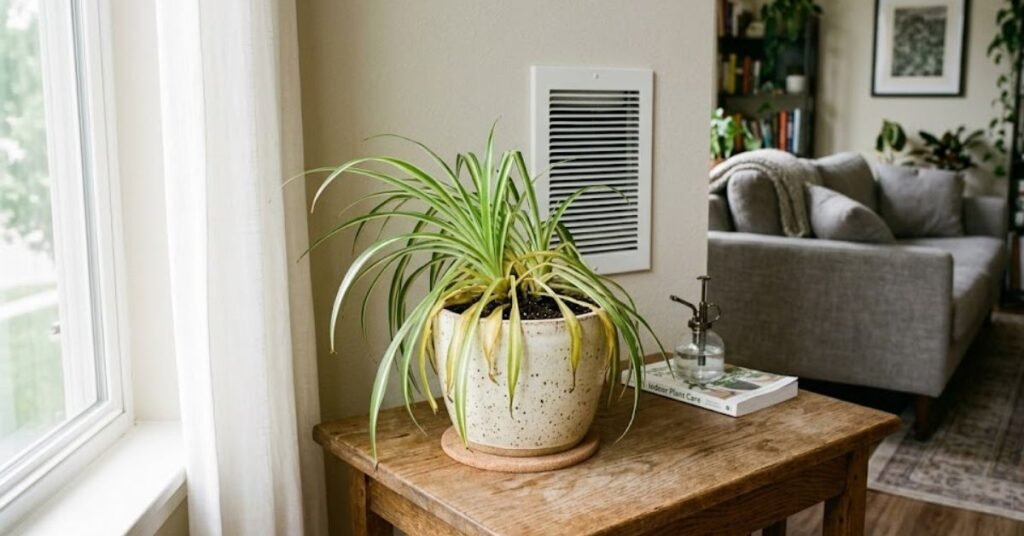
- The AC Vent Death Trap: When fall arrives and you bring your mandevilla plant indoors to save it from the frost, never place it near an air conditioning or heating vent. The continuous draft of dry air will cause the plant to drop its leaves in a matter of days.
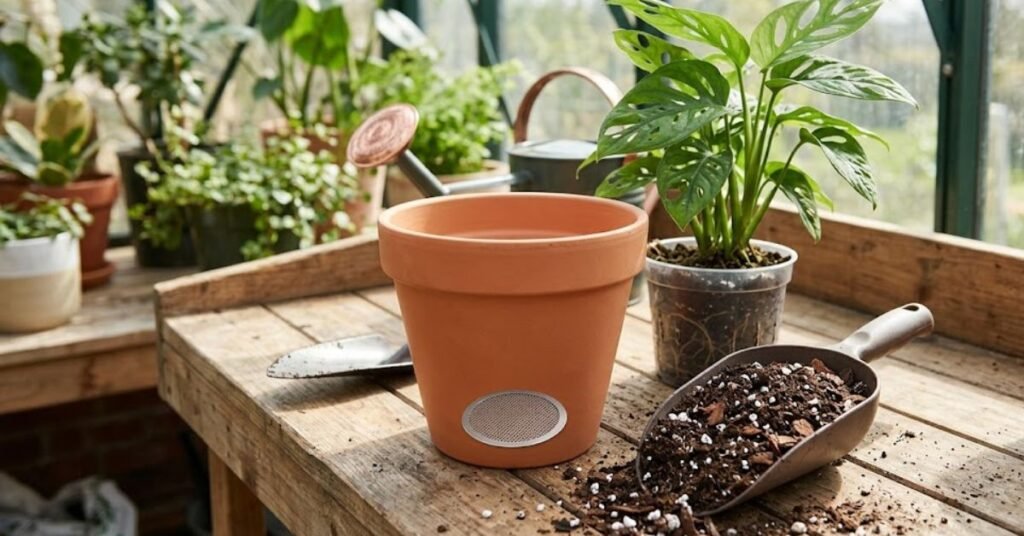
- Using the Wrong Dirt: Do not dig up soil from your backyard to fill your patio pots. Natural ground dirt is way too heavy, packs down like concrete, and smothers the roots. Always buy a lightweight, peat-based potting soil designed for containers.
- Forgetting a Support Structure: These are natural climbers. They want to go up. If you don’t provide a trellis, a stake, or a tomato cage early in the spring, the vines will tangle around themselves and stunt their own growth.
Personal Pro-Tip: When wrapping up the summer season, I prune my vine back by about a third before bringing it inside for the winter. It makes the plant much easier to manage indoors and reduces the total leaf-drop mess in your living room.
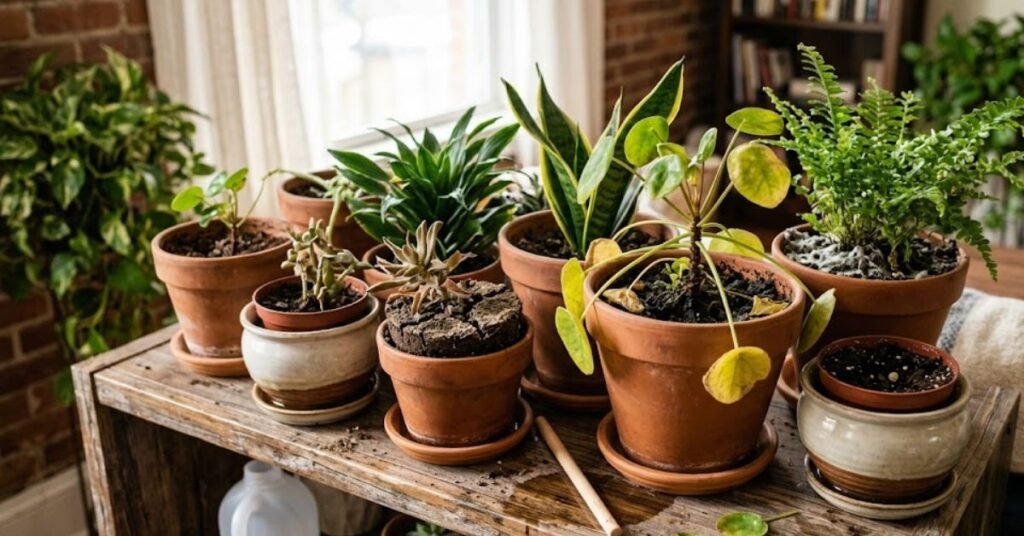
Troubleshooting Common Mandevilla Plant Problems

Plants can’t talk, but they definitely tell you when they are miserable. Here is how to decode their signals.
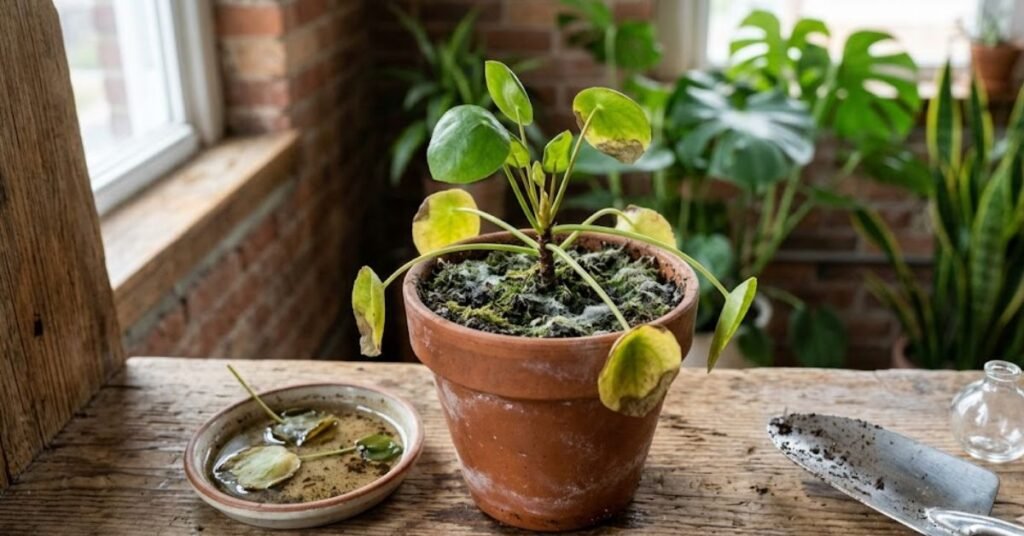
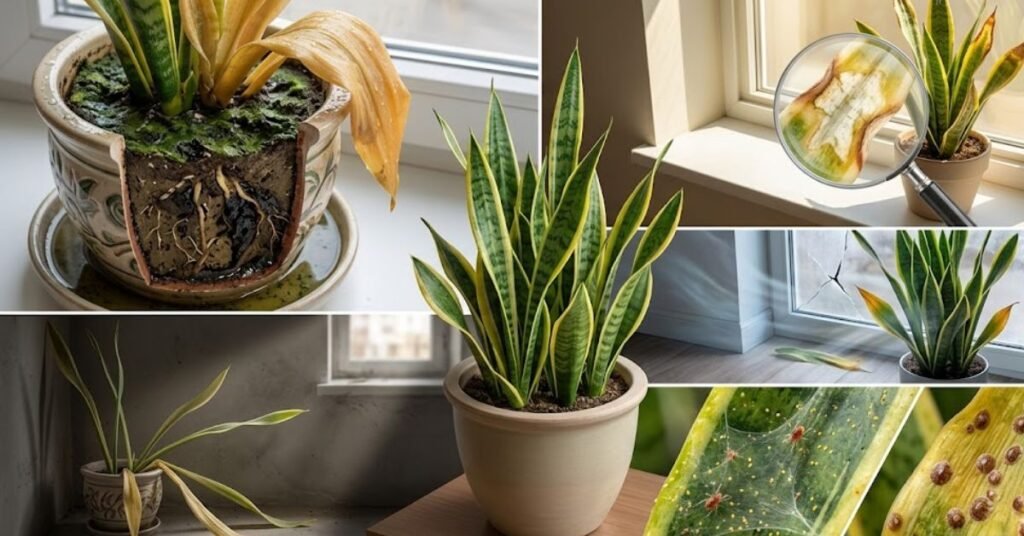
Yellow Leaves Dropping Everywhere
If you notice the lower leaves turning bright yellow and falling off, you are almost certainly overwatering. Check the drainage holes at the bottom of the pot. If they are blocked by a plastic saucer or debris, clear them out immediately. Let the soil dry out completely before you even think about grabbing the hose again.
Brown, Crispy Leaf Edges
This is usually caused by a lack of humidity or a direct sunburn from sudden exposure to intense heat. If you just moved your plant from a shady nursery greenhouse directly into 90-degree direct sunlight, it’s in shock. Introduce it to the sun gradually over a few days.
Personal Pro-Tip: Keep an eye out for spider mites. These tiny, annoying pests love dry, indoor air in the winter. If you see faint webbing on the undersides of the leaves, take the plant to the shower or use a faucet sprayer to blast them off with warm water.
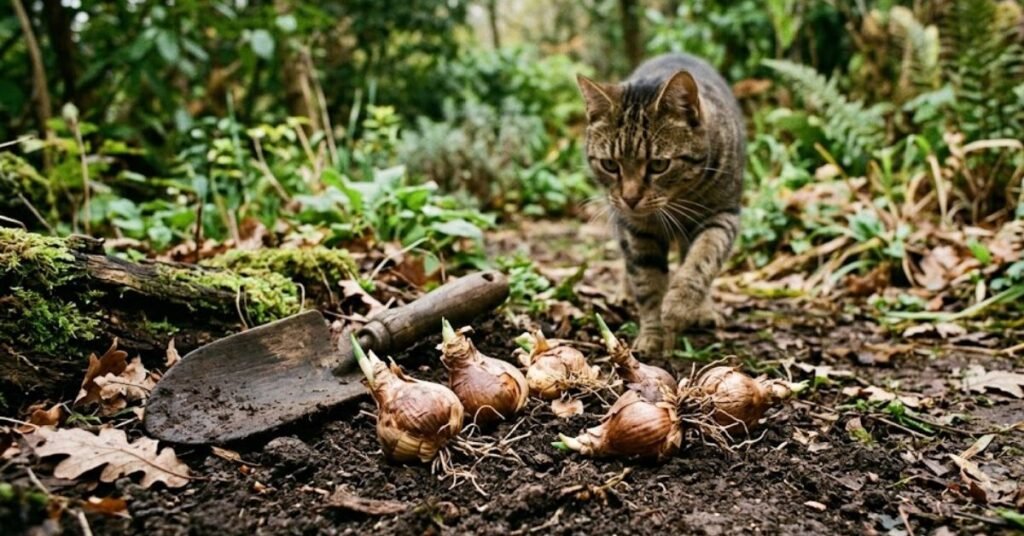
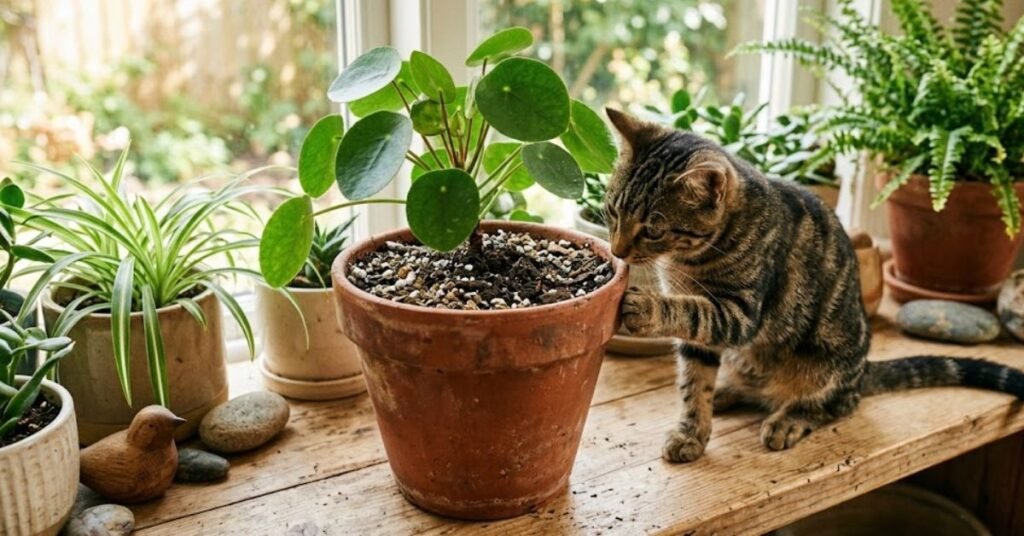
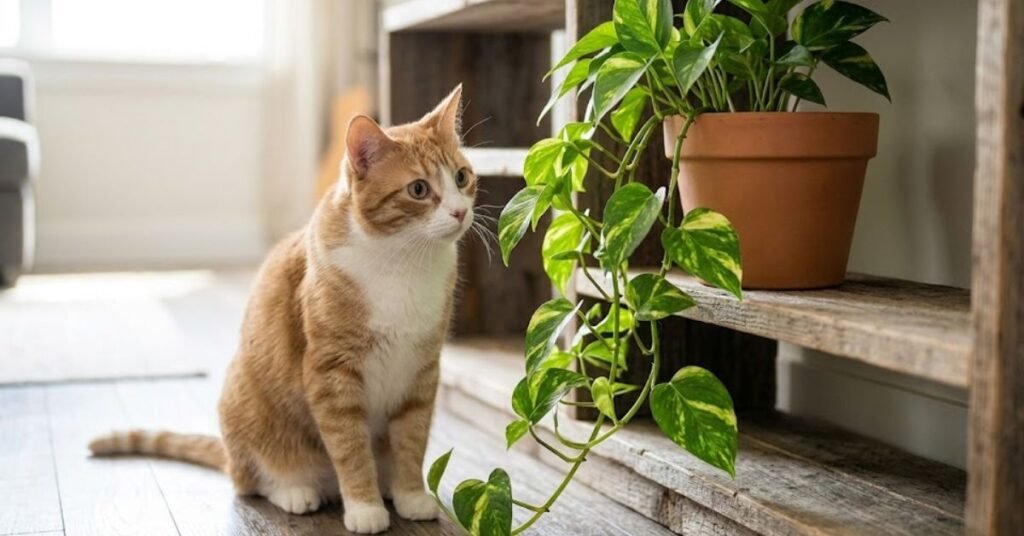
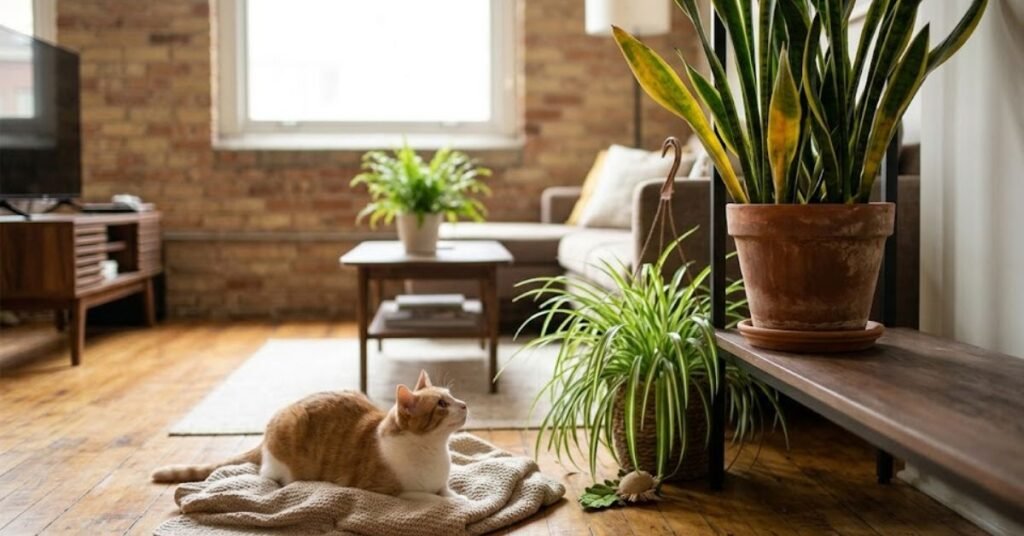
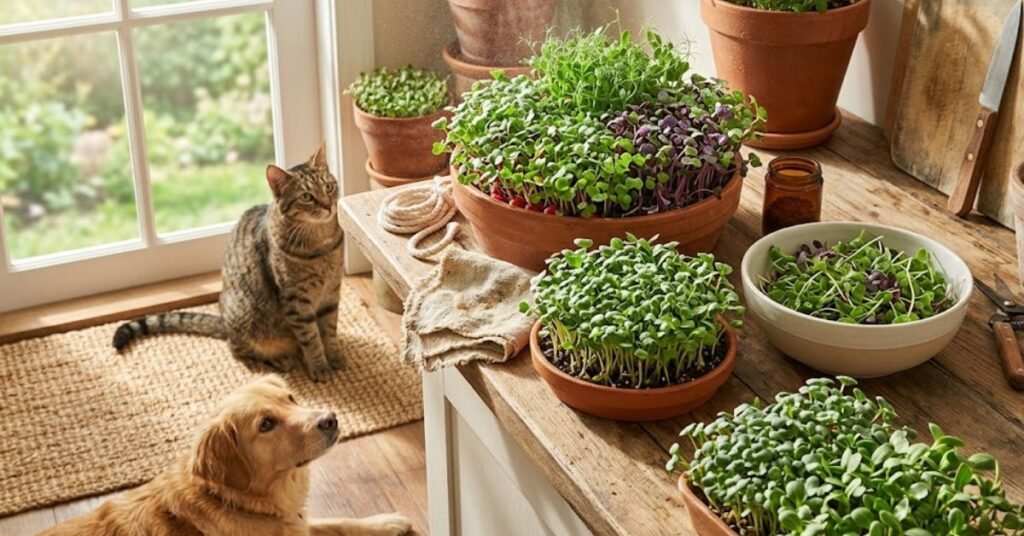
Is the Mandevilla Plant Safe Around Your Cats and Dogs?
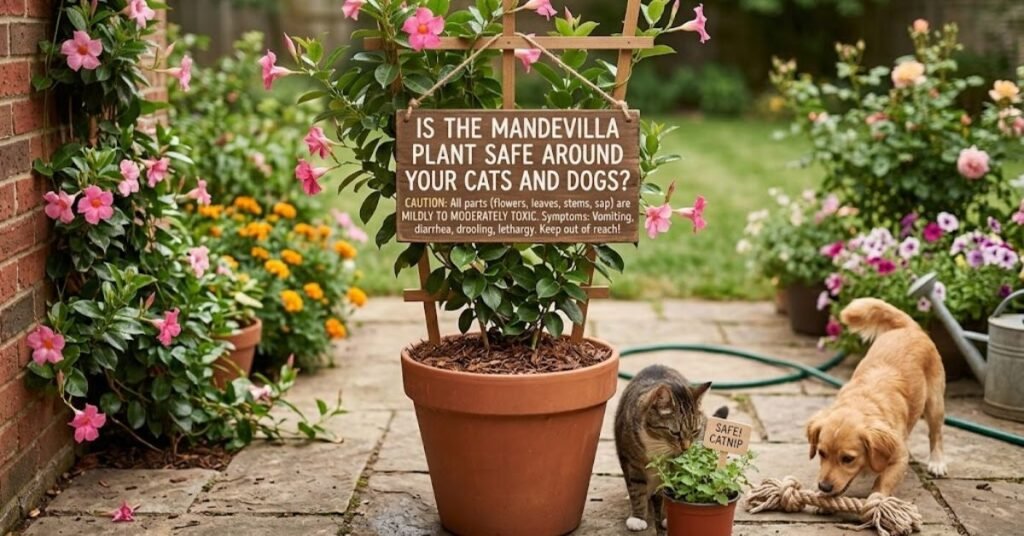
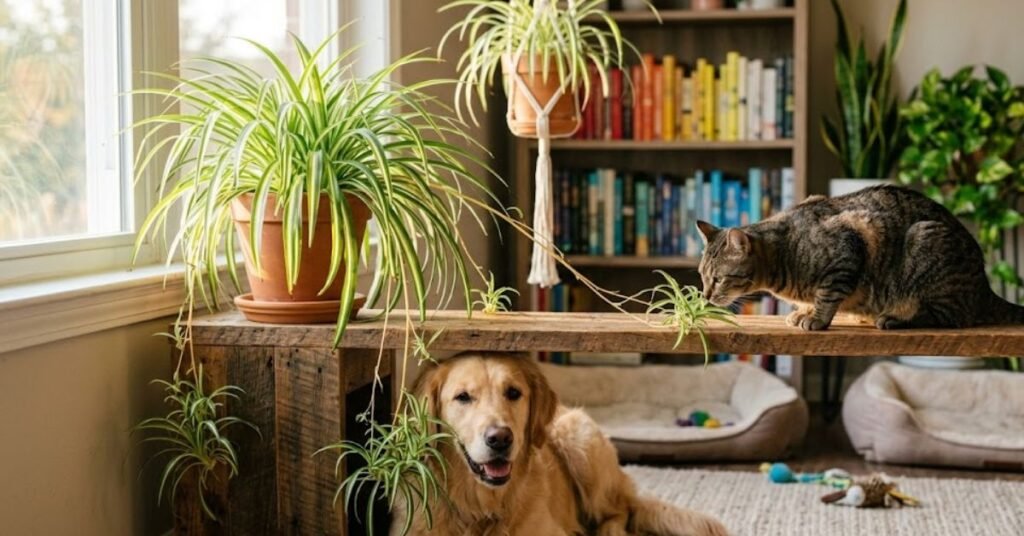
If you have curious pets, you need to be careful. The mandevilla plant is classified as toxic to dogs, cats, and horses.
The danger lies in the milky white sap inside the stems and leaves. If a pet chews on the vine, this sap can cause intense mouth irritation, excessive drooling, nausea, and vomiting. It’s not typically fatal in small amounts, but it will definitely make your furry friend incredibly miserable.
Personal Pro-Tip: I keep all of my vining plants on high, heavy-duty plant stands that my dog can’t knock over. Also, always wear a pair of gardening gloves when you prune these vines, as the sap can cause an itchy skin rash on humans too.
FAQs About the Mandevilla Plant
Q1: Can this plant stay outside during a freeze? No. If you live anywhere outside of USDA Zones 9-11, a single night of freezing temperatures will kill the plant. You need to bring it inside before the nighttime temperatures consistently drop below 50 degrees Fahrenheit in the fall.
Q2: How fast do these vines actually grow? In the heat of the summer, they grow incredibly fast. A healthy vine can easily climb 6 to 8 feet in a single season if it gets plenty of sun and regular watering.
Q3: Do I need to remove the dead flowers? The flowers usually drop off on their own once they fade. However, pinching off the spent blooms manually keeps the plant looking clean and encourages it to spend its energy producing brand-new flowers instead of trying to make seeds.
Q4: Why is my plant growing long green vines but no flowers? This is almost always due to a lack of sunlight or too much nitrogen fertilizer. Nitrogen makes plants grow tons of lush green leaves, but it stops flower production. Switch to a fertilizer that is higher in phosphorus to kickstart the blooms.
Q5: What is the difference between a Mandevilla and a Dipladenia? They are closely related cousins, and big box stores often mislabel them. Mandevillas are aggressive climbers with larger, rougher leaves. Dipladenias are more compact, bush-like, and have smaller, leathery leaves that don’t climb as high.
Q6: Can I keep it as a houseplant all year? You can, but it is tough to get flowers indoors. Our homes simply don’t have enough light. Unless you have a blazing hot south-facing window or a high-powered LED grow light, it will likely stay completely green until you put it back outside in the spring.
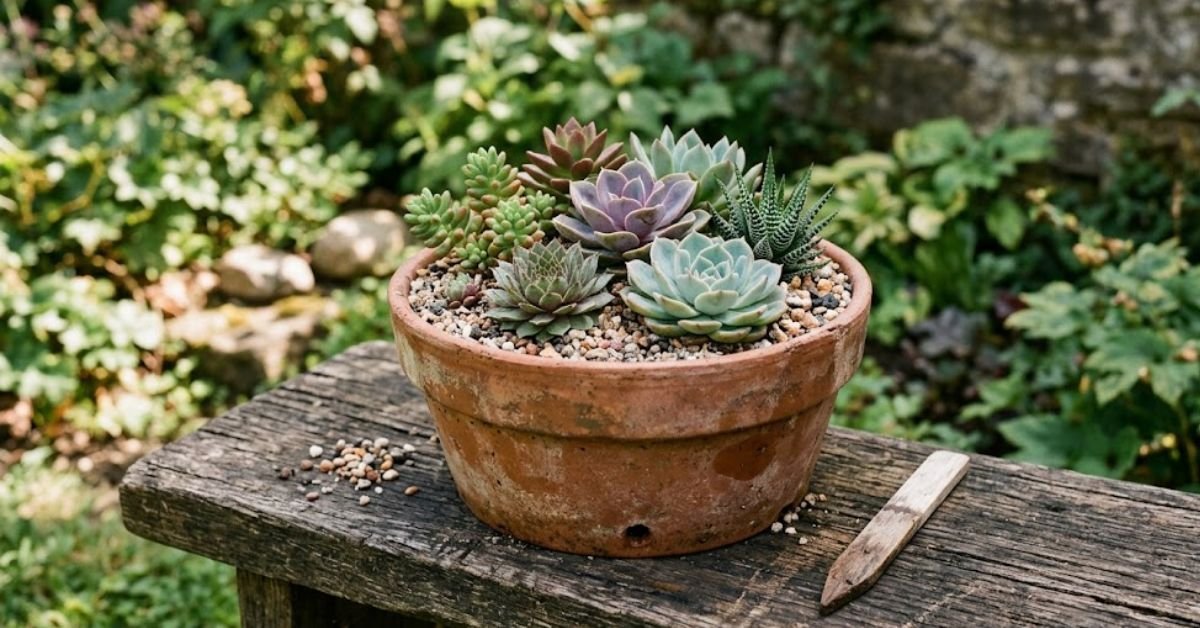
Q7: What type of container works best? Always choose a pot with excellent drainage holes. Terra cotta or unglazed ceramic pots are fantastic because they let the soil breathe, which prevents the roots from sitting in stagnant water.
Final Thoughts
At the end of the day, you don’t need a degree in botany to keep a mandevilla plant happy. Just give it a sturdy trellis to climb, keep it out of soggy soil, and let it soak up as much morning sunshine as possible. Once you get the watering routine down, it is one of the most rewarding, high-impact plants you can add to your outdoor space.

Amin Khalid is a professional horticulturist and the founder of LeafyWisdom. With a deep passion for home gardening and horticultural research, he specializes in providing practical, easy-to-follow care guides for indoor plants. Amin’s goal is to simplify gardening for everyone and help fellow plant lovers build their own thriving green spaces.