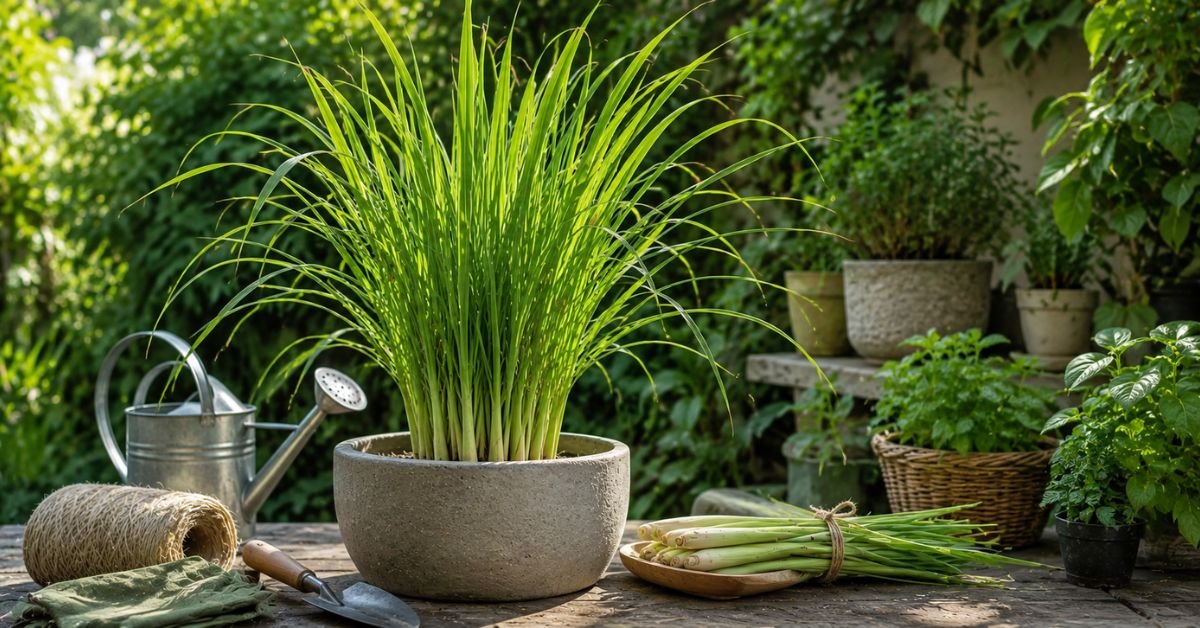
In my 15 years of digging around in garden beds and nursing potted herbs on back porches, few plants earn their keep quite like lemongrass (Cymbopogon citratus). It gives you that brilliant, sharp citrus smell every time you brush past it, repels pests, and supplies your kitchen with fresh stalks for teas and curries all season long.
People think tropical herbs are fussy. Honestly, this one isn’t provided you don’t make a few classic mistakes with your setup. Below is everything I’ve learned about practical lemon grass plant care, whether you’re planting in ground down in Florida or trying to keep a container alive through an Ohio winter.
Quick Reference for Lemon Grass Plant Care
- Light: 6–8+ hours of direct sun daily (a south-facing porch or garden bed is best)
- Watering: Deep, consistent moisture; water when the top inch of soil feels dry
- Soil: Rich, organic, well-draining soil (use premium container potting soil with perlite)
- Temperature: 65°F to 95°F (18°C to 35°C); protect from temperatures below 45°F
- USDA Zones: Perennial in Zones 9–11; grown as an annual or potted plant in Zones 3–8
- Fertilizer: High-nitrogen liquid feed every 2–4 weeks during Spring and Summer
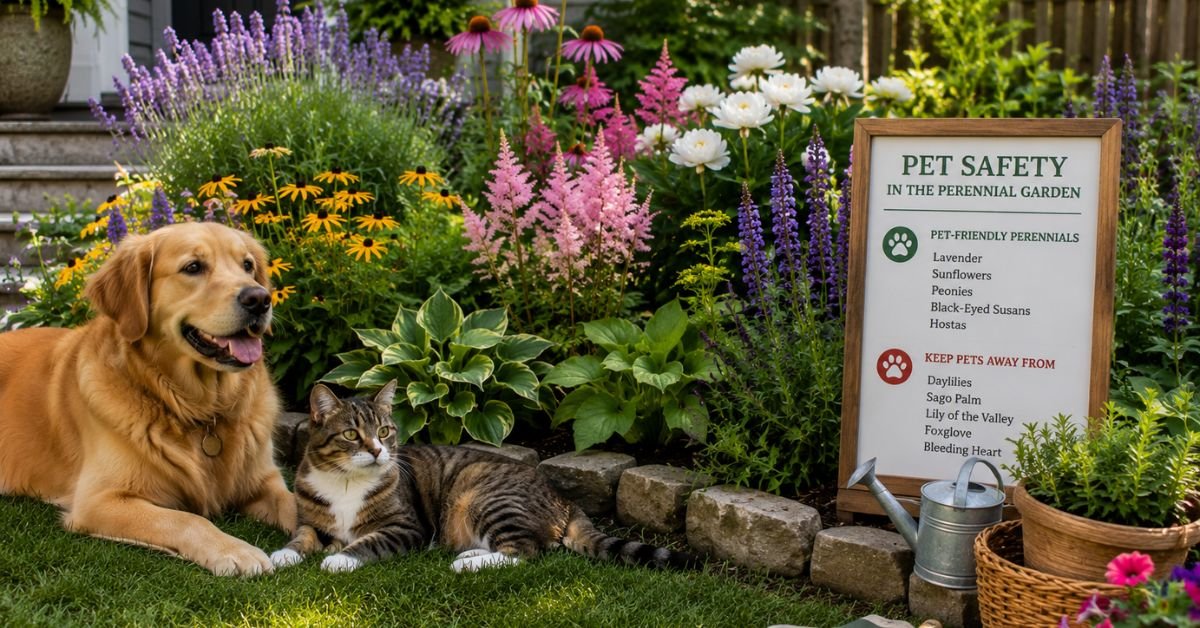
- Toxicity: Mildly toxic to cats and dogs (contains essential oils that cause upset stomachs)
Understanding Outdoor & Indoor Environments for Your Lemon Grass Plant
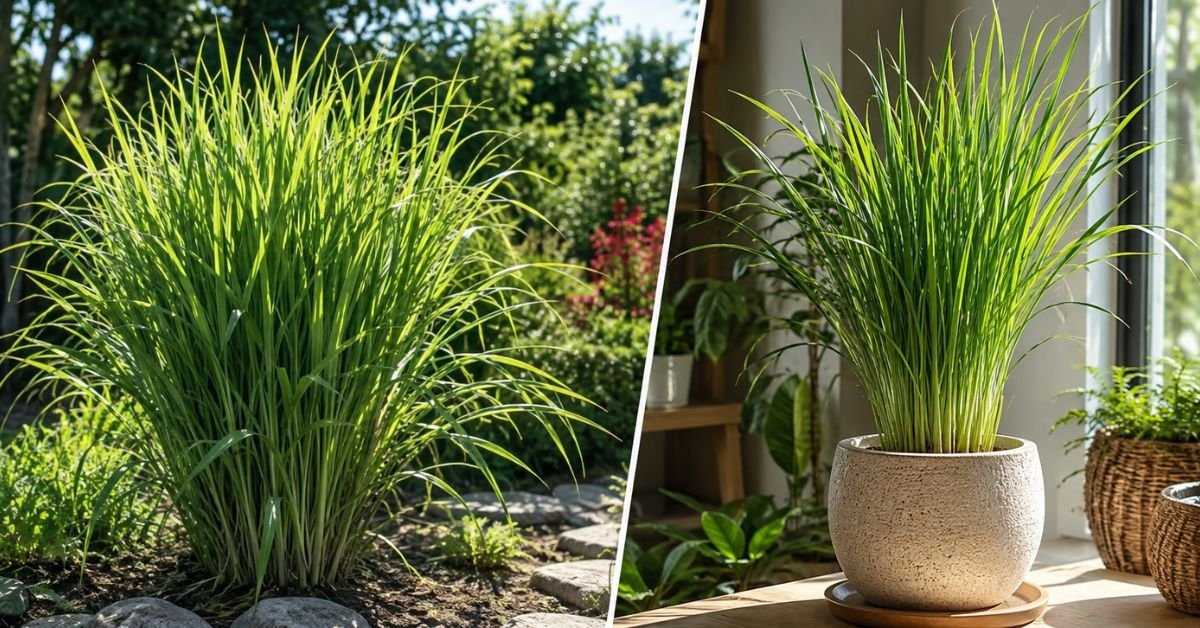
Getting your environment right solves 80% of your problems before they start. Lemongrass comes from tropical Asia, which means it likes heat, humidity, and unbroken sunlight.
Hardiness Zones and Sunlight Needs
If you live in USDA Hardiness Zones 9 through 11 (think South Florida, Southern California, or parts of the Gulf Coast), you can pop your plant straight into your yard’s soil. It will grow as a perennial, forming massive, lush clumps up to 5 feet tall.
For the rest of us in Zones 3 through 8, freezing winter temps will kill the roots overnight. That doesn’t mean you can’t grow it. It just means you need to use containers so you can haul the plant inside before the first autumn frost hits.
When it comes to sunlight, don’t skimp. This plant wants direct, blazing sun. Put it in the sunniest spot on your deck or backyard. If you’re growing it indoors near a window, a south-facing spot is non-negotiable. If your home gets weak natural light during late Fall, set up a simple grow light set to 12 hours a day.
Personal Pro-Tip: When moving your potted lemongrass outdoors in the Spring, don’t jump straight from your living room to full noon sun. You will scorch the leaves. Give it 3 or 4 days in partial shade on the porch to acclimate first.
Essential Lemon Grass Plant Care: Water, Soil, and Fertilizer
Grass plants are heavy feeders and heavy drinkers. You can’t treat lemongrass like a snake plant or a cactus it will shrivel up fast if you neglect the watering can.
How Often to Water Your Lemongrass Plant
Outdoors in the heat of July, your lemon grass plant will drink water like crazy.
Check the soil every morning. If the top inch is dry, soak the pot deeply until water runs freely out of the bottom drainage holes. Never let the pot sit in a standing saucer full of water for days, but don’t let the potting soil dry out into a dusty brick either. Hook your hose up to the outdoor faucet and give it a good, long soak right at the base of the stalks early in the morning.
Best Potting Soil Mix for Containers
If you’re planting in garden beds, mix a generous couple of inches of aged compost into your native soil.
For containers, never use heavy topsoil from the yard. It gets compacted, suffocates the roots, and turns into mud. Instead, buy a high-quality loose potting soil enriched with organic matter and perlite. The goal is a mix that holds moisture without getting soggy.
Feeding Your Plant for Maximum Growth
Since we grow lemongrass for its green blades and thick stalks, it needs plenty of nitrogen.
Starting in late Spring, feed your plant every two to three weeks with a balanced, water-soluble plant food or fish emulsion. Once September rolls around and growth slows down, stop fertilizing completely for the season.
Personal Pro-Tip: I like to top-dress my potted lemongrass with a half-inch layer of worm castings right around May. It acts as a slow-release feed that keeps the foliage dark green without burning the roots.
Common Mistakes People Make with Lemongrass Plant Care
I’ve made plenty of mistakes with this plant over the years. Here are the three main ways home gardeners accidentally kill their lemongrass:
- Placing pots near indoor AC vents: Summer heat means indoor central air is blasting. If you keep a potted lemongrass inside near an air conditioning vent, the dry draft will sap moisture out of the leaves faster than the roots can pull it up from the soil. Keep it clear of cold drafts!
- Using a pot that is way too small: Lemongrass root systems grow fast and thick. If you put a healthy starter plant in a tiny 6-inch pot, it will become root-bound in a month and dry out twice a day. Use a heavy pot that is at least 12 to 14 inches wide with solid drainage.
- Leaving it outside during early cold snaps: A sudden dip down into the 30s will turn your crisp green stalks into brown mush. Keep an eye on your local weather forecast when Fall arrives.
Personal Pro-Tip: Choose a heavy ceramic or terracotta pot rather than a thin plastic one. Lemongrass grows top-heavy by August, and strong afternoon wind gusts on your deck will easily knock lightweight plastic pots over.
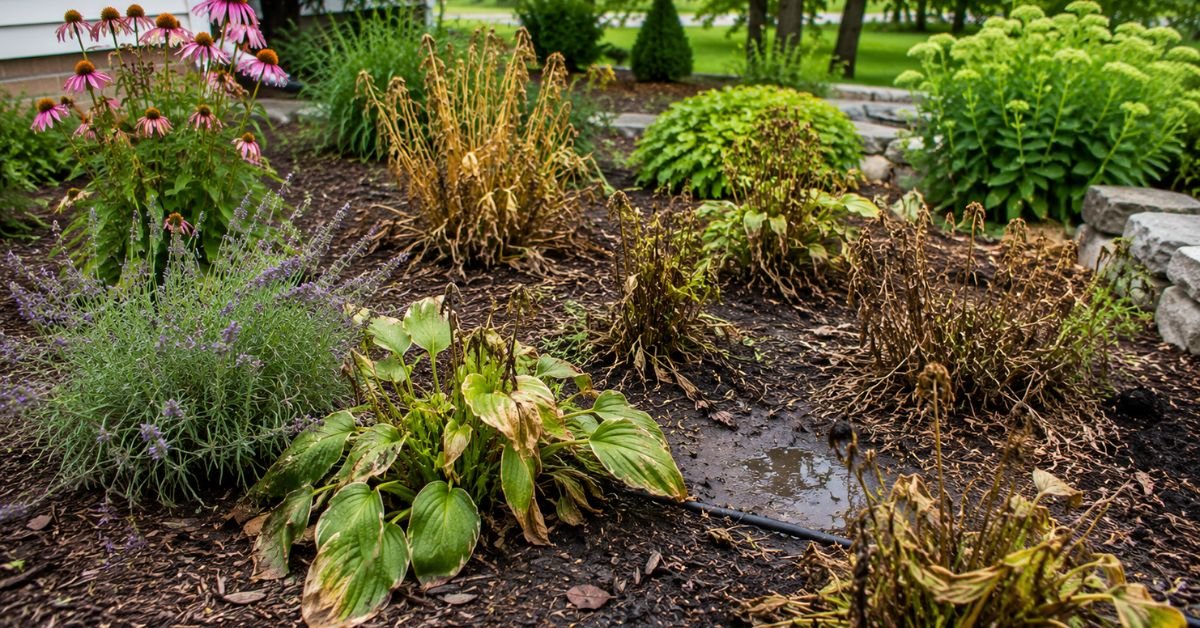
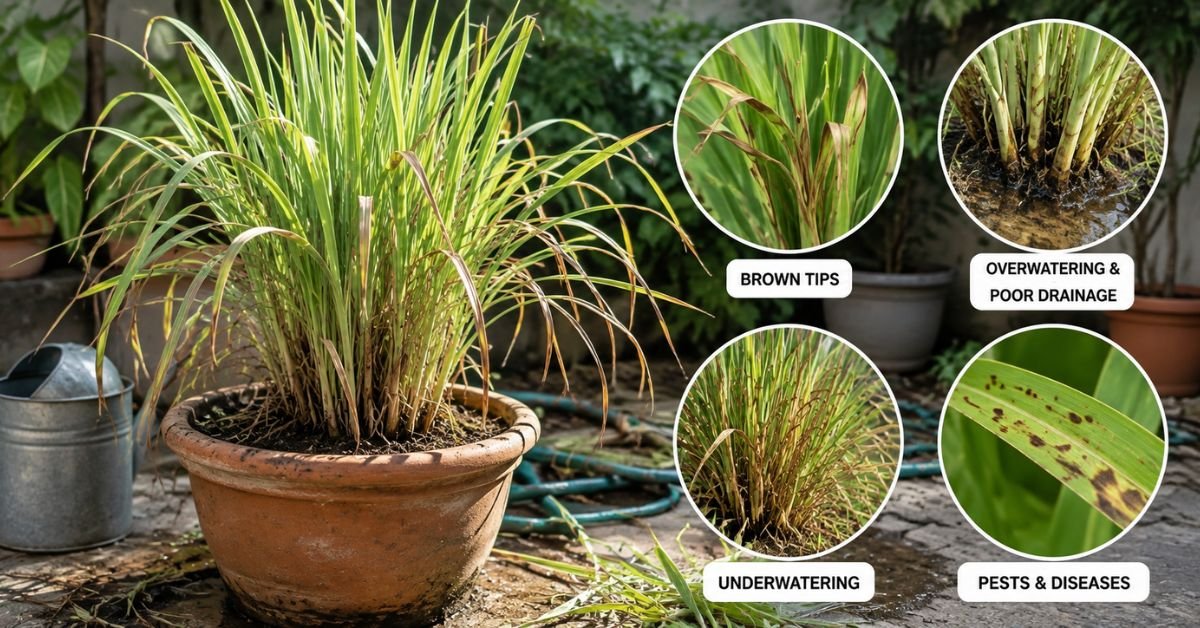
Troubleshooting Your Lemon Grass Plant: Yellow Leaves & Brown Tips
Plants talk to us through their leaves. If your lemongrass looks sad, here is how to read the signs and fix them.
Problem 1: Crispy Brown Leaf Tips
- Cause: Low humidity or under-watering.
- Fix: Increase deep watering and move the plant away from cold AC vents or dry heating drafts.
Problem 2: Yellowing Lower Leaves
- Cause: Lack of nitrogen or root rot from soggy soil.
- Fix: If the soil is too wet, check the pot drainage holes and let the top inch dry slightly. If the soil moisture is fine, feed the plant with a nitrogen-rich liquid fertilizer.
Problem 3: Indoor Pests (Spider Mites)
- Cause: Dry indoor heat during winter.
- Fix: If you notice tiny webs between the stalks, wipe the leaves down with a damp cloth and spray the plant with neem oil or mild insecticidal soap.
Personal Pro-Tip: Sharp edge warning! Lemongrass leaves have microscopic serrated edges that cut skin just like a fresh sheet of printer paper. Wear sturdy gardening gloves when pruning, harvesting, or wiping down mature leaves.
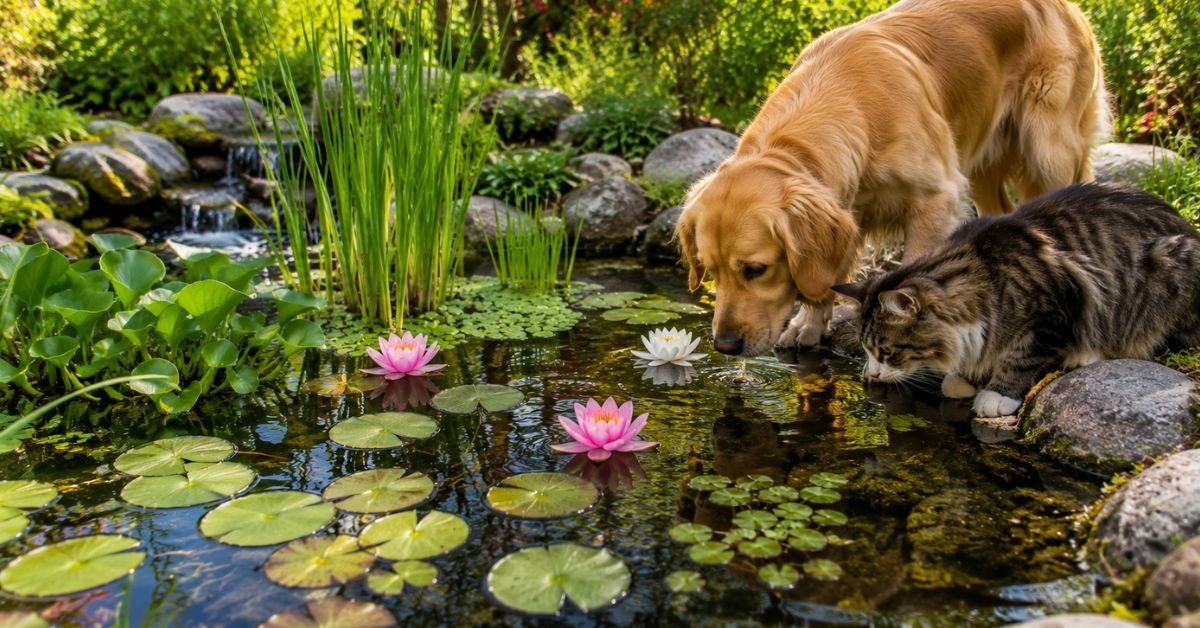
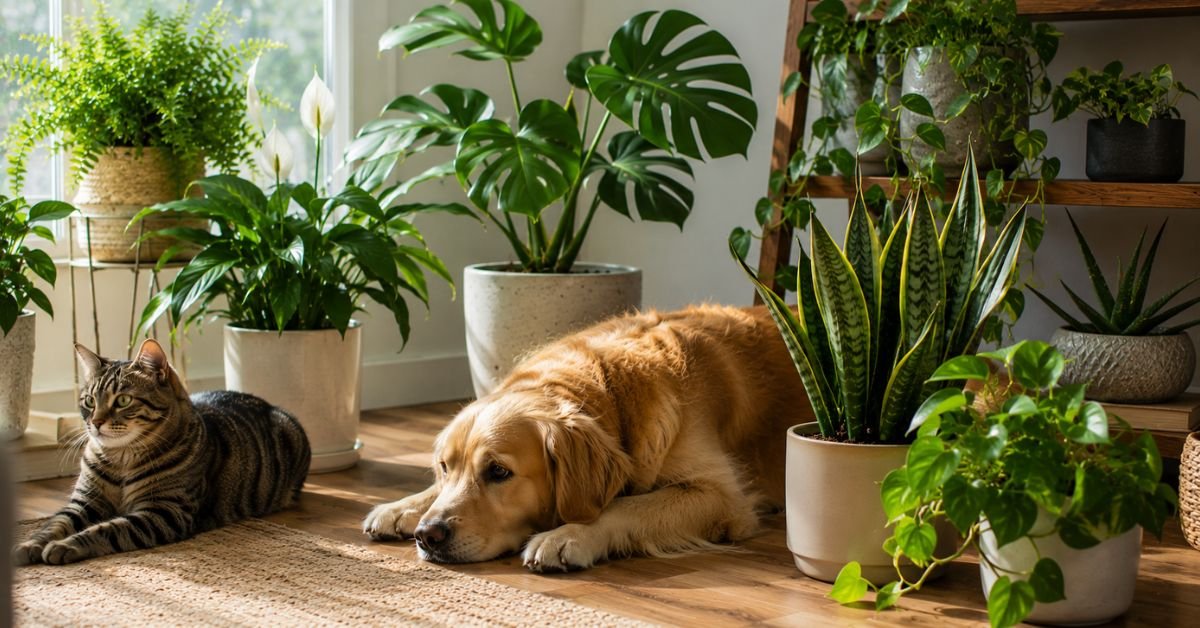
Toxicity Warning: Is a Lemon Grass Plant Safe for Pets?
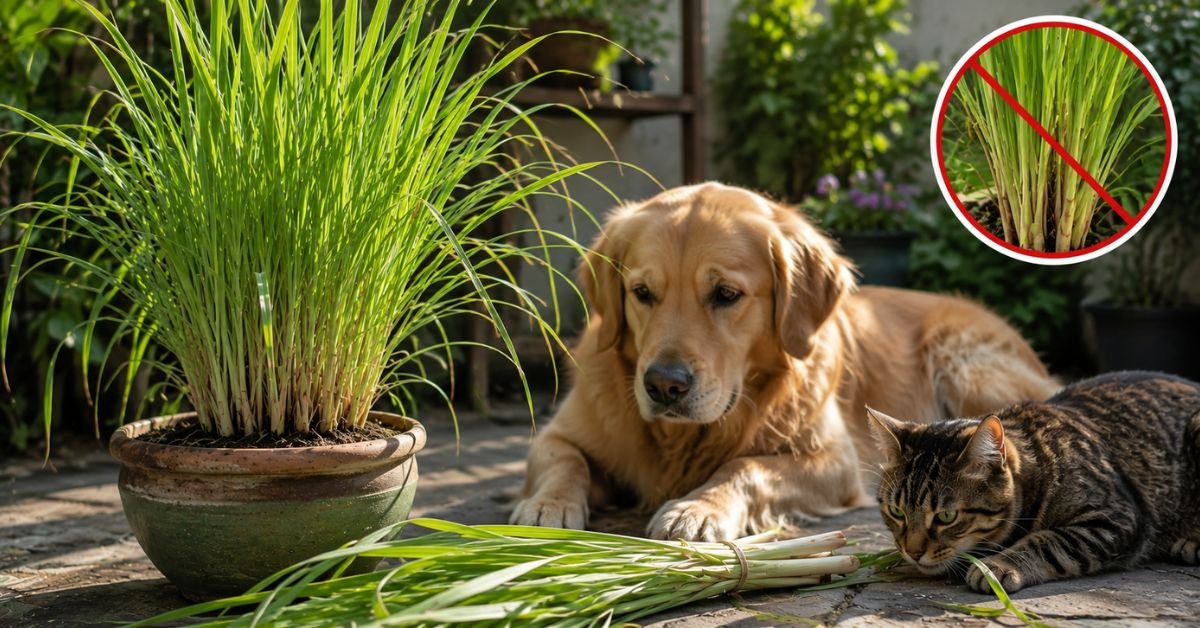
This is critical for dog and cat owners. Lemongrass is toxic to cats and dogs when ingested in large quantities.
The plant contains cyanogenic glycosides and essential oils. Cats are especially attracted to the long, green blades because they mimic normal lawn grass.
If your pet nibbles a tiny tip, they might just get a mild upset stomach. However, if a curious cat chews down a whole bunch of foliage, it can cause severe vomiting, diarrhea, abdominal pain, or even an intestinal blockage due to the tough, fibrous nature of the stalks.
Keep potted indoor plants elevated on plant stands out of reach of pets, or place outdoor containers in fenced patio spaces where your pets can’t graze on them.
Frequently Asked Questions About Lemon Grass Plant Care
Q1: Can I grow a lemon grass plant from grocery store stalks?
Yes! Buy fresh stalks from your local market that still have a solid stem base attached. Trim the leafy tops down to 6 inches, stand the stalks in a glass with two inches of fresh water from your kitchen faucet, and place it on a sunny windowsill. You’ll see white roots sprout within 10 to 14 days, after which you can plant them into potting soil.
Q2: How do I overwinter my lemon grass plant indoors during winter?
Before the first frost in Fall, cut the stalks back to about 6 inches tall. Dig up the root clump from your garden bed (or bring your container inside) and place it in a bright spot indoors. Water sparingly—just enough to keep the root ball from completely drying out—until Spring arrives.
Q3: Why is my potted lemon grass plant turning brown at the bottom?
Outer leaves naturally dry up and turn tan or papery as the plant matures and expands. Simply peel away those dried outer sheath layers at ground level to keep the plant neat and clean.
Q4: How often should I fertilize my lemongrass during the growing season?
Apply a balanced liquid fertilizer every 2 to 4 weeks from late Spring through mid-Summer. Stop feeding by late Summer so the plant naturally slows down growth before cold weather arrives.
Q5: Can a lemon grass plant survive a hard frost in Zone 7 or below?
No. Sustained freezing temperatures will freeze the root system solid, killing the plant. In Zone 7 and lower, treat it as an annual or overwinter it indoors.
Q6: Does keeping a lemon grass plant on my porch really repel mosquitoes?
While lemongrass contains citronella oil, simply sitting next to a potted plant won’t create an insect barrier. You have to crush the leaves between your hands to release the aromatic oils that naturally ward off pests.
Q7: How do I harvest lemongrass stalks without hurting the main plant?
Choose mature stalks that are at least a half-inch thick at the base. Use a sharp knife to slice the stalk right at the soil line, or give it a firm twist and pull outward from the base of the cluster.
Final Thoughts on Lemon Grass Plant Care
Proper lemon grass plant care comes down to three basic rules: give it loads of sunlight, keep the root zone moist, and protect it from freezing temperatures. Once you set up those conditions, this herb practically takes care of itself, rewarding you with fresh citrus scents and endless garden harvests all summer long.

Amin Khalid is a professional horticulturist and the founder of LeafyWisdom. With a deep passion for home gardening and horticultural research, he specializes in providing practical, easy-to-follow care guides for indoor plants. Amin’s goal is to simplify gardening for everyone and help fellow plant lovers build their own thriving green spaces.