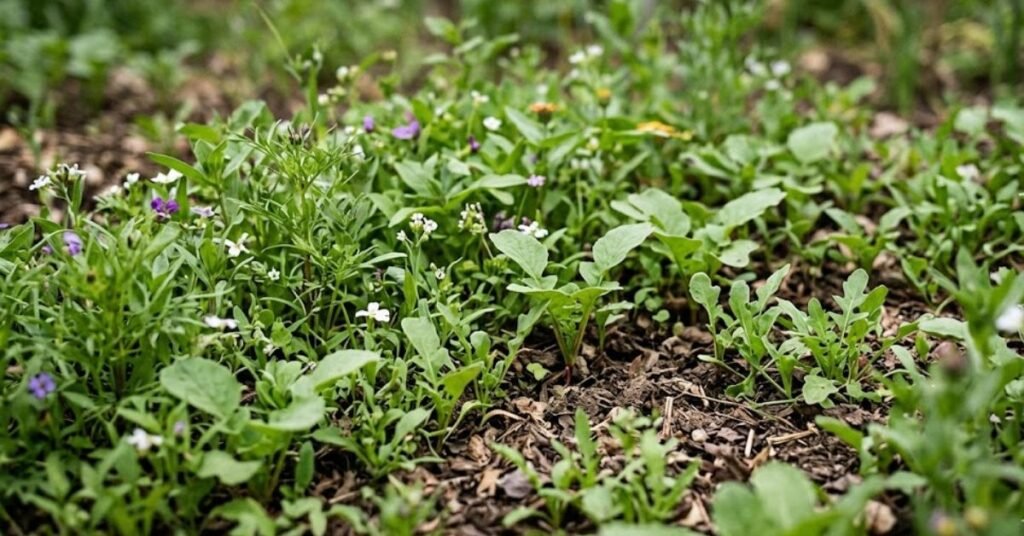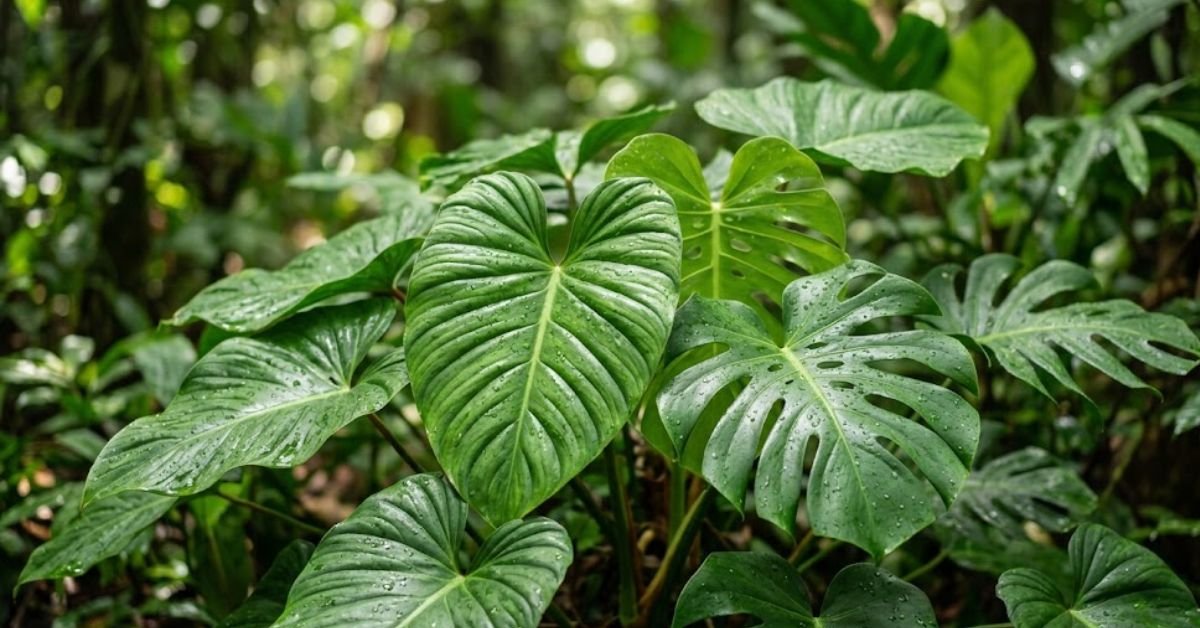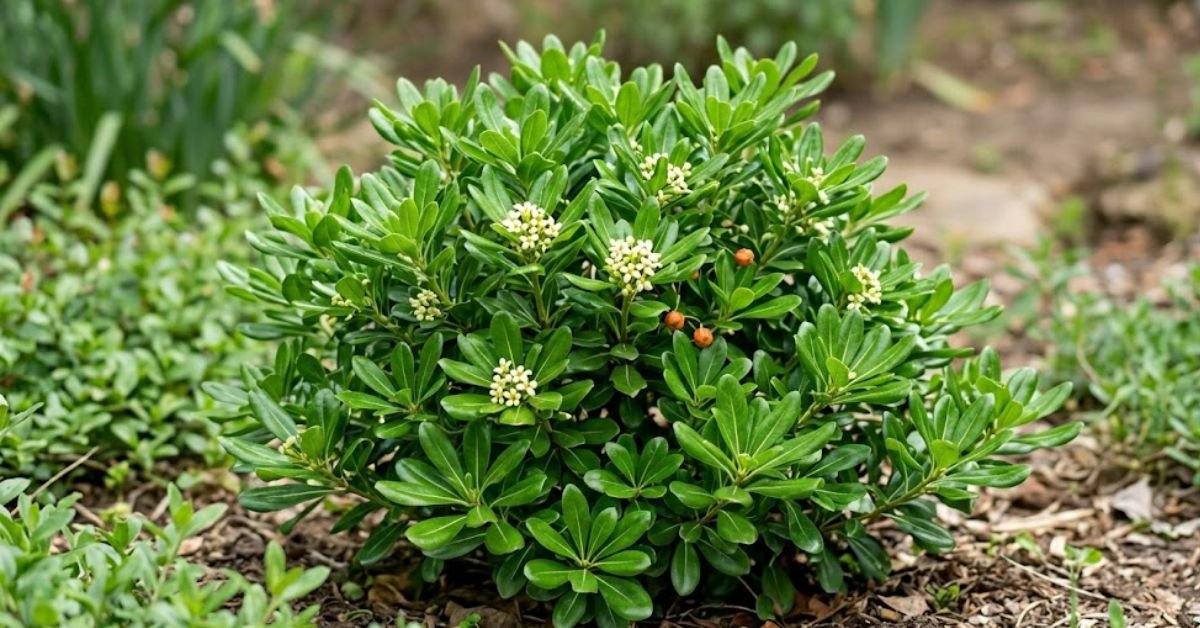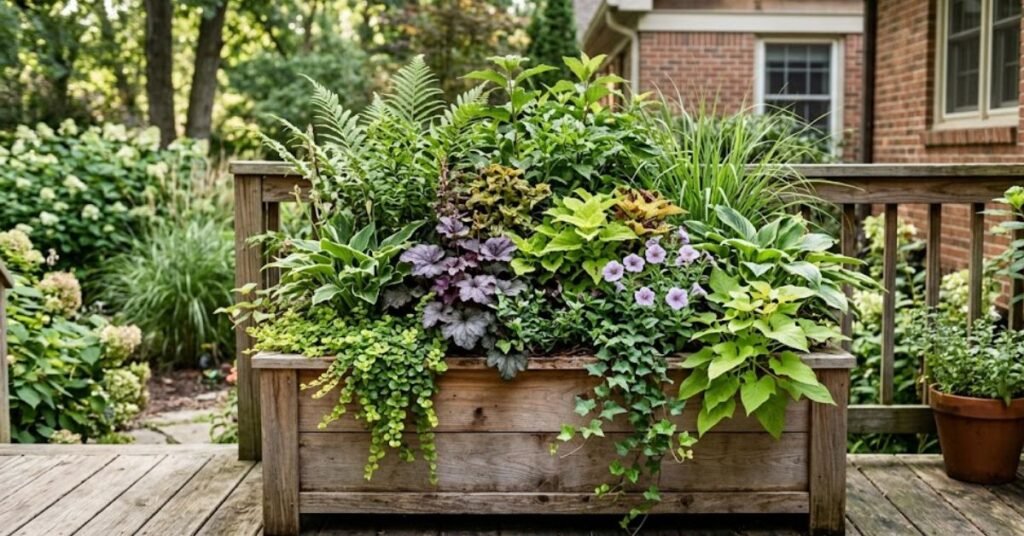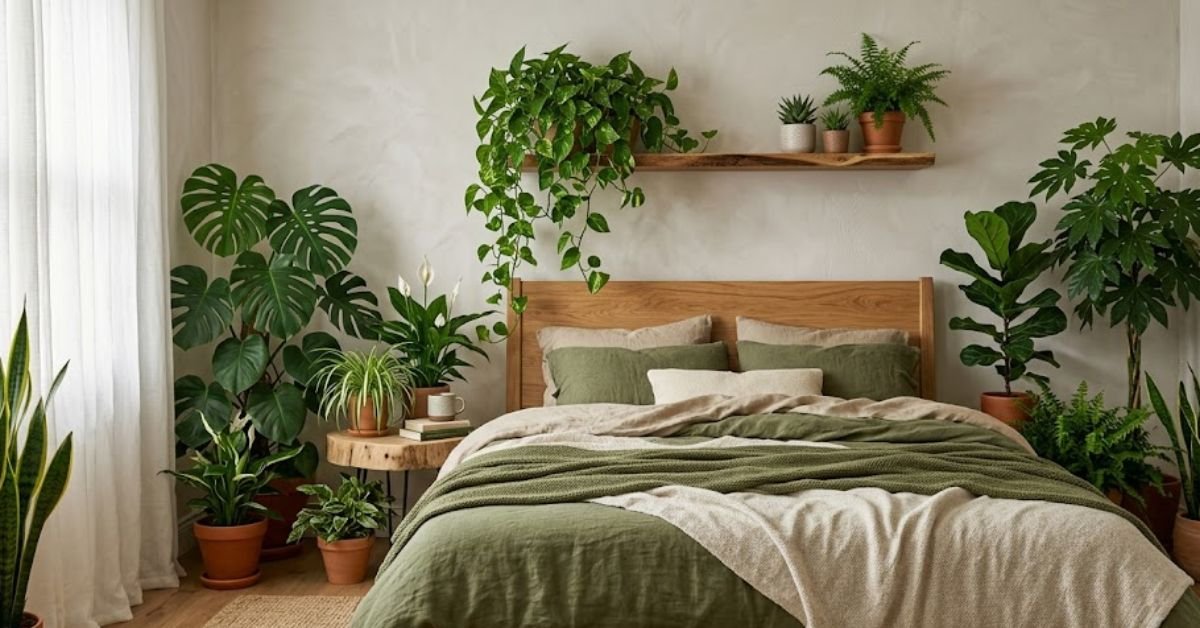
Look, we spend roughly a third of our lives staring at our bedroom ceilings, yet most of our sleep spaces feel more like sterile, dry drywall boxes than relaxing sanctuaries. Over my twenty years working as a horticulturist, I’ve seen how adding a few well-chosen pieces of greenery can completely transform a room from cold to deeply restorative. It’s not just about aesthetic decor; it’s about creating a living ecosystem that helps you breathe easier and unwind after a brutal day. Let’s cut through the generic internet fluff and look at how to choose the right biophilic bedroom design plants that will actually survive your home environment.
Quick Care Guide for Biophilic Bedroom Design Plants
| Plant Variety | Light Requirements | Watering Frequency | Pet Friendly? | Ideal Bedroom Placement |
| Snake Plant | Low to Bright Indirect | Every 3–4 weeks | No | Nightstand or empty corner |
| Golden Pothos | Moderate to Low Indirect | Every 1–2 weeks | No | Floating shelf or high dresser |
| Peace Lily | Low to Medium Indirect | Weekly (when leaves sag) | No | Corner away from direct rays |
| Spider Plant | Bright Indirect | Every 1–2 weeks | Yes | Hanging basket or windowsill |
Personal Pro-Tip: Don’t buy six plants all at once. Grab one. See how it handles your bedroom’s specific environment for a month before adding roommates.
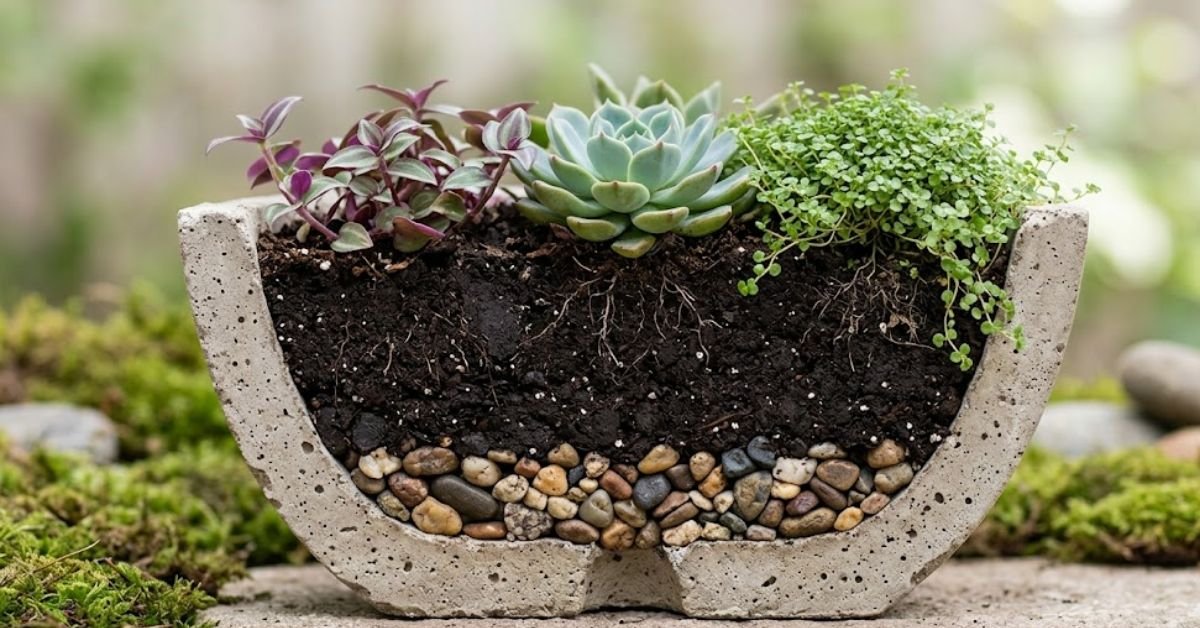
Best Choices for Biophilic Bedroom Design Plants
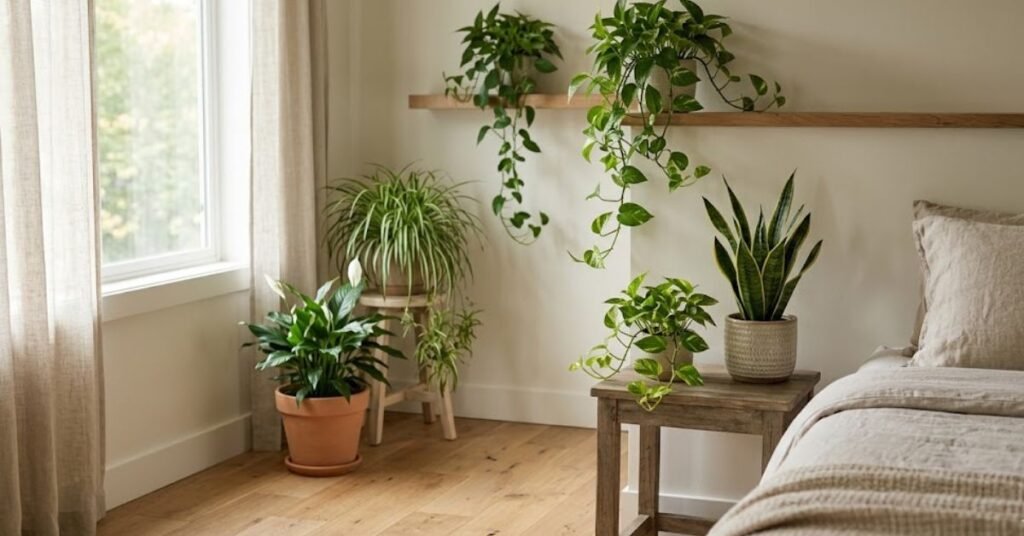
When you are picking out your biophilic bedroom design plants, matching the species to your actual lifestyle is everything. Bedrooms present a unique challenge because we tend to keep them darker and cooler than our living rooms.
Let’s look at the absolute best candidates for your sleep space.
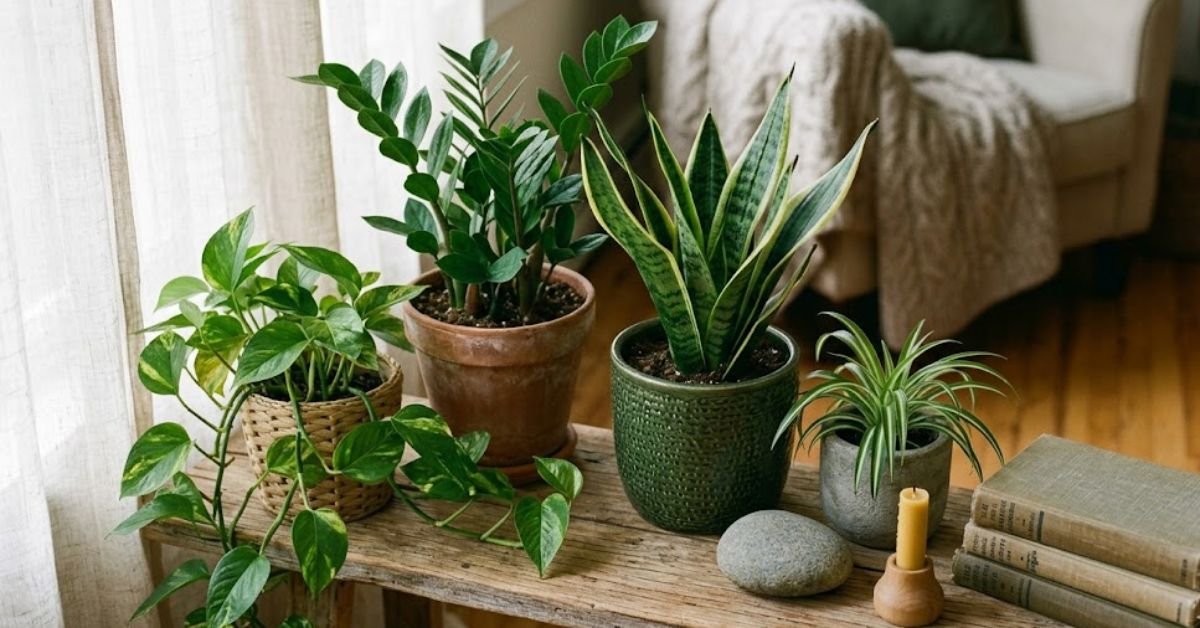
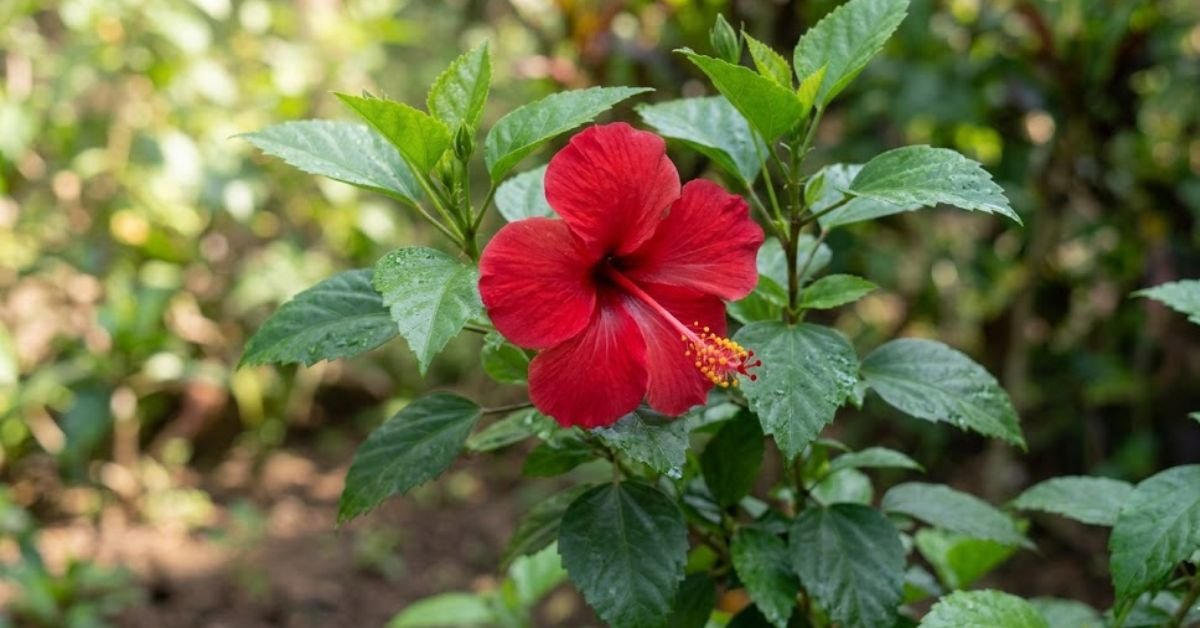
The Indestructible Snake Plant (Sansevieria)
This is my top recommendation for beginners. It looks like architectural art. Unlike most plants that release carbon dioxide when the sun goes down, the Snake Plant keeps pumping out clean oxygen all through the night. I love keeping one right on my bedside table. It handles neglect like a champ.
Personal Pro-Tip: If you live in warmer regions like USDA Hardiness Zones 8 through 10, you can actually give your bedroom Snake Plant a massive growth spurt by letting it sit outside on a shaded porch during the humid summer months. Just bring it back inside before the cool Fall air hits.
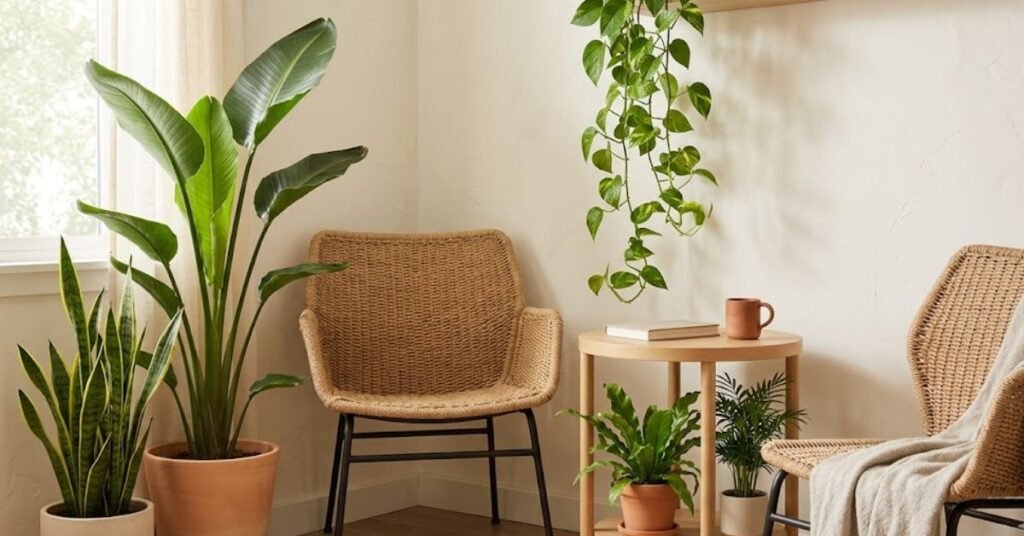
The Cascading Golden Pothos (Epipremnum aureum)
If you want that lush, jungle-canopy aesthetic, this trailing vine is your best bet. It grows fast and tolerates almost anything. I remember a couple of years back when I put a gorgeous Golden Pothos right on top of my bedroom armoire. Within a few months, the vines were gracefully framing my closet door. It breaks up the rigid, boxy lines of standard American bedroom furniture beautifully.
Personal Pro-Tip: Propagating Pothos is incredibly easy. Snip a vine just below a leaf node, drop it in a jar of water from your kitchen faucet, and you’ll see roots in ten days. Free plants for your guest bedroom.
Light Needs for Biophilic Bedroom Design Plants
Light is the fuel. No light, no life.
Many people buy their greenery based purely on how it looks in a brightly lit greenhouse or nursery store, only to watch it slowly decline in a dark room. You have to read your windows.
- South and West-facing windows: These give you intense, bright light. Great for your Spider Plants, but it will absolutely scorch a Peace Lily.
- North and East-facing windows: These offer gentle, cool morning light or low indirect light all day. This is the sweet spot for your Snake Plants and Pothos.
If your bedroom has tiny windows or faces a brick wall, don’t give up. You can easily cheat by using a stylish floor lamp fitted with a full-spectrum LED grow bulb. Run it on a timer for 8 hours during the day while you’re at work, and your plants will stay perfectly happy.
Personal Pro-Tip: Rotate your pots a quarter-turn every single week. Plants naturally bend toward the glass to chase the light. If you don’t rotate them, they will grow lopsided and look awkward.
Core Mistakes to Avoid with Biophilic Bedroom Design Plants
Many Americans struggle to keep their greenery healthy because our homes are heavily climate-controlled. We love our comfort, but our plants often pay the price.
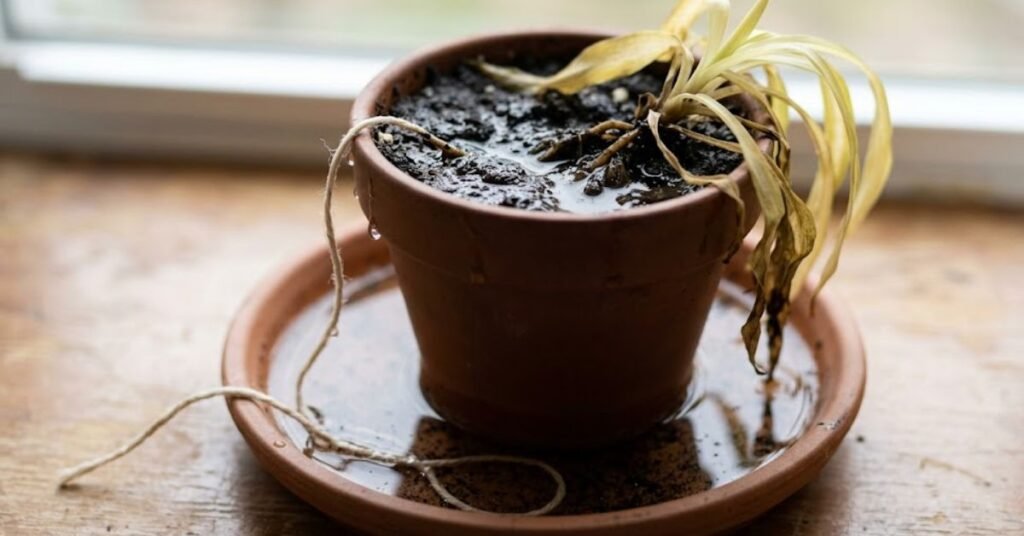
The biggest killer I see? Overwatering.
People think love means water. It doesn’t. In an indoor setting, roots need oxygen just as much as water. If the soil stays constantly muddy, the roots literally suffocate and rot away.
Another massive issue is using the wrong dirt. Never grab dirt from your backyard garden for an indoor pot. It packs down too tightly and traps moisture. Always buy a high-quality, well-draining indoor potting soil mixed with perlite or pumice.
Personal Pro-Tip: Before you grab the watering can, push your index finger two inches deep into the soil. If it feels damp or cool, put the can down. Check it again in three days.
How Central Air Conditioning Affects Your Room Layout
We need to talk about your HVAC system. Our powerful American central air conditioning systems are absolute kryptonite to tropical indoor flora. In the peak of summer, that ice-cold, bone-dry air blowing straight from an AC vent will dry out leaves faster than you can count. It mimics a harsh frost.
If you position a Peace Lily or Pothos directly in the path of a roaring air vent, the leaves will get crisp, turn black, and drop off within two weeks. Keep your greenery at least four to five feet away from any supply registers.
Personal Pro-Tip: If your bedroom layout forces a plant close to a vent, use a magnetic air deflector on the register to redirect the cold air flow along the floor instead of straight at your greenery.
Troubleshooting Guide for Biophilic Bedroom Design Plants
Plants can’t speak, but they do send very clear distress signals. Learning to read these signs will save you a lot of heartbreak and money.
Let’s look at what yellow leaves and brown tips mean:
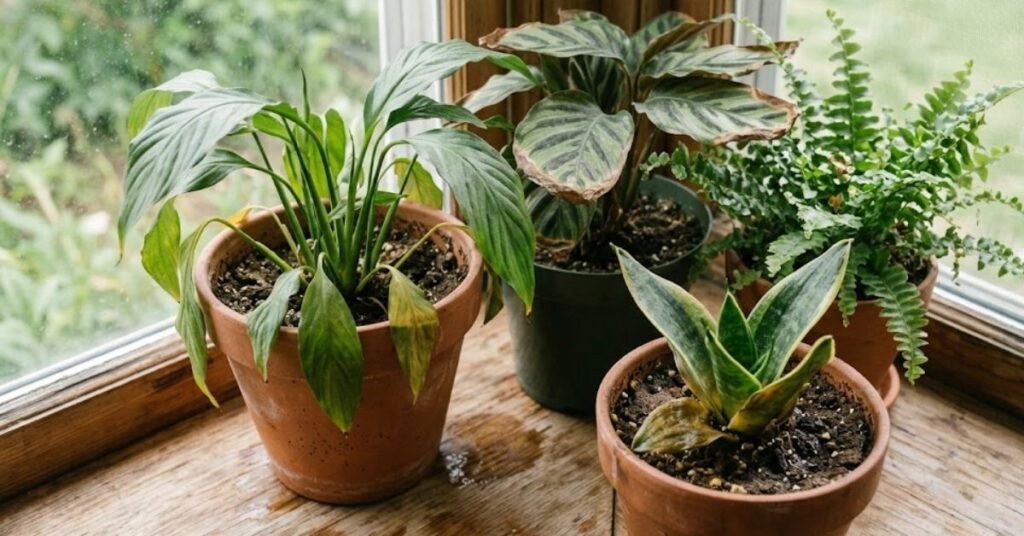
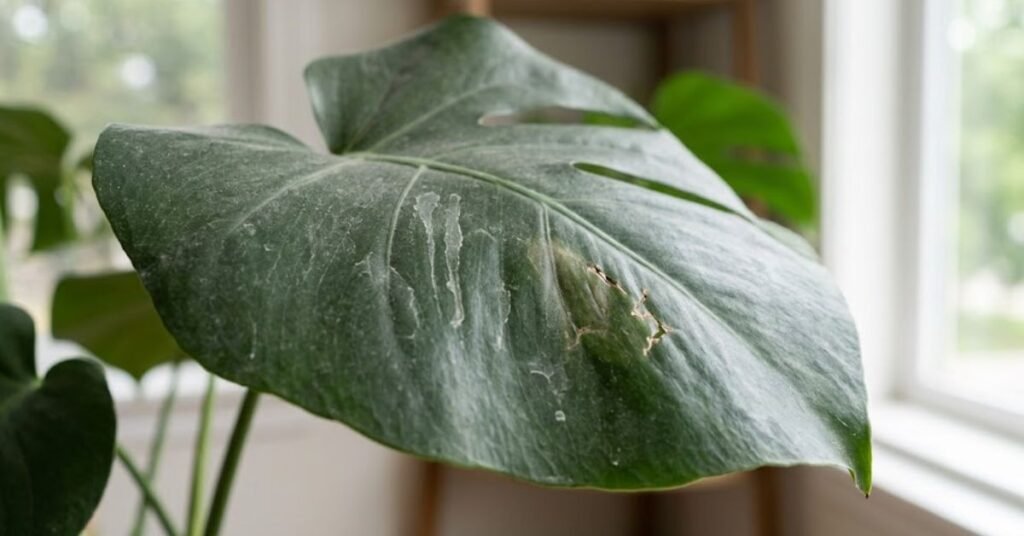
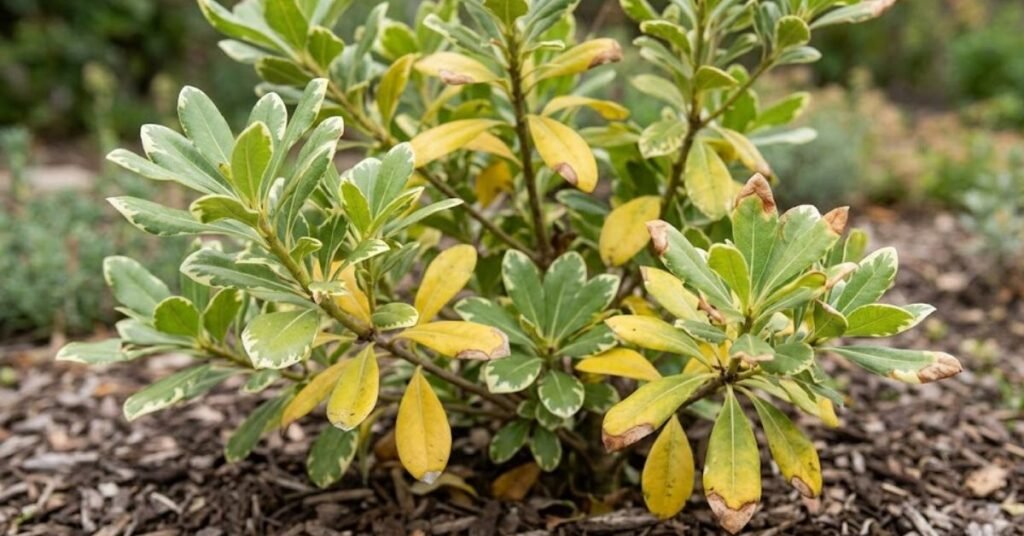
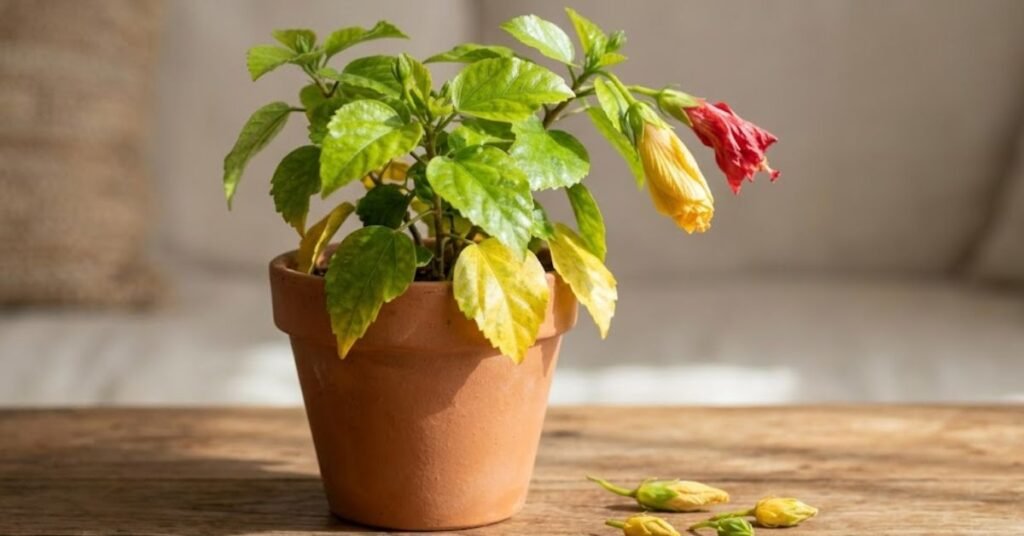
Yellowing Leaves
If the lower leaves turn pale yellow and feel mushy, you are almost certainly overwatering. The roots are drowning. Stop watering immediately, pull the plastic nursery pot out of its decorative ceramic sleeve, and let the potting soil dry out completely in a bright spot. On the flip side, if the leaves are yellow, dry, and crispy all over, the plant is completely parched.
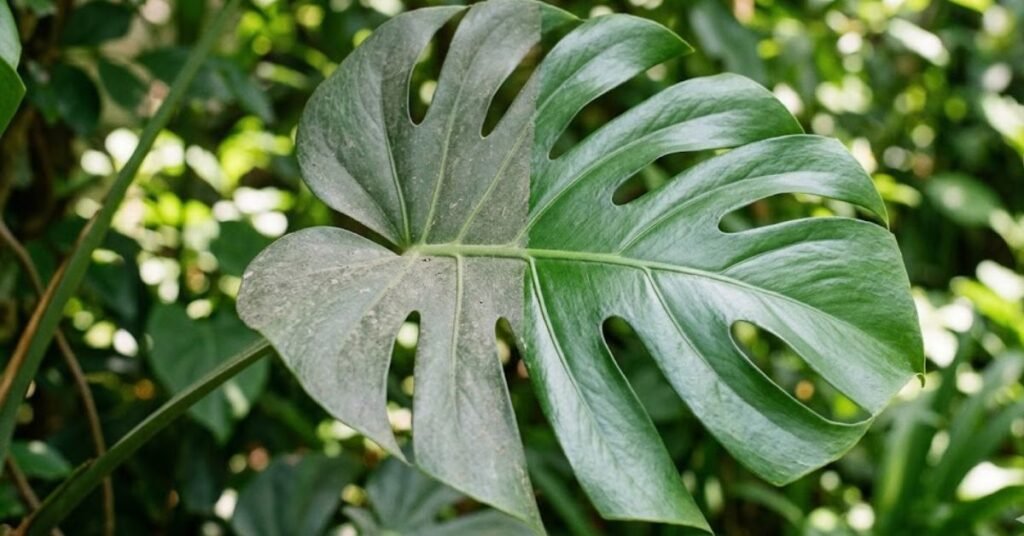
Brown Tips
This is usually a humidity issue. Most of these species come from humid tropical understories. When we run our indoor heating during the winter or blast the AC in July, the relative humidity inside a standard American home drops below 30%. The plant loses moisture from its leaf tips faster than the roots can supply it. Take a pair of clean shears and snip the brown tips off following the natural curve of the leaf, then mist the plant or use a small bedroom humidifier.
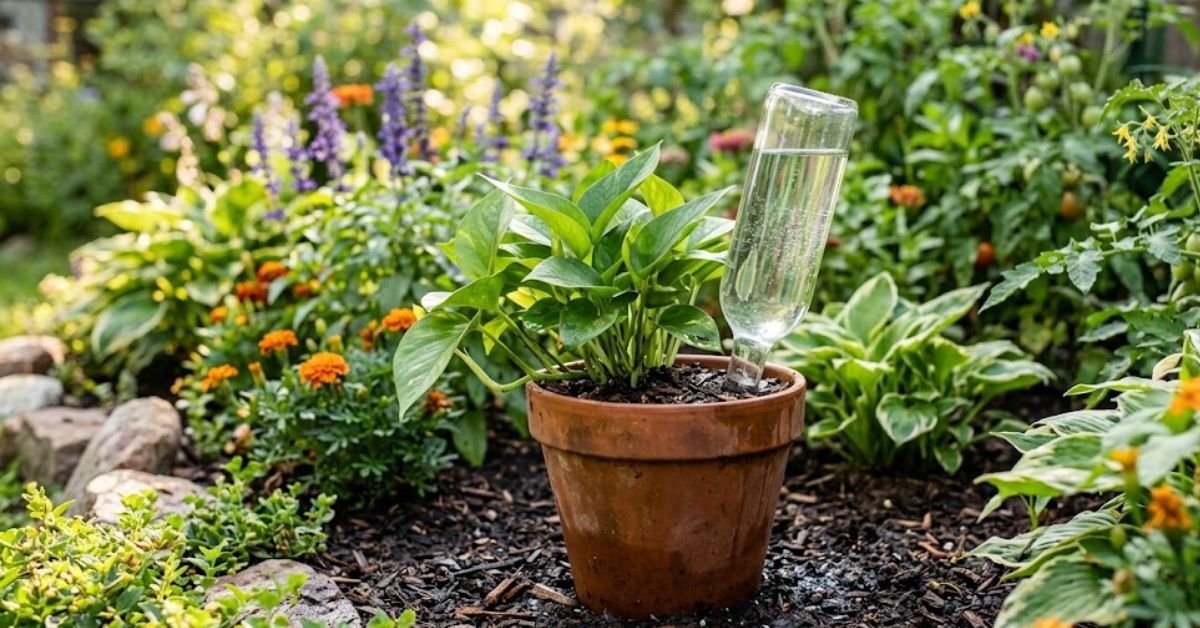
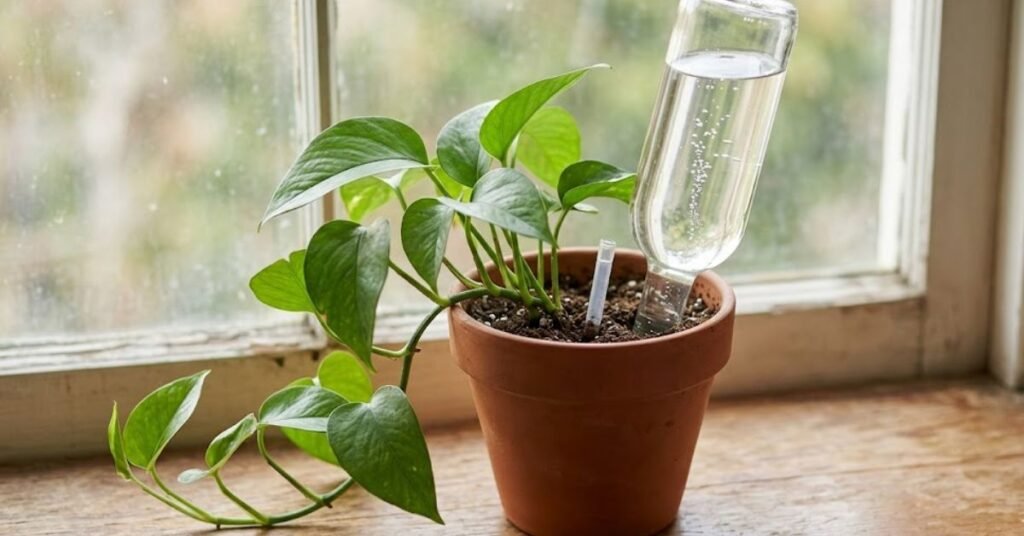
Personal Pro-Tip: Never let your pots sit in a puddle of water inside their decorative dishes. After watering at the bathroom faucet, let the excess drain out completely for ten minutes before putting the pot back in your bedroom.
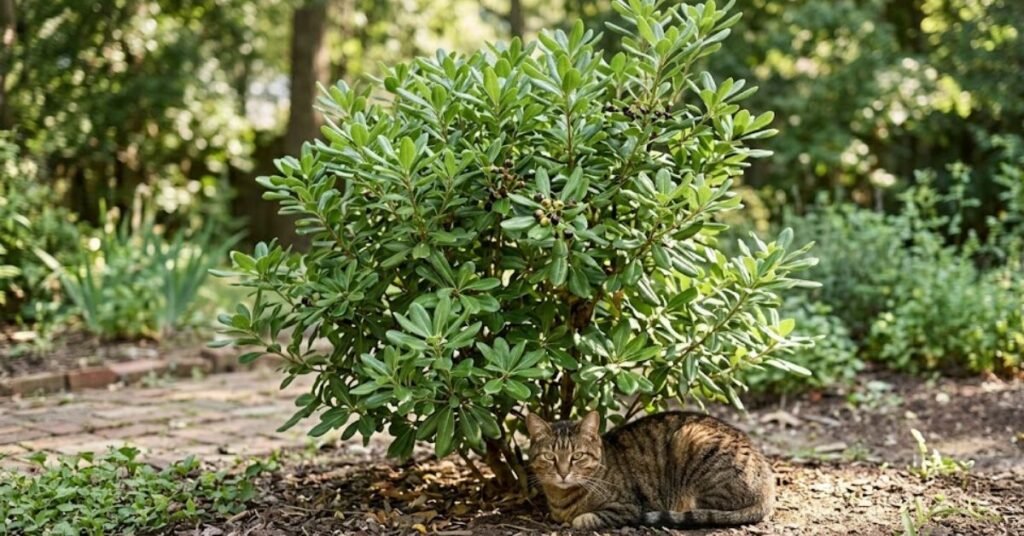
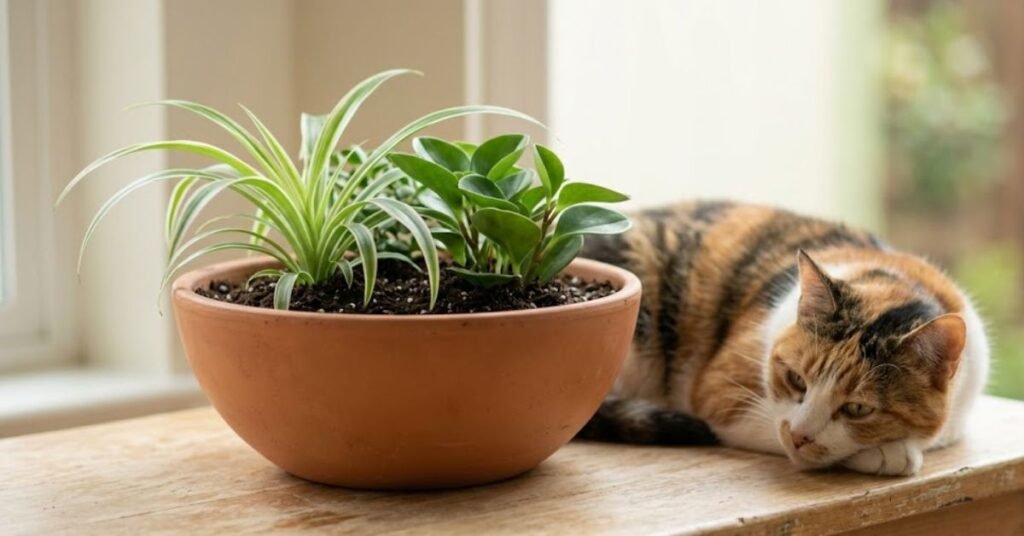
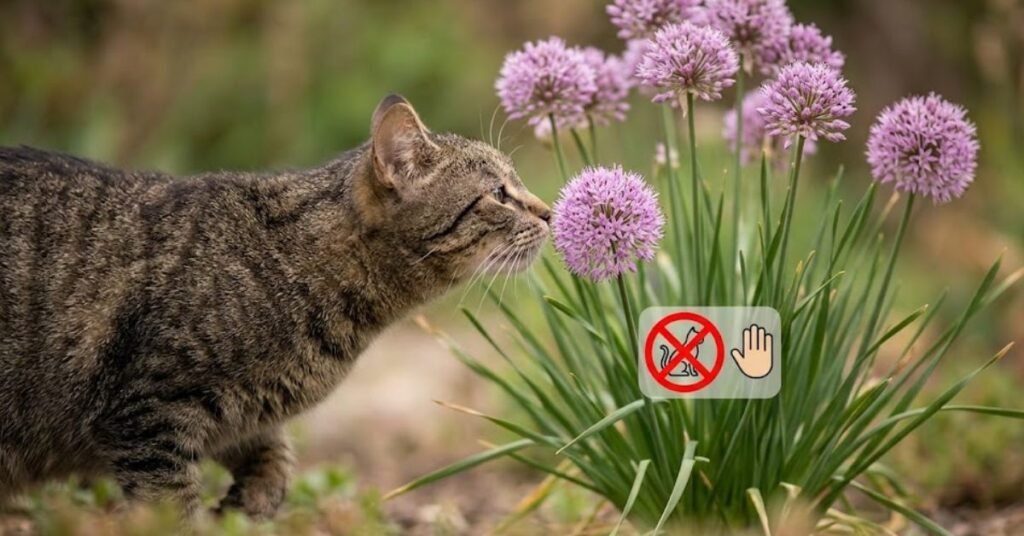
Pet Toxicity Warnings for Biophilic Bedroom Design Plants
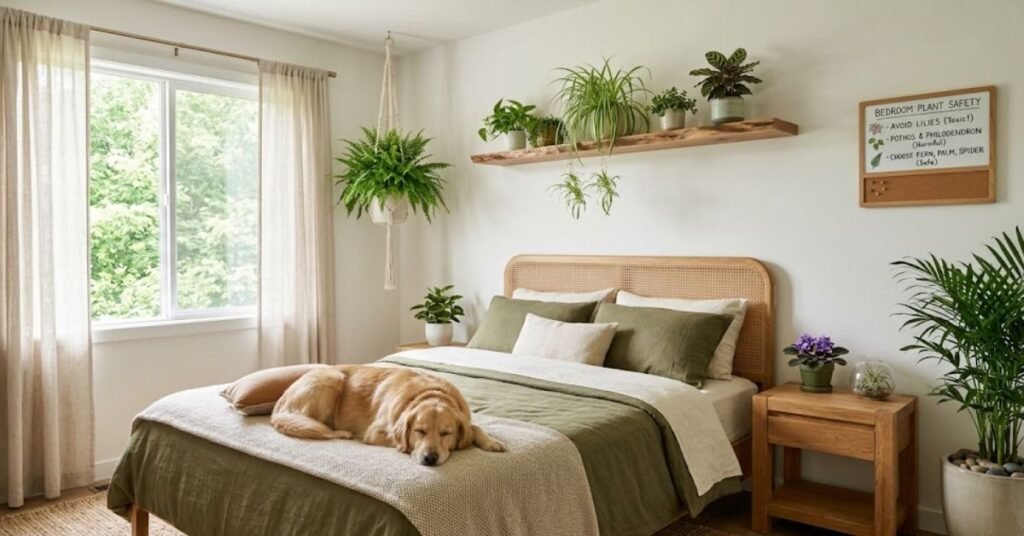
As a pet parent myself, safety comes first. Before you bring any new green life into your sleeping quarters, you must know what your cats and dogs can access.
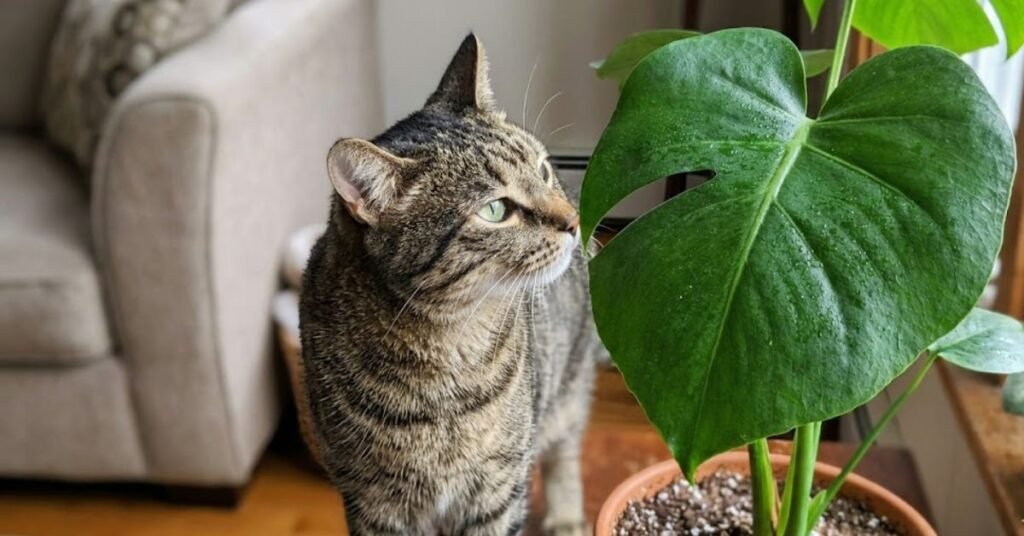
Many common choices contain insoluble calcium oxalate crystals. If a curious cat or a bored dog decides to chew on a Snake Plant or a Peace Lily, it can cause severe mouth irritation, drooling, vomiting, and difficulty swallowing.
If your pets love to sample your greenery, stick exclusively to the Spider Plant. It is completely non-toxic. Oddly enough, cats are heavily attracted to Spider Plants because the leaves contain compounds that mimic a mild hallucinogenic effect, similar to catnip. They might get a little goofy, but it won’t hurt them.
Personal Pro-Tip: If you absolutely must have a Pothos but own a curious cat, utilize your vertical space. Use a ceiling hook to hang the basket completely out of your pet’s jumping range.
Real Reddit & Quora FAQs on Biophilic Bedroom Design Plants
Q1. Can I keep a snake plant in a completely windowless bedroom?
No. No plant can survive in pitch darkness forever. A snake plant will survive longer than most because its metabolism is incredibly slow, but eventually, it will starve from a lack of light. If your room has zero natural light, you must install a grow light.
Q2. Why is my cat acting weird after chewing on my bedroom spider plant?
Don’t panic. Spider plants are safe for cats, but they actually contain a mild hallucinogenic property that makes felines feel a little “high.” Your cat is likely just enjoying the buzz. Still, move the plant out of reach to save your foliage from getting shredded.
Q3. How do I water plants without ruining my wooden bedroom furniture?
Never water your plants while they are sitting directly on wood furniture. I always take my pots to the bathroom faucet or kitchen sink, give them a good soak, let them drain out completely, and wipe the bottom of the pot before returning them to the bedroom. Using cork coasters under your planters also saves your wood finishes from condensation stains.
Q4. Will bedroom plants actually improve my sleep quality or air?
Yes, but let’s keep it real. While they do filter toxins and produce oxygen at night, you would need an actual jungle about 15 to 20 large plants in a single room—to match the air purification of a basic HEPA filter. The biggest benefit to your sleep quality is psychological; seeing nature lowers your heart rate and cortisol levels.
Q5. My bedroom gets freezing in the winter because we turn off the heat at night. Will my plants die?
Most tropical houseplants get stressed if temperatures drop below 55°F. If your room regularly hits those low numbers during a freezing winter night, your plants will slow their growth significantly and might drop leaves. Keep them away from chilly window glass during those cold snaps.
Q6. Do I need to fertilize indoor plants during the fall and winter?
Skip the fertilizer from October through February. Because the days are shorter, indoor greenery goes into a semi-dormant resting phase. Pushing them to grow with fertilizer during the winter results in weak, leggy stems. Wait until the first warm days of Spring to start feeding them again.
Q7. How do I get rid of tiny black bugs flying around my bedroom potting soil?
Those are fungus gnats. They love wet, rotting organic matter in overwatered potting soil. The easiest fix is to let your soil dry out completely between waterings, which kills their larvae. You can also place yellow sticky traps directly on the soil surface to catch the adults.
Final Thoughts on Designing Your Personal Oasis
Getting your bedroom setup to look like a high-end magazine cover takes a bit of strategy, but it is entirely worth the effort. Bringing nature into the space where you rest your mind at night is one of the most rewarding adjustments you can make to your home layout.
Listen to what your plants are telling you. Watch how the light moves across your walls as the seasons shift from Spring to Fall. By building a genuine connection with your indoor ecosystem, you create a space that feels deeply restorative, peaceful, and uniquely yours.

Amin Khalid is a professional horticulturist and the founder of LeafyWisdom. With a deep passion for home gardening and horticultural research, he specializes in providing practical, easy-to-follow care guides for indoor plants. Amin’s goal is to simplify gardening for everyone and help fellow plant lovers build their own thriving green spaces.