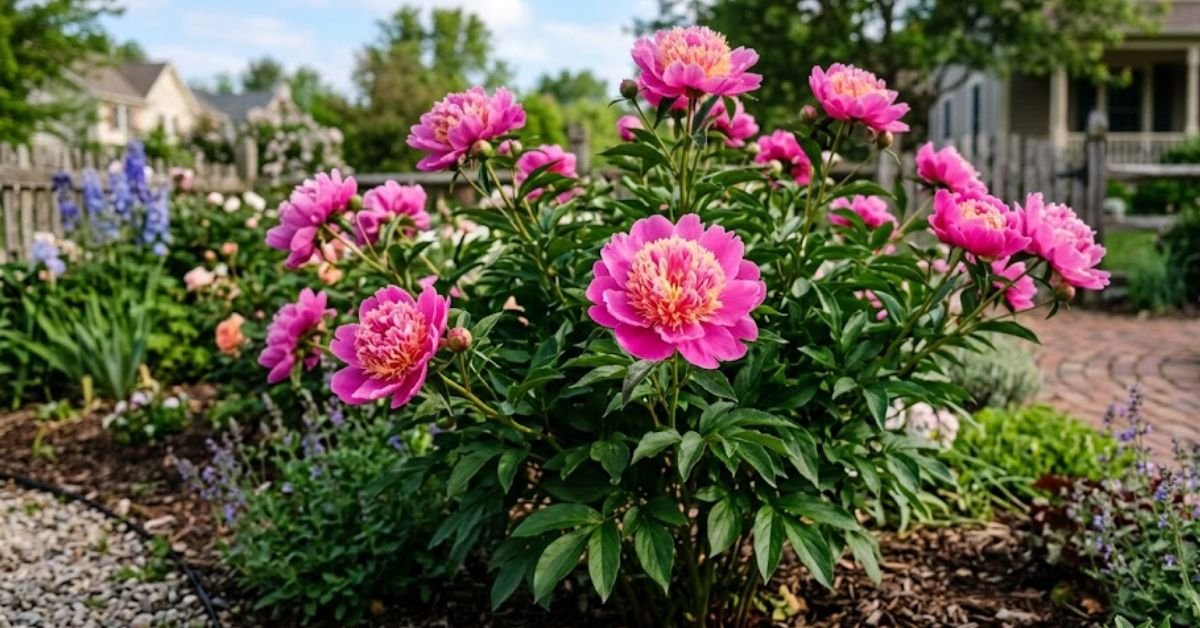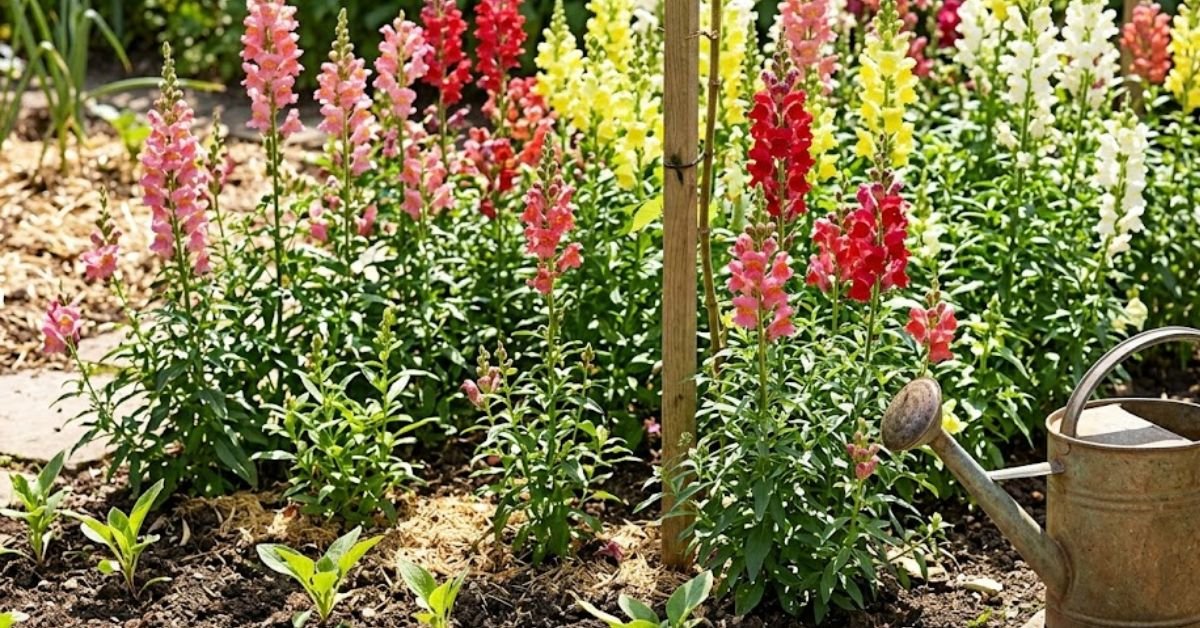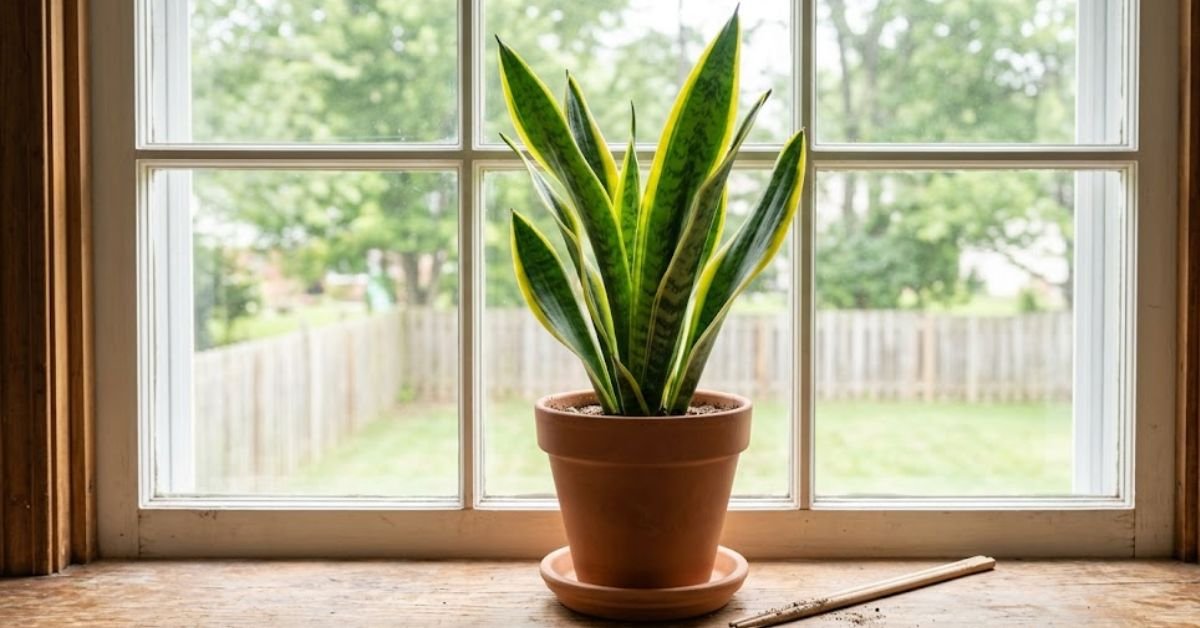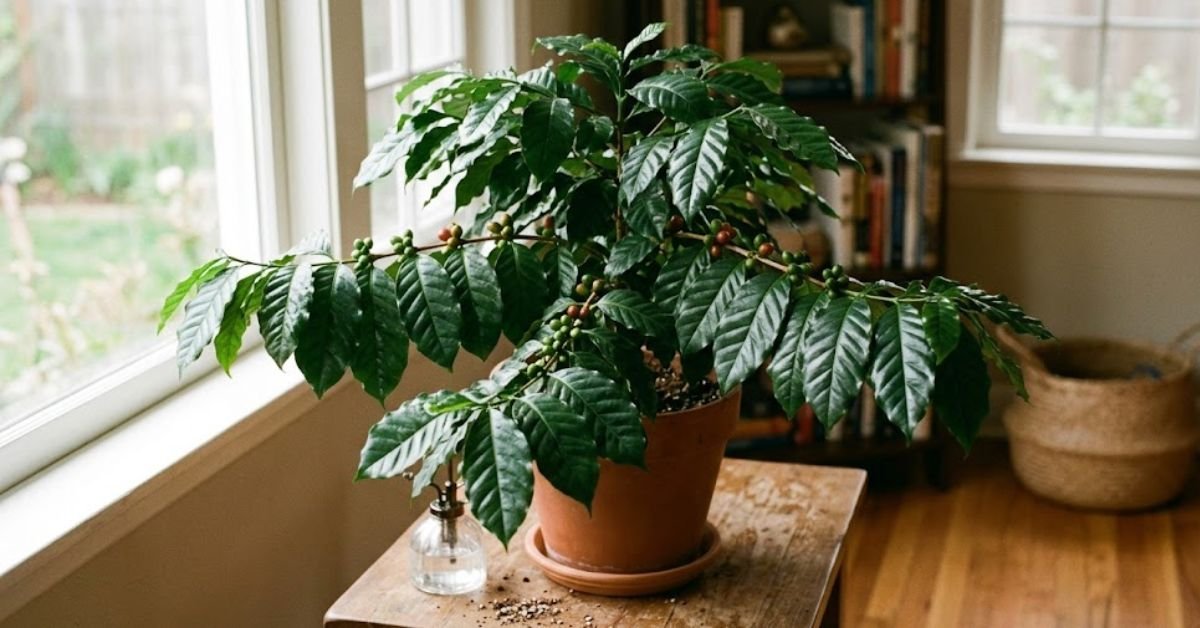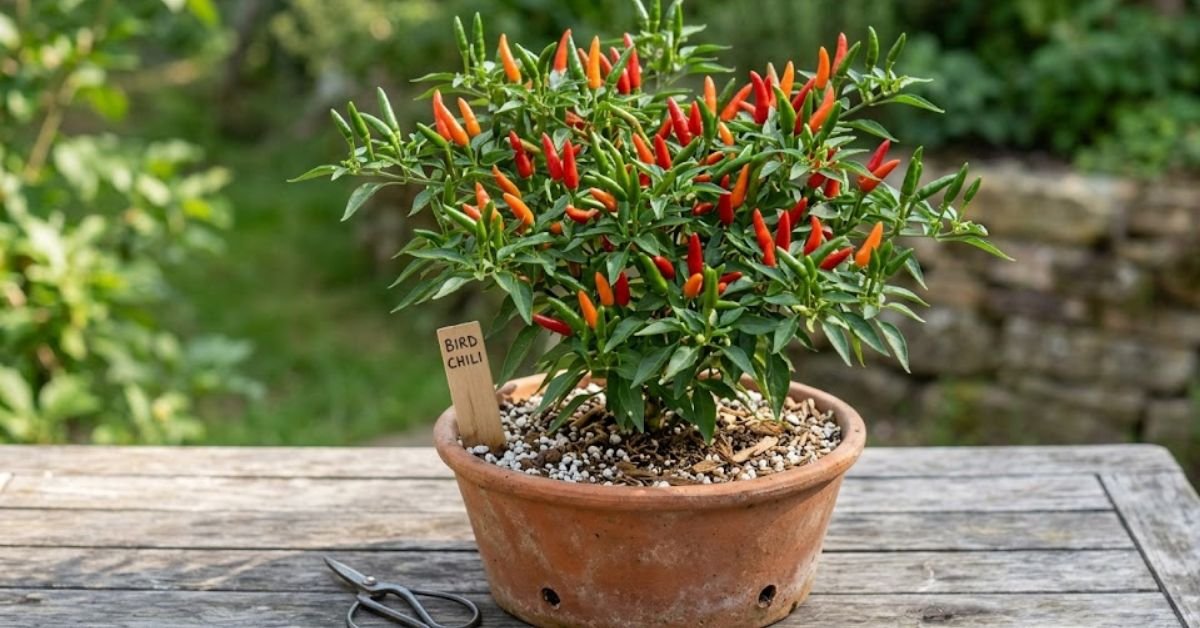
Look, I get it. You saw a stunning picture of a dense, towering bamboo grove on Pinterest, and now you want that exact tropical privacy screen in your own backyard. It is a brilliant idea, but you absolutely must get your containment strategy right from day one. If you want to avoid a massive landscaping headache, planting bamboo barrier rolls underground is non-negotiable to keep those aggressive roots from hijacking your entire property. In my years of fixing landscaping disasters across the US, I’ve seen running bamboo punch straight through asphalt driveways and ruin neighbor’s lawns. You don’t have to be afraid of this plant; you just need to box it in. Let’s talk about doing this right the first time.
| Quick Care & Setup | The Ground Rules |
| Trench Depth | 24 to 30 inches deep. |
| Material Specs | 60-mil to 80-mil thick HDPE plastic roll. |
| Above-Ground Lip | Leave 2 to 3 inches exposed above the dirt. |
| USDA Hardiness | Zones 5-10 (varies heavily by running species). |
| Sunlight | Full Sun to Part Shade. |
| Soil Preference | Well-draining native dirt mixed with quality potting soil. |
Quick Checklist Before Planting Bamboo Barrier
For the skimmers out there, the table above shows exactly what you need to know before picking up a shovel. Getting this step correct is the difference between a lush property border and a neighborhood feud.
Personal Pro-Tip: Never use roofing metal or poured concrete for your enclosure. Concrete cracks when the ground freezes during an East Coast winter. Metal will rust out in the damp earth. Always stick to heavy-duty HDPE plastic on a continuous roll.
The Realities of Setting Up a Bamboo Rhizome Barrier
I’ve spent a massive chunk of my career ripping out renegade yards.
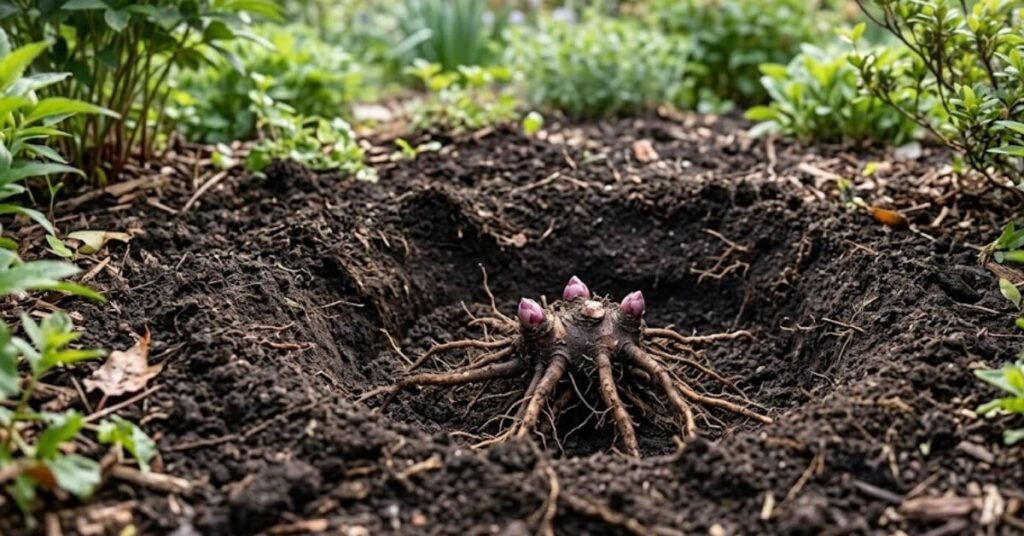
People plant running varieties for quick privacy. Then, three years later, it’s coming up through their deck. Running bamboo spreads via underground horizontal stems called rhizomes. These things are absolutely relentless. But setting up a physical blockade is all it takes to tame them.
Personal Pro-Tip: Fall or early Spring is the absolute best time for this project. Digging a deep trench in the middle of a sweltering July afternoon is a miserable experience.
How to Go About Planting Bamboo Barrier Without Losing Your Mind
The physical labor will definitely make you sweat. The strategy itself is pretty simple, though. You are essentially building an underground plastic swimming pool without a bottom.
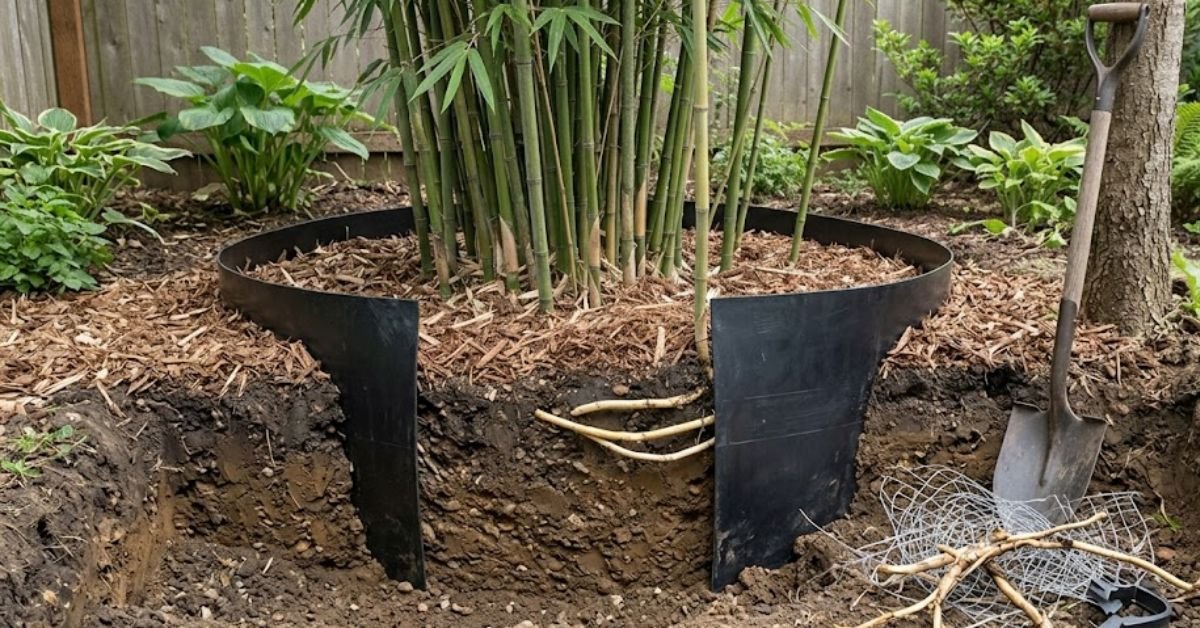
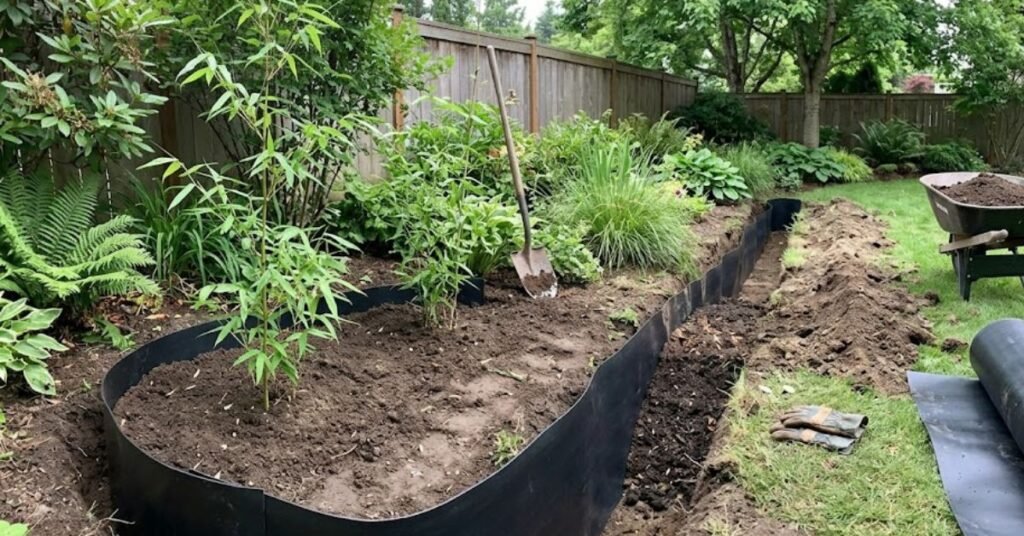
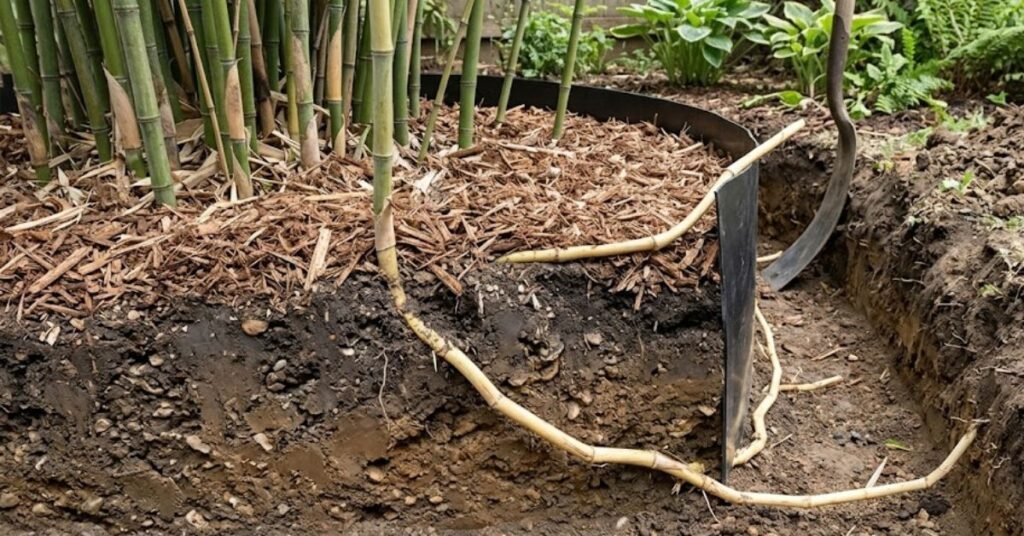
Digging the Trench for Your Plastic Wall
You need a narrow trench encircling the entire planting area. If you live in a rocky area like New England, do yourself a favor and rent a mechanical trencher from a local hardware store. For softer soils down South, a trenching spade will do the trick just fine. You need to dig down about 24 to 28 inches.
Angling and Sealing the Enclosure
Drop your plastic sheet into the trench.
You must leave a 2-inch lip sticking out above the ground. If you bury it flush with the lawn, rhizomes will sneak right over the top under the cover of fallen autumn leaves. You’ll never see them until they’ve already escaped.
When connecting the two ends of the plastic, overlap them by at least a few feet. Seal them tightly with heavy-duty double-sided seam tape or stainless steel clamping bars.
Personal Pro-Tip: Angle the barrier slightly outward at the top. When an underground root hits the plastic, the outward angle forces it to bend upwards to the surface instead of diving down deeper. Once it pops out of the dirt, you just snip it off with your garden pruners.
Common Mistakes Americans Make When Planting Bamboo Barrier
We love taking shortcuts. Taking shortcuts with this specific plant is a disaster waiting to happen.
- Burying it too shallow. Going 18 inches down isn’t enough for larger timber varieties. They will just dive right under.
- Ignoring the AC unit. I see this constantly. People plant a grove right next to their outdoor air conditioning compressor to hide the ugly metal box. The constant blast of hot, dry exhaust air will scorch the leaves fast. Keep the planting area at least a few feet away.
- Suffocating roots in clay. Sitting in a bathtub of heavy clay soil will rot the root system. If your yard doesn’t drain well, mix in some good potting soil and coarse sand to loosen it up.
Personal Pro-Tip: Don’t put black weed fabric over the top of the contained area. It makes it impossible to see when runners are trying to jump the plastic lip.
Troubleshooting Growth and Bamboo Root Barrier Breaches
Things happen in the garden. Even with the best setup, you have to keep an eye on things.
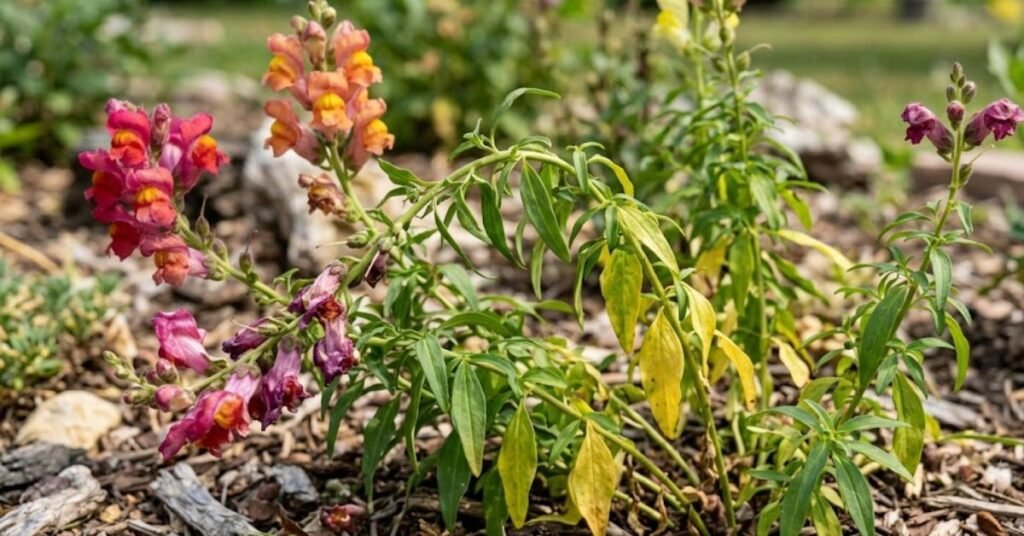
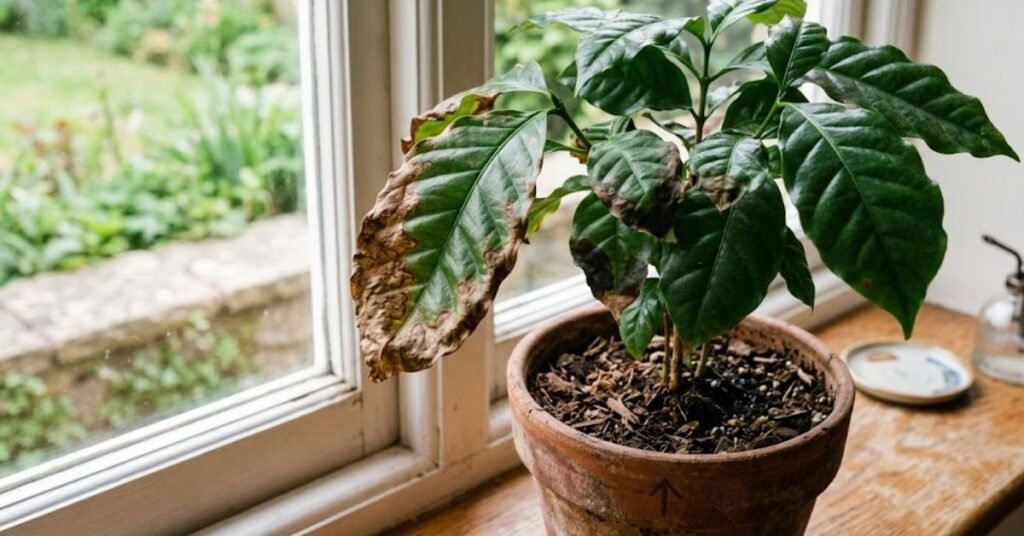
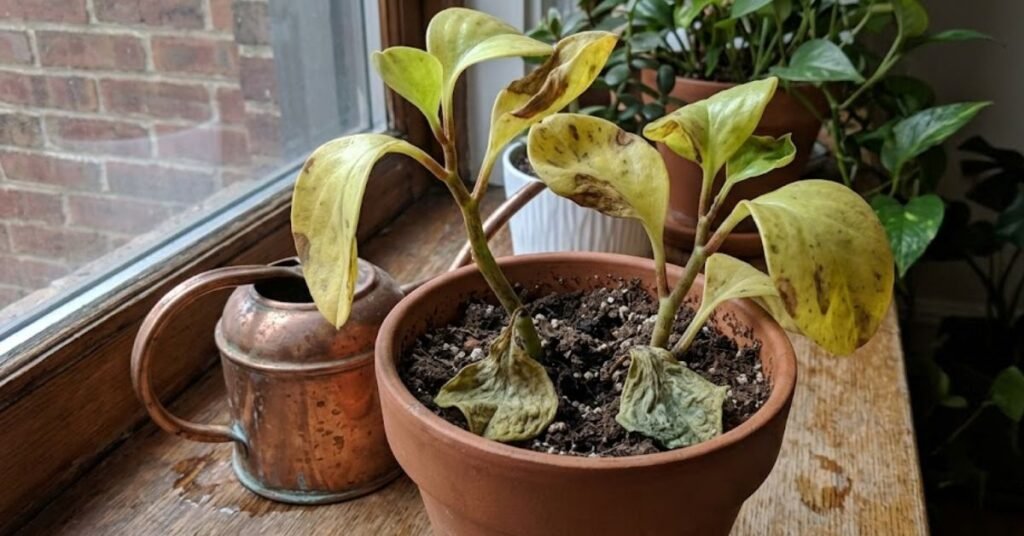
Leaves turning yellow? This is usually a sign of poorly draining soil or severe overwatering. Let the top few inches of dirt dry out before you hit it with the hose again. If you’re watering from an outdoor faucet with heavily chlorinated city water, let the water sit in a bucket for a day to off-gas before pouring it on young, sensitive shoots.
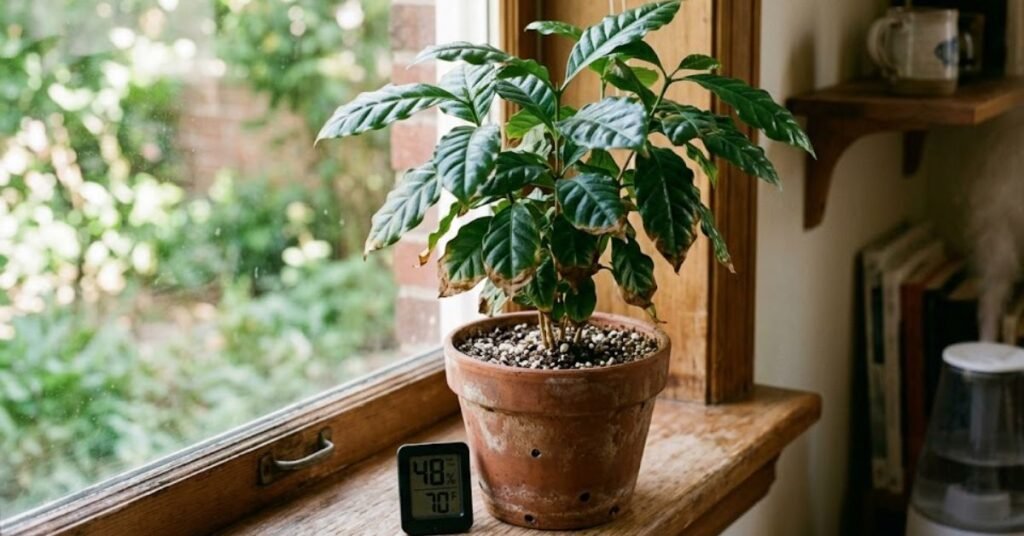
Crispy brown leaf tips? The air is just too dry. This is often exacerbated by strong winds outside or indoor AC vents if you have smaller varieties potted inside your house. Give the leaves a gentle misting during dry spells.
Finding random shoots in the lawn? Your barrier has a leak somewhere. Either a seam burst, or a rhizome dove underneath the plastic. You will have to trace that stray shoot back to the source, cut it, and patch the breach.
Personal Pro-Tip: Every autumn, I walk the perimeter of my beds and physically scrape away the mulch touching the plastic lip. I am looking for any sneaky rhizomes trying to vault over the edge.
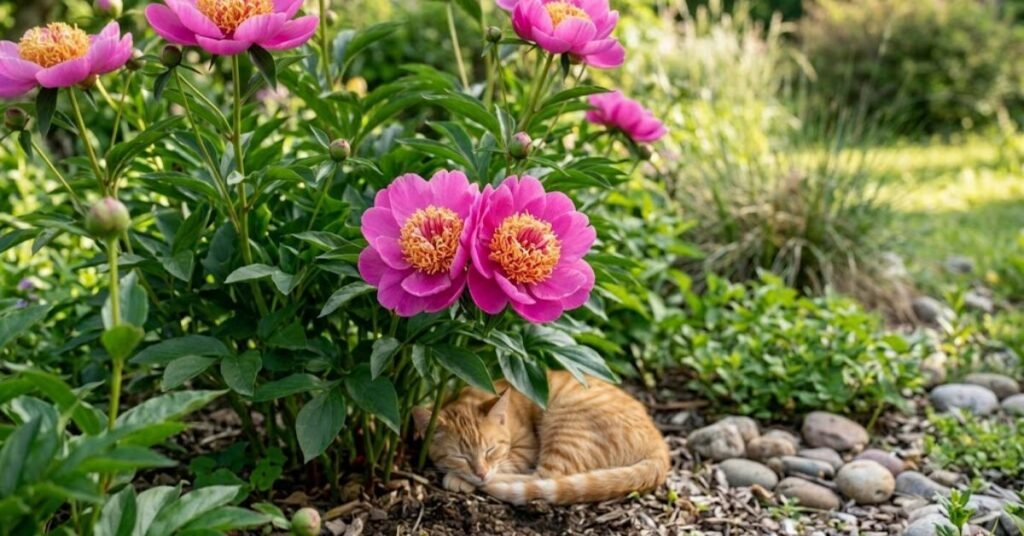
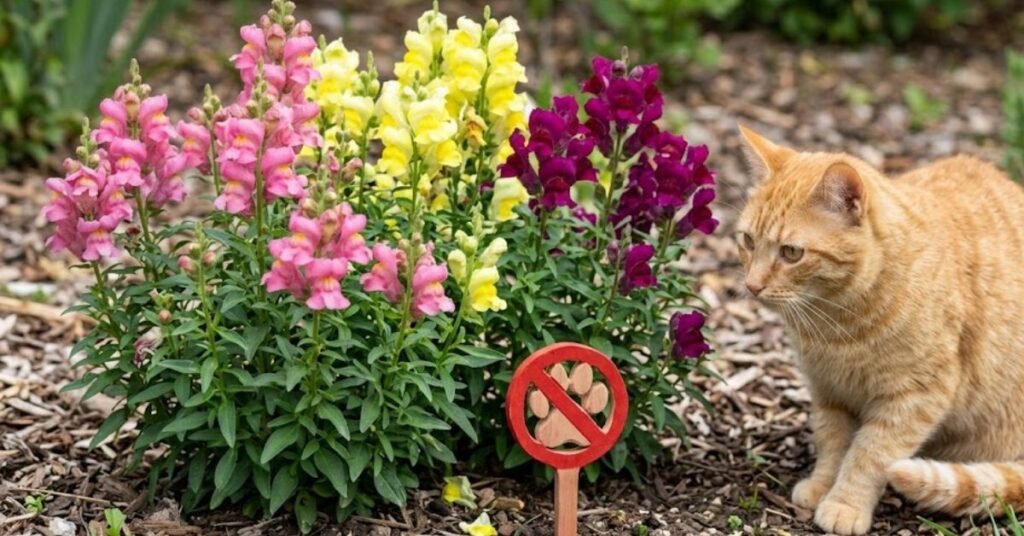
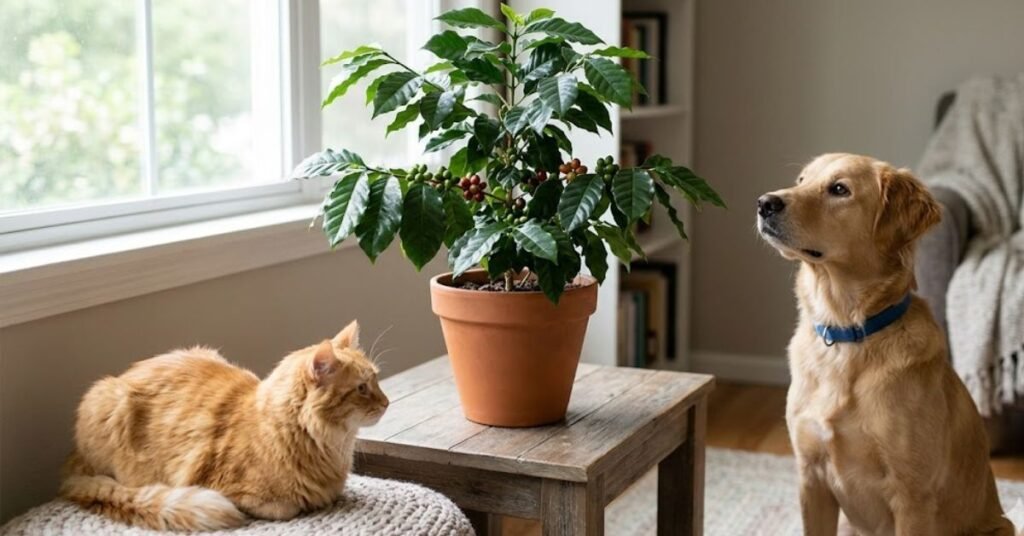
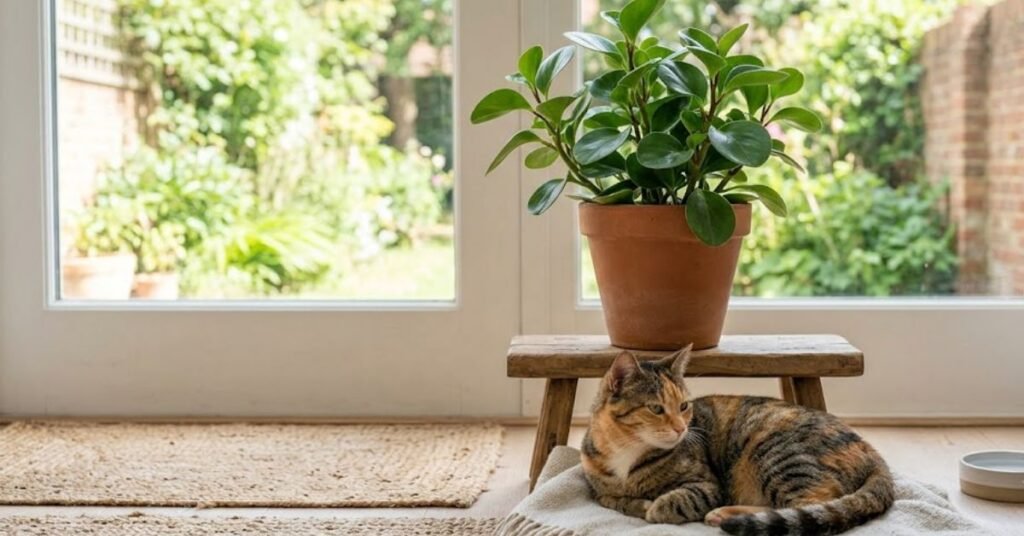
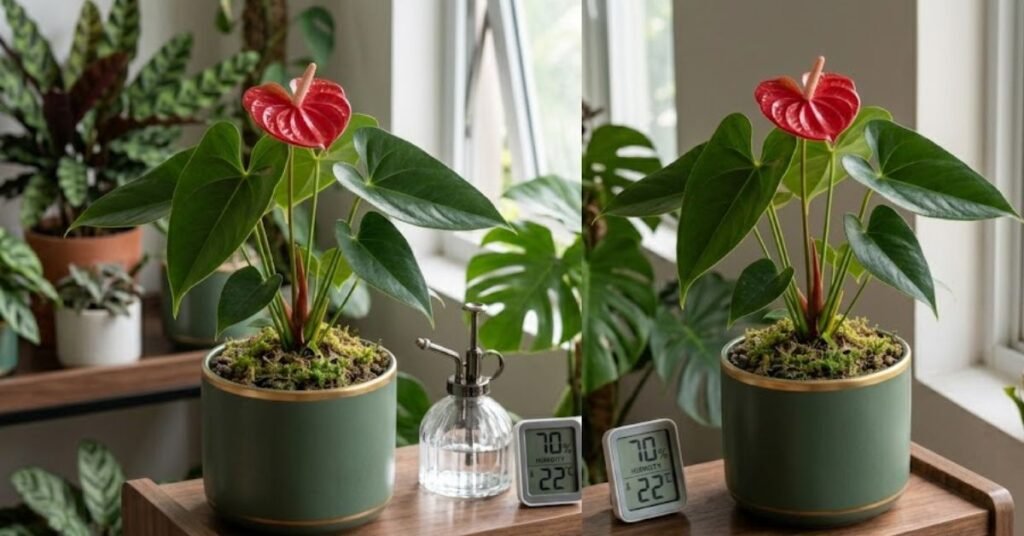
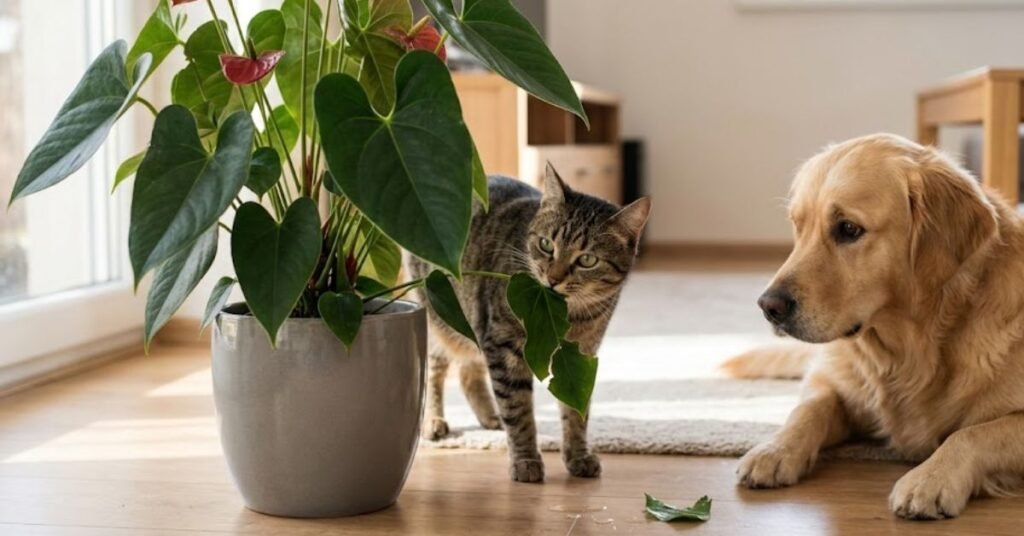
Toxicity Warning: Pets and Bamboo
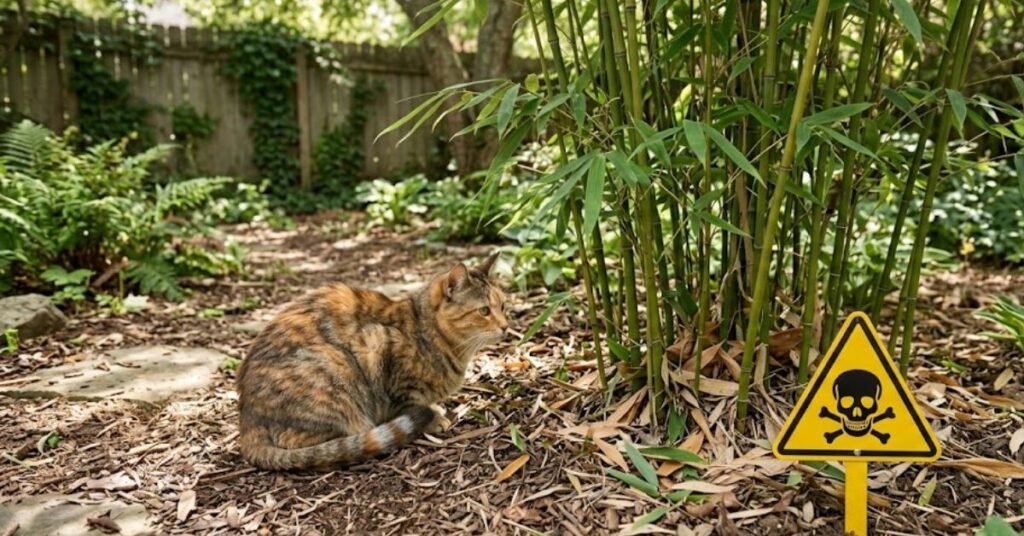
This is a huge relief for a lot of US homeowners. True bamboo (Phyllostachys species) is generally non-toxic to dogs and cats.
However, beware of “Heavenly Bamboo” (Nandina domestica) or “Lucky Bamboo” (Dracaena sanderiana). Neither of these are actual bamboos, and both are toxic to pets. If you are growing the real running stuff, your Golden Retriever is totally safe.
Personal Pro-Tip: Even though it’s non-toxic, don’t let your dog chew on the thick woody canes. The fibrous material can splinter and cause severe digestive blockages.
FAQs on Planting Bamboo Barrier
Q1: How thick does the plastic really need to be?
A minimum of 60-mil. If you are putting in massive timber bamboo, step up to 80-mil.
Q2: Can I just grow clumping types instead of planting bamboo barrier?
Yes. Clumping types grow in tight circles and generally stay put. But they don’t give you that spread-out, open-grove look that running types do. Also, many clumpers aren’t cold-hardy enough to survive northern USDA Zones.
Q3: How much above ground should the barrier be?
Leave 2 to 3 inches completely exposed.
Q4: Will a metal barrier work?
No. Galvanized metal eventually rusts in damp soil. Once it rusts through, the roots escape immediately.
Q5: Can it break through concrete?
Absolutely. Over time, ground freezing and thawing creates micro-cracks in concrete. The plant will find those cracks and shatter them.
Q6: What happens if I just mow the escaped shoots?
Mowing kills the new leafy shoots. The underground network, however, remains alive and connected to the main plant. It will just keep trying to pop up elsewhere in your yard.
Q7: Can I use an old pond liner instead?
Pond liners are usually too soft and pliable. The underground stems have sharp points and can easily pierce through flexible rubber. Stick to rigid HDPE.
Personal Pro-Tip: If you’re overwhelmed by the digging, call your local utility locator first (dial 811 in the US). Slicing through a buried internet or gas line with a shovel will ruin your entire month.
Final Thoughts on Planting Bamboo Barrier
Taking the time to do this the right way saves you endless headaches down the road. Running bamboo is a spectacular, fast-growing plant that can totally transform a boring yard into a private sanctuary. Put in the sweat equity this weekend. Lock down that perimeter. You’ll get to enjoy the greenery for decades without the constant stress of chasing rogue roots across your lawn.

Amin Khalid is a professional horticulturist and the founder of LeafyWisdom. With a deep passion for home gardening and horticultural research, he specializes in providing practical, easy-to-follow care guides for indoor plants. Amin’s goal is to simplify gardening for everyone and help fellow plant lovers build their own thriving green spaces.