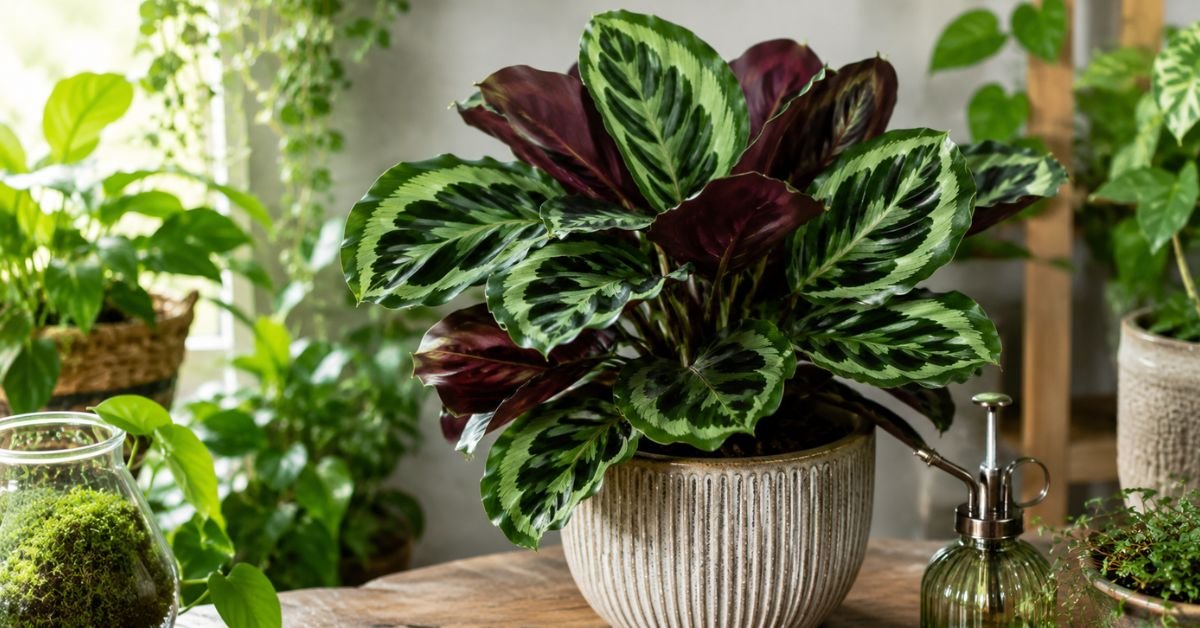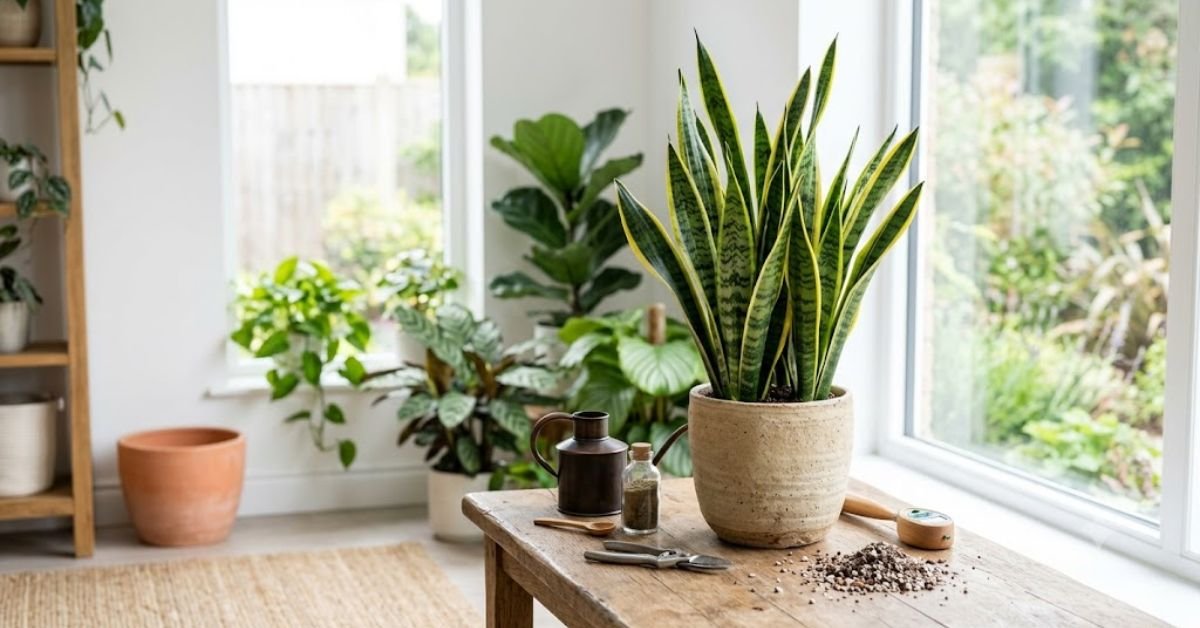
Let’s get right to it. If you want a houseplant that refuses to quit, the Snake Plant (Sansevieria) is it. I’ve spent years getting my hands dirty as a horticulturist across the US, and whenever someone asks me about indoor plant health care, this is the first plant I bring up. It’s tough. It looks good. But people still manage to kill it.
Here is exactly how you keep yours alive and looking sharp, without overcomplicating things.
Quick Care Table for Skimmers
| Feature | The Sweet Spot |
| Light | Low light to bright, indirect sun. |
| Water | Every 2-4 weeks. Let it dry out completely. |
| Soil | Well-draining cactus or standard potting soil with perlite. |
| USDA Zones | 9-11 (Outdoors). Everywhere else (Indoors). |
| Pets | Toxic to cats and dogs. Keep it out of reach. |
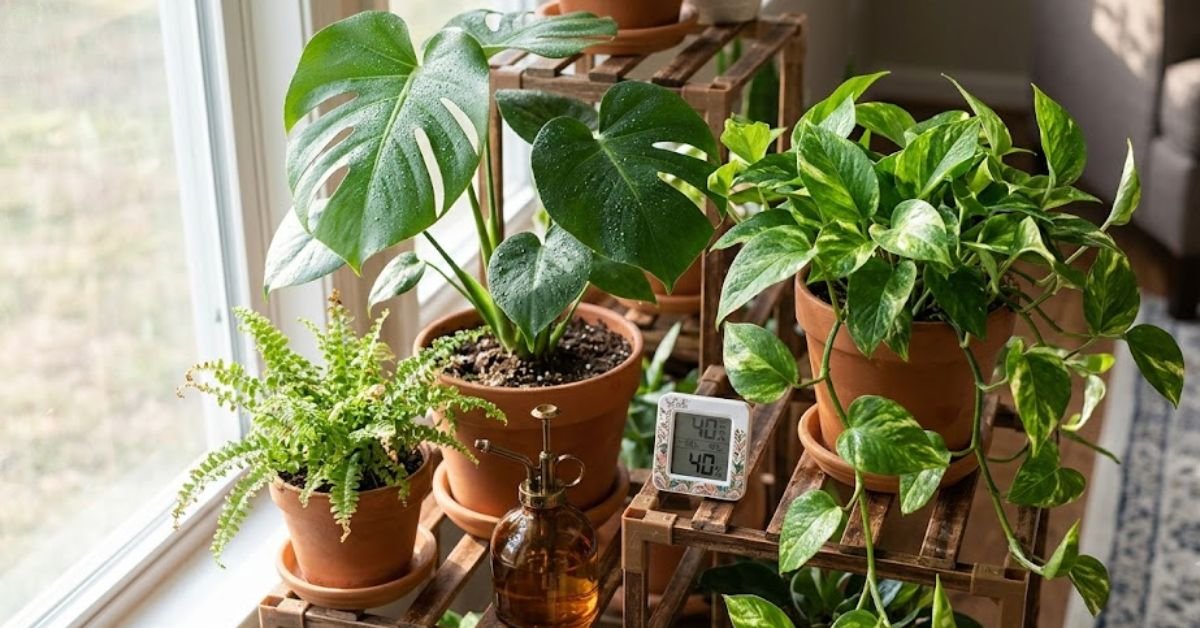
Essential Plant Health Care: Lighting and Placement

You’ve probably heard that Snake Plants can survive in a dark closet. They can. But surviving isn’t the same as growing.
If you shove it in a lightless bathroom corner, it will just sit there frozen in time. For optimal plant health care, you want bright, indirect light. An East-facing window is usually perfect. They can even handle some direct morning sun.
Personal Pro-Tip: In my own living room, I keep my largest Snake Plant about three feet away from a South-facing window. The colors on the leaves are way more vibrant when it gets decent light.
How Often Should You Water Your Snake Plant?
This is the big one. Put down the watering can.
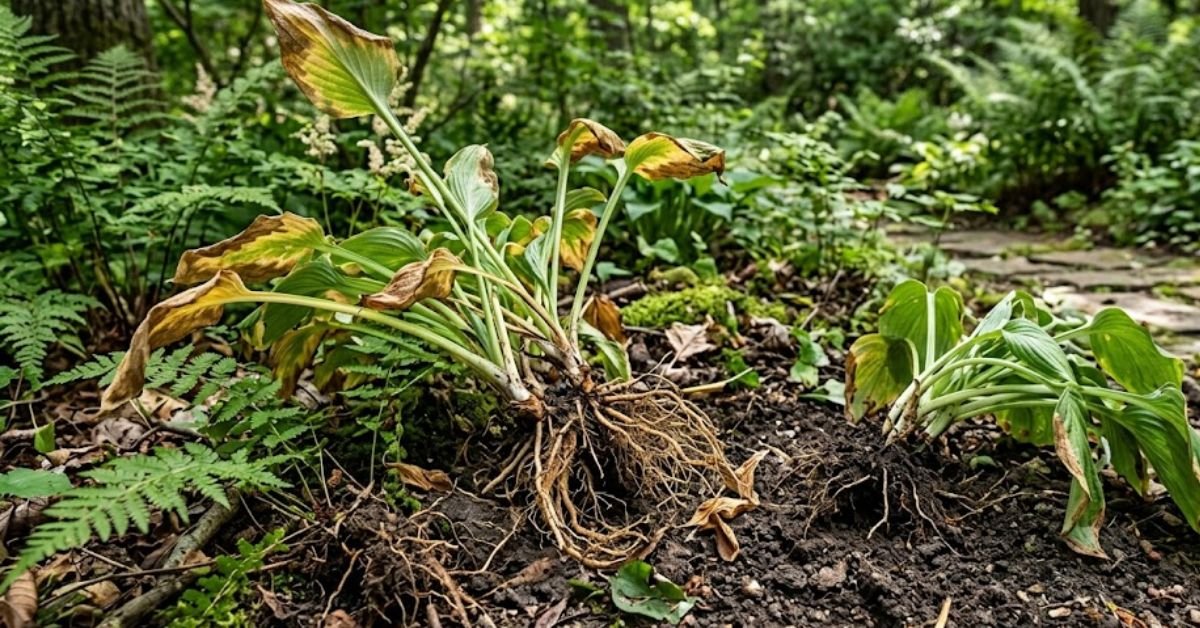
Most Americans water their indoor plants way too often. A Snake Plant stores water in its thick, fleshy leaves. If you water it like a regular houseplant, the roots will rot into a mushy mess.
Wait until the potting soil is 100% bone dry. Stick your finger deep into the dirt. If you feel any moisture, wait another week. When you do water, take it to the sink and run room-temperature water from the faucet until it drains out the bottom. Empty the saucer so it never sits in a puddle.
Personal Pro-Tip: During the Spring and Summer, I water mine about every 14 days. In the Fall and Winter, I easily stretch that to once a month. When in doubt, ignore it.
Potting Soil and Plant Health Care Basics
Proper plant health care happens below the dirt.
Do not use heavy, moisture-retaining garden dirt. You want a fast-draining mix. You can buy a commercial cactus and succulent potting soil, or you can make your own. I usually grab a standard bag of potting soil and mix it 50/50 with perlite or pumice.
The pot needs drainage holes. No exceptions. If you put a Snake Plant in a decorative pot without a hole in the bottom, you are going to kill it.
Personal Pro-Tip: Terracotta pots are a game-changer. They breathe and help the soil dry out much faster than plastic or glazed ceramic pots.
Temperature, AC Vents, and Your Plant’s Health
We love our air conditioning in the US. Plants usually don’t.
Snake Plants are tough, but they hate cold drafts. If you place yours right next to an AC vent blasting 68-degree air all summer, it’s going to stress the plant out. Keep them in temperatures between 65°F and 85°F.
Personal Pro-Tip: I once lost a beautiful, variegated Snake Plant because I left it too close to a drafty window during a sudden freeze. Keep them away from chilly window panes in January.
Common Mistakes: Why We Fail With Snake Plants
Even with the best intentions, things go wrong. Here is why folks usually fail:
- Helicopter Parenting: You check on it too much. You water it every Sunday just because it’s part of your routine. Stop it.
- The Big Chug: Giving it little “sips” of water from your drinking glass. This leads to shallow root systems. Soak the potting soil entirely, then let it dry out completely.
- Repotting Too Soon: Snake plants actually like being a little rootbound. Don’t move it to a giant pot just because you bought it a year ago. Wait until it literally breaks the plastic nursery pot.
Personal Pro-Tip: Overwatering is responsible for 90% of the dead Snake Plants I see. If the base of the leaves turns black and squishy, you’ve drowned it.
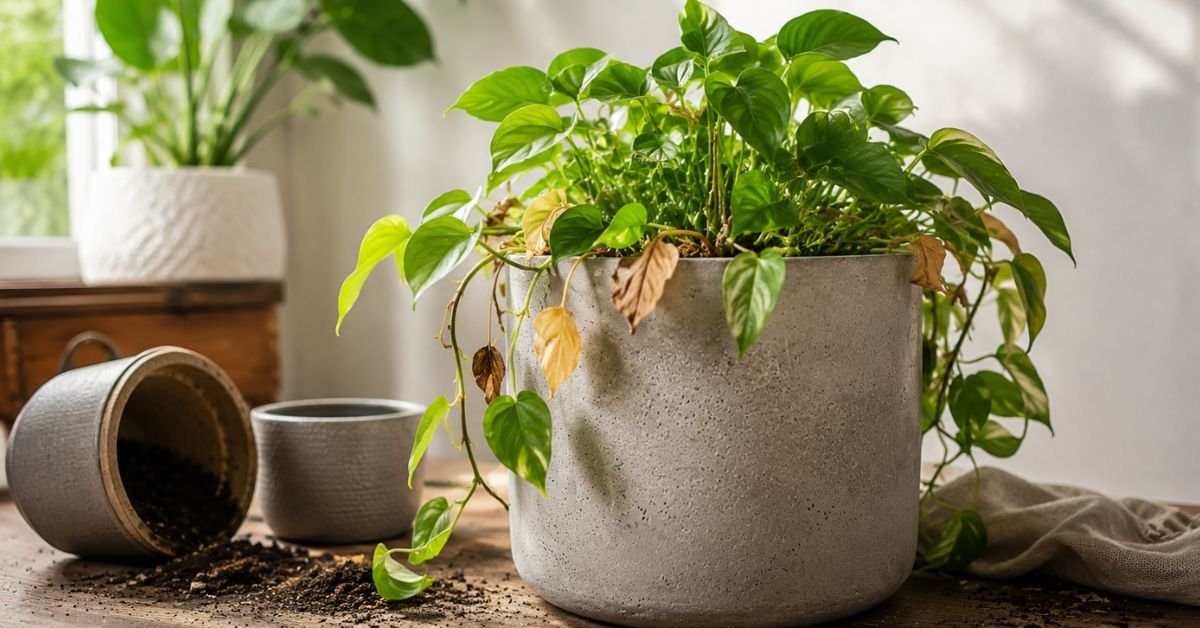
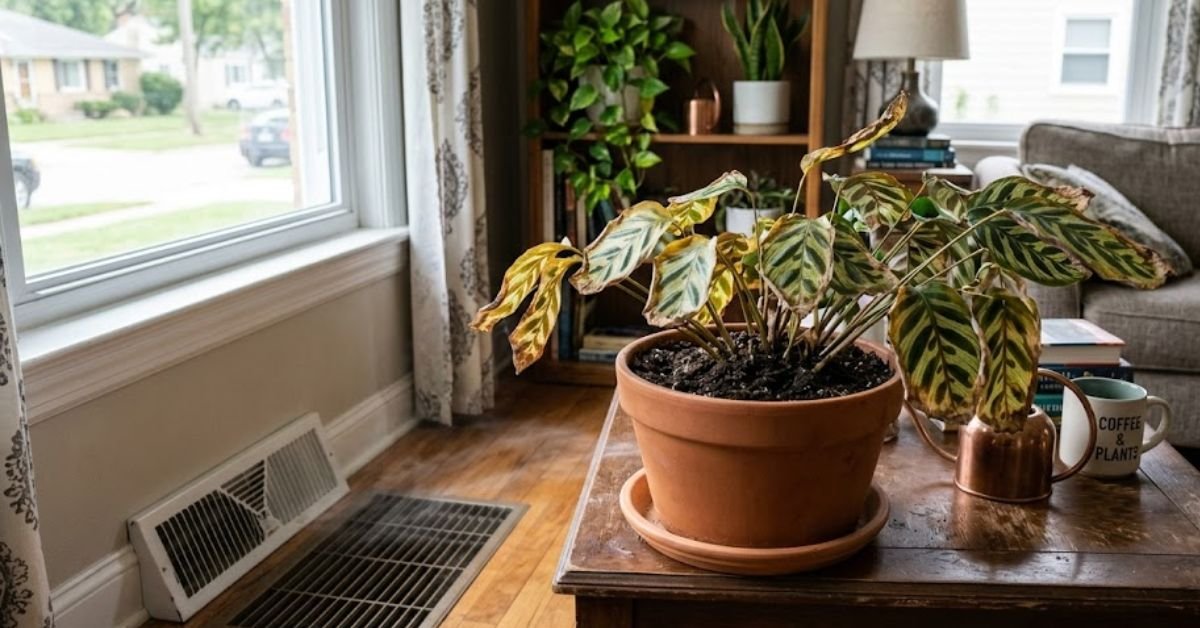
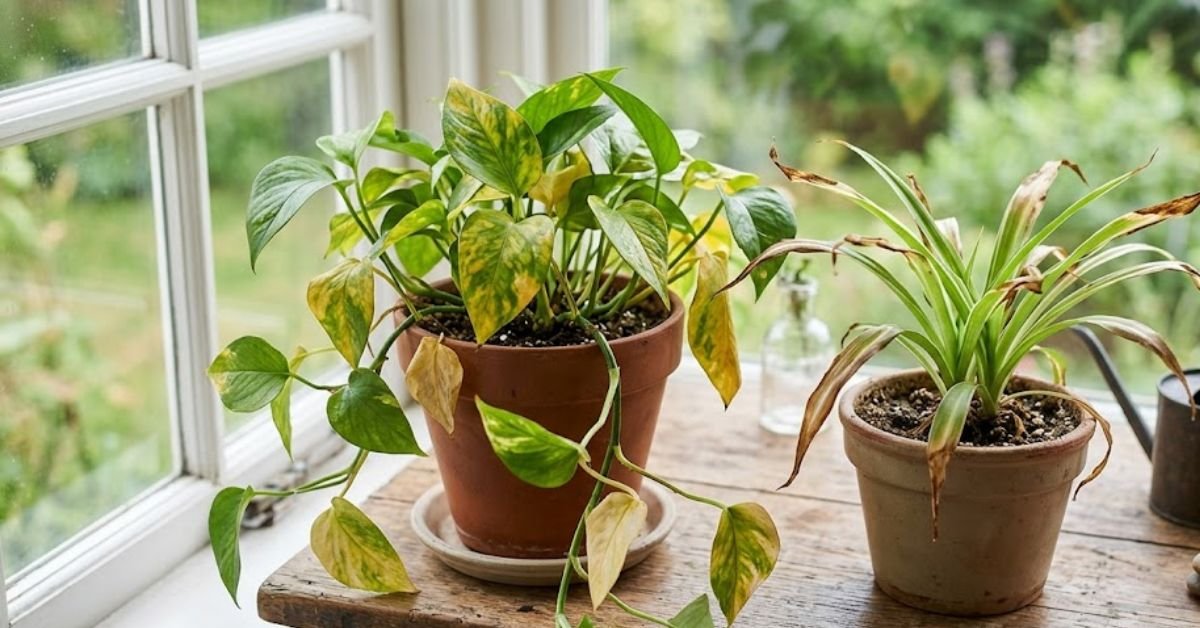
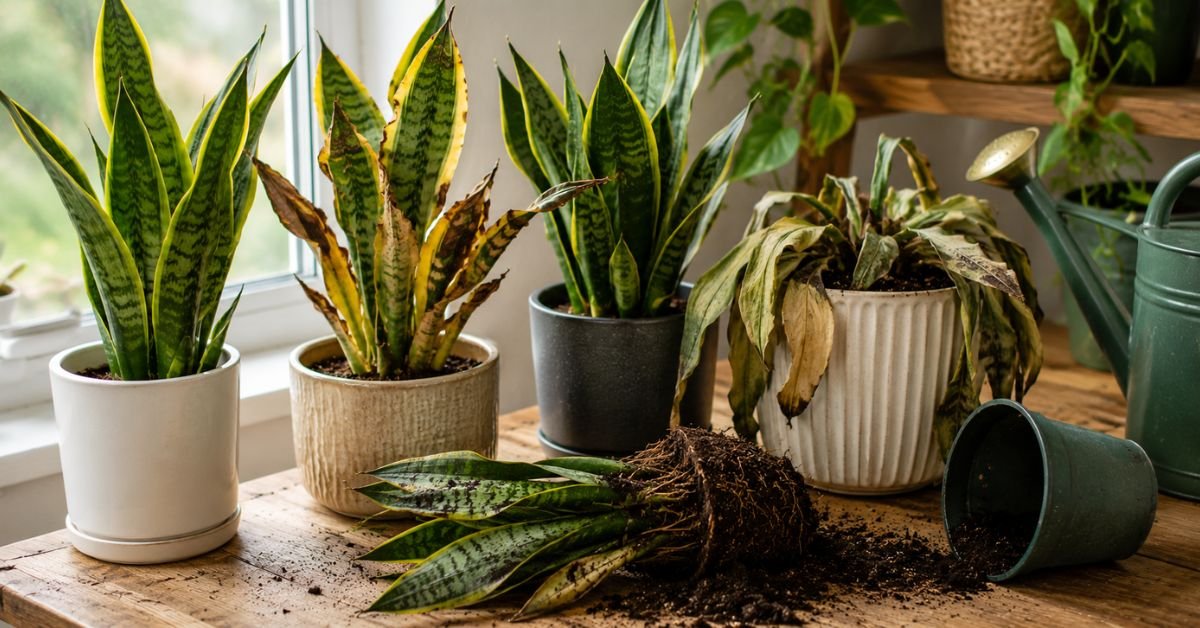
Troubleshooting: Yellow Leaves and Brown Tips
Let’s fix the issues before they get worse.
Leaves turning yellow and falling over?
You are overwatering. The roots are rotting. Pull it out of the pot, cut away the black, slimy roots, and repot it in fresh, dry soil. Do not water it for at least two weeks.
Crispy brown tips?
This is usually a sign of inconsistent watering or extremely low humidity, often caused by a nearby heating vent. Snip the very tip off with sterile scissors if you hate how it looks, and check your watering schedule.
Personal Pro-Tip: Sometimes an old leaf just dies. If it’s just one leaf on the outside of the cluster turning yellow while the rest look great, simply cut it off at the soil line. It’s totally normal.
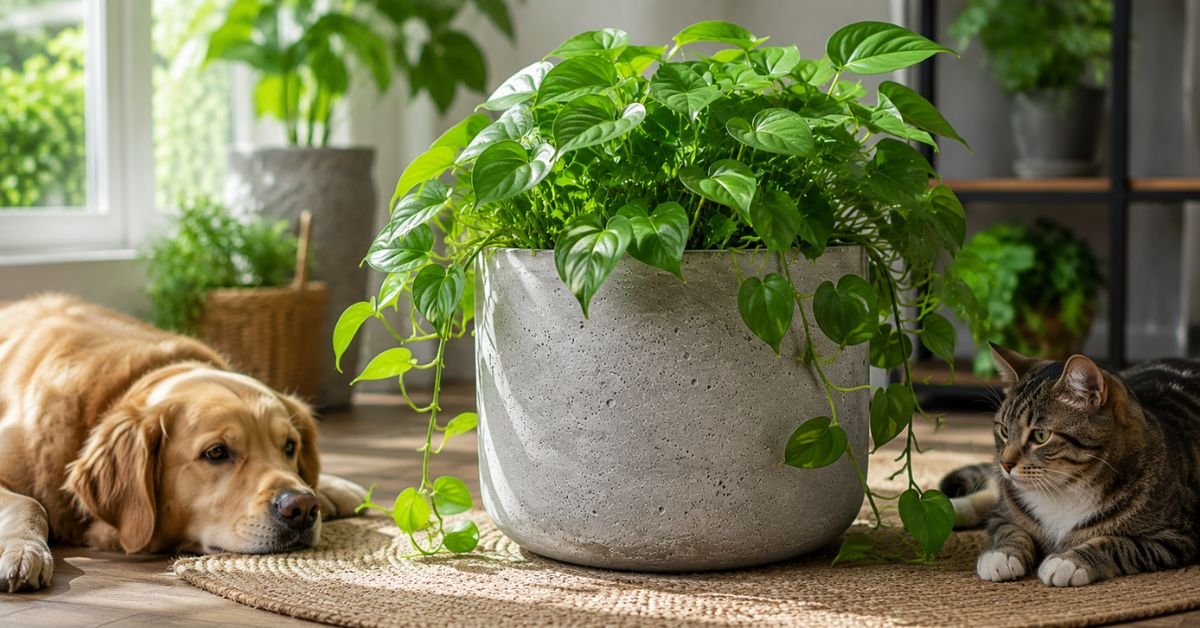
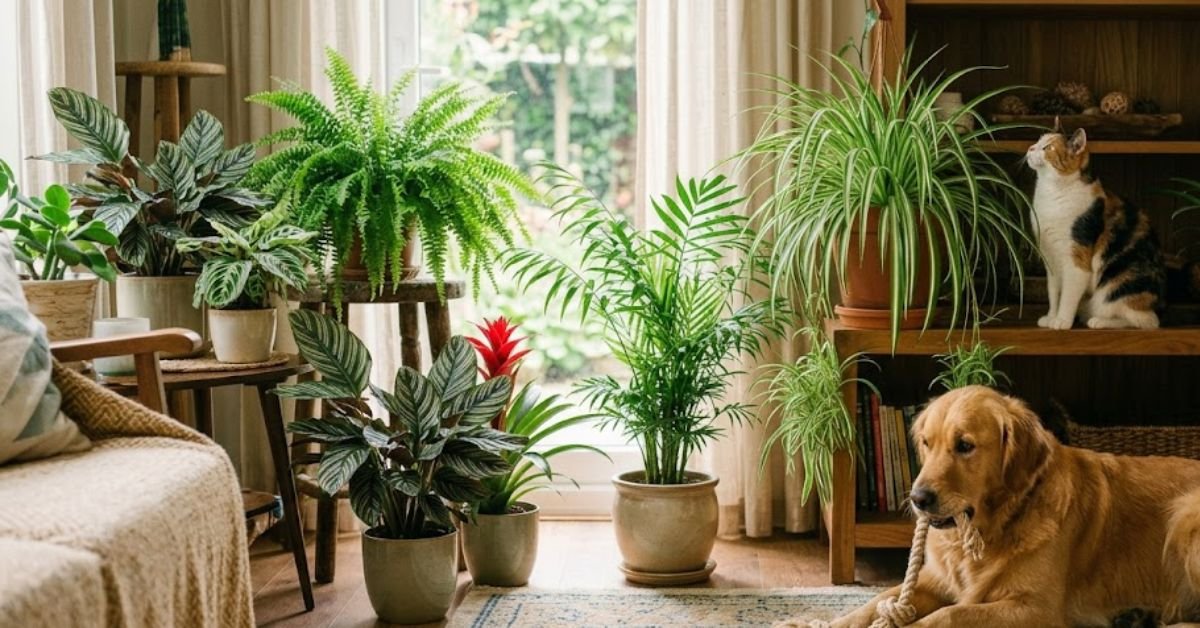
Toxicity Warning: Is It Safe for Cats and Dogs?

No. It is not.
Snake Plants contain saponins. If your cat or dog chews on the leaves, they will experience drooling, nausea, vomiting, and diarrhea.
Keep these plants on plant stands, high shelves, or in rooms where your pets are not allowed to roam freely.
Personal Pro-Tip: My golden retriever ignores plants, but my friend’s cat is a notorious leaf-biter. We ended up moving her Snake Plants to a hanging macrame planter near the window. Problem solved.
7 FAQs on Snake Plant Health Care
Q1: Do I need to fertilize my Snake Plant?
Not really. They are light feeders. I might give mine a half-strength dose of liquid houseplant fertilizer once in the Spring and once in the Summer. That’s it.
Q2: Can I put my Snake Plant outside?
Yes, but only when it’s warm. If you live in USDA Hardiness Zones 9-11, you can grow them outside year-round. Anywhere else, bring them inside before the Fall temperatures drop below 50°F. Keep them out of harsh, direct afternoon sun or they will scorch.
Q3: Why are the leaves falling outward instead of standing straight up?
Usually, this means the plant isn’t getting enough light, or it has been overwatered and the base is rotting. Move it closer to a window and check the soil moisture.
Q4: How do I clean the leaves?
Dust prevents them from getting enough sunlight. Take a damp cloth and gently wipe the leaves down every couple of months. Do not use those commercial “leaf shine” sprays. They clog the plant’s pores.
Q5: Can I grow a new plant from a cut leaf?
Absolutely. You can cut a leaf into 3-inch sections and stick the bottom ends directly into damp potting soil. It takes a few months to root, but it works. Just remember which end is the bottom; if you plant them upside down, they won’t grow.
Q6: What is the white powdery stuff on the soil?
That is usually harmless mold or mineral buildup from using hard tap water. You can scrape it off. If it bothers you, switch to watering with filtered water or rainwater.
Q7: How fast do they actually grow?
Slowly. Don’t expect explosive growth. A healthy plant might push up a couple of new pups (baby plants) from the soil during the Spring and Summer. Patience is key with good plant health care.
Final Thoughts on Snake Plant Care
Getting your plant health care routine dialed in doesn’t require a master’s degree in botany. It requires observation and restraint to leave the plant alone most of the time. Give your Snake Plant bright indirect light, a fast-draining potting soil, and water it only when it’s begging for it. You will do just fine.

Amin Khalid is a professional horticulturist and the founder of LeafyWisdom. With a deep passion for home gardening and horticultural research, he specializes in providing practical, easy-to-follow care guides for indoor plants. Amin’s goal is to simplify gardening for everyone and help fellow plant lovers build their own thriving green spaces.