
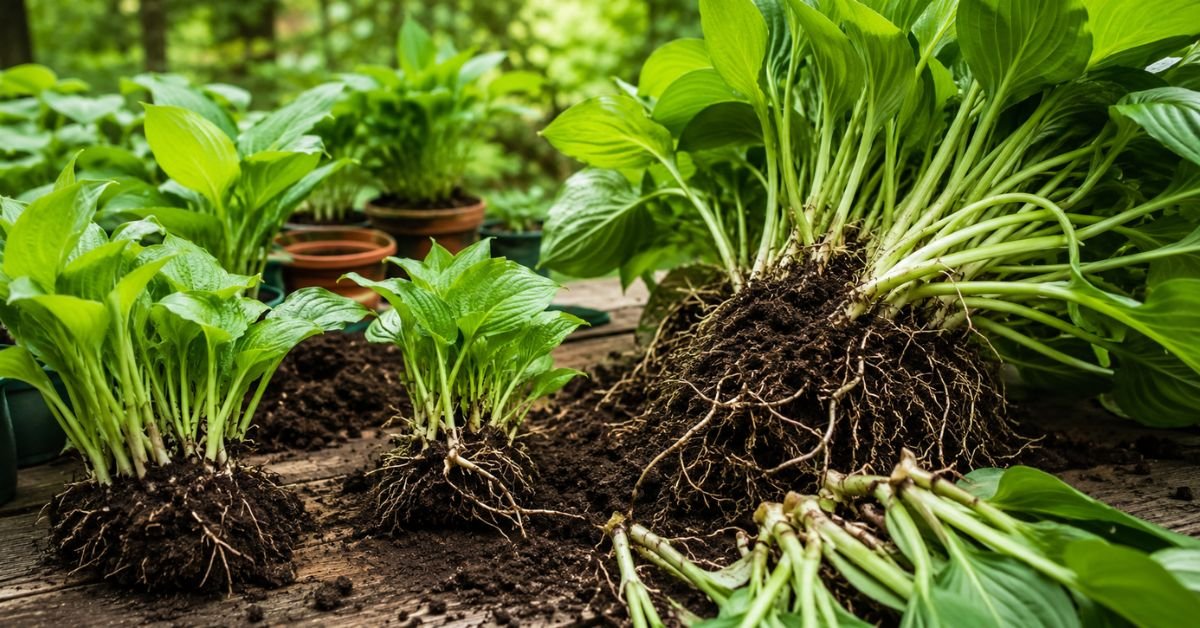
If you are tired of spending a fortune at your local US garden center every spring, I have some great news. You do not need to buy new plants to fill out your yard or your living room. You just need to learn how to split the ones you already have.
In my fifteen years of working with everything from delicate indoor ferns to massive outdoor ornamental grasses, nothing has saved me more money or kept my garden looking more lush than mastering the art of dividing plants.
Below is a quick snapshot of how to succeed before we get our hands dirty.
Quick Care & Division Snapshot
| Parameter | Best Practices for Divided Plants |
| Ideal Timing | Early Spring (as new growth starts) or Early Fall |
| Best US Zones | Outdoor: Zones 3-10 (timing varies by zone) / Indoor: Year-round |
| Soil Requirement | Fresh, sterile US potting soil (avoid heavy garden dirt indoors) |
| Watering | Keep evenly moist, never soggy (use faucet water at room temp) |
| Light & Air | Indirect light; keep far away from active AC vents |
| Recovery Time | 2 to 4 weeks for root re-establishment |
Why is the Physical Plant Division the Ultimate Gardening Hack?
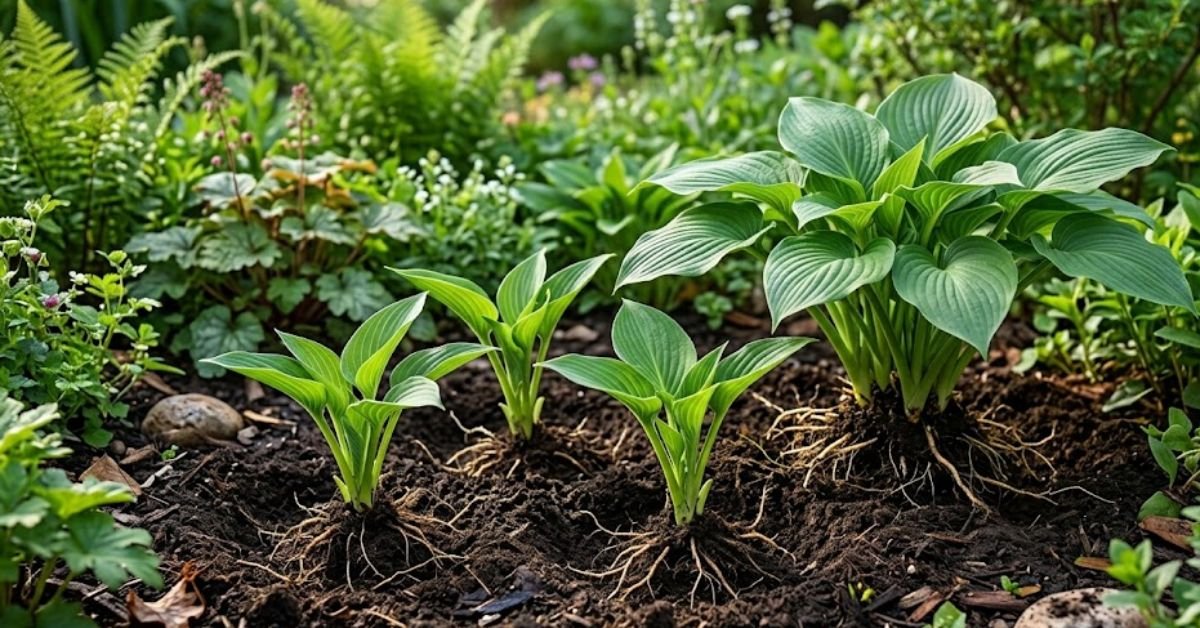
Most gardeners I meet are absolutely terrified of ripping their plants apart. I get it. Taking a sharp serrated knife to your favorite peace lily feels wrong. It feels like botanical murder.
But here is the truth: physical plant division actually rejuvenates aging plants. Over time, clump-forming plants choke themselves out. The center of the plant dies, the leaves get smaller, and they stop blooming. By performing a physical plant division, you literally give them a second lease on life.
Plus, it is a direct clone. You get the exact same traits, leaf patterns, and flowers as the parent plant. No waiting for seeds to sprout.
Personal Pro-Tip: Do not divide a sick or pest-infested plant. If your plant is struggling with spider mites or root rot, splitting it will not save it, it will just stress it to death. Fix the health issues first, then split.
When is the Best Time for a Physical Plant Division in the US?
Timing is everything. For outdoor perennials, your local USDA Hardiness Zone dictates your schedule.
If you live in USDA Zones 3 through 6 (think chilly Midwest or Northeast), early Spring is your golden window. The ground is finally workable, and the plants are just waking up. If you are down South in Zones 8 to 10, early Fall is often better because it avoids the brutal summer heat.
Indoors, things are a bit more forgiving. However, our modern American homes present a unique challenge: blasting air conditioning. AC units dry out the air, which can torture a newly divided houseplant. I always recommend doing your indoor physical plant division during active growing months (Spring through late Summer) so the new roots can recover quickly.
My Personal Advice: If you live in a hot southern zone, never divide plants in July. The intense heat combined with transplant shock is a death sentence. Wait for the autumn cool-down.
Step-by-Step: How I Perform a Successful Physical Plant Division
Here is exactly how I do it on my potting bench.
A successful physical plant division starts with preparation. Water the parent plant thoroughly a day before. Dry soil falls apart too quickly and tears delicate root hairs.
- Gently slide the plant out of its container, or dig it up with a clean spade if it’s outdoors.
- Inspect the root ball. Find the natural “crowns” or clumps where the leaves join the roots.
- Make the cut. For soft plants like spider plants or ferns, you can often just wiggle them apart with your fingers. For tough, woody roots or stubborn snake plants, I pull out a sterilized soil knife and slice straight down through the root crown. Don’t worry about the ripping sound. Plants are tougher than you think.
- Pot them up. Grab clean pots and fill them with high-quality potting soil. Do not use garden soil for indoor pots; it is too heavy and suffocates the roots.
- Water gently at the kitchen faucet with lukewarm water.
- Pro-Tip from my Bench: Clean your tools! Wipe your knife blades down with rubbing alcohol before you slice. This prevents transferring nasty soil-borne fungi from one plant to another.
Avoid These Pitfalls: Common Mistakes During Plant Division
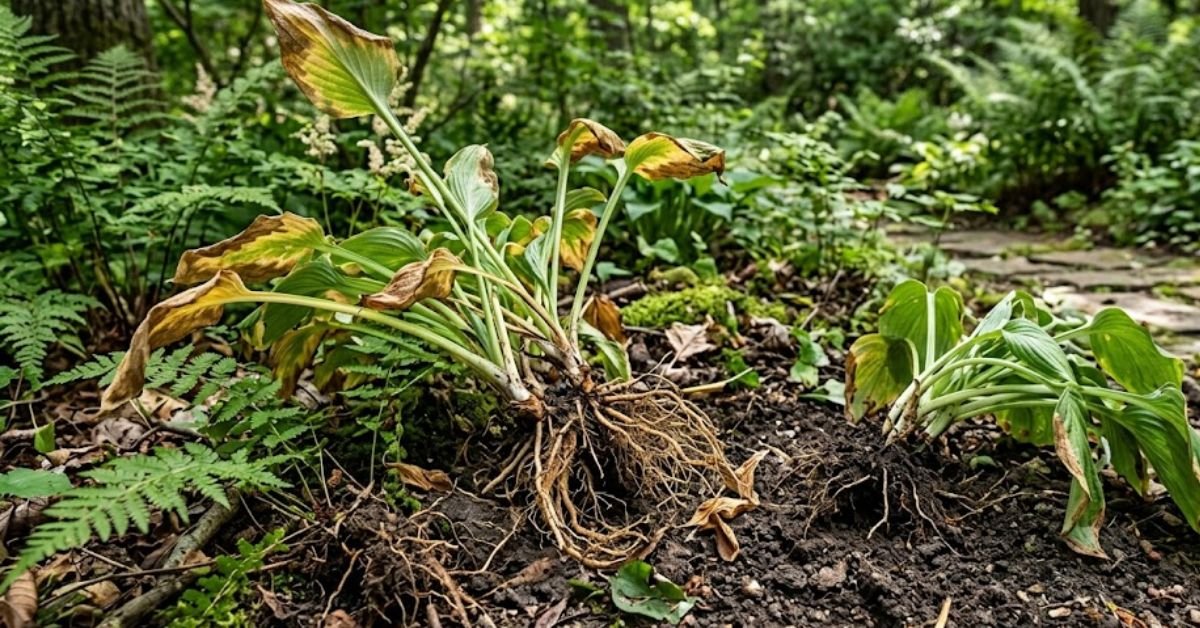
People fail at plant division for a few classic reasons.
The biggest culprit? Overwatering. When you split a plant, it loses a portion of its roots. Less roots mean it drinks less water. If you keep the potting soil soaking wet, the remaining roots will rot and die.
Another massive issue in US households is placement. We love our AC vents. But placing a freshly divided plant directly in the path of cold, dry air from an AC unit will dehydrate the foliage before the roots can recover. Keep them in a humid, draft-free spot.
Also, do not throw them into direct, blasting sunlight immediately. They need a couple of weeks in bright, indirect light to heal.
My Golden Rule: Think of your newly divided plant as a patient recovering from surgery. It needs rest, warmth, gentle humidity, and absolutely no harsh direct sun or cold drafts for at least three weeks.
Troubleshooting After-Care Issues Post-Division
You did the split, and now your plant looks sad. Don’t panic yet. Shock is totally normal.
- Drooping Leaves: If the plant droops right after, it is likely suffering from transplant shock. Put a clear plastic bag over it to create a mini-greenhouse. This locks in humidity and stops the leaves from losing water while the roots heal.
- Yellowing Leaves: This is usually a sign of overwatering or root rot. Let the potting soil dry out a bit more between waterings. Feel the soil two inches deep. If it’s wet, walk away.
- Brown, Crispy Tips: Your home is too dry, or the faucet water you are using has too much chlorine. Try letting your faucet water sit out overnight before using it, or run a humidifier nearby.
Quick Pro-Tip: If you see a few lower leaves yellow and drop off right after dividing, let them go. The plant is just shedding dead weight to focus its limited energy on growing new roots.
Toxicity and Pet Safety: What to Know Before You Split
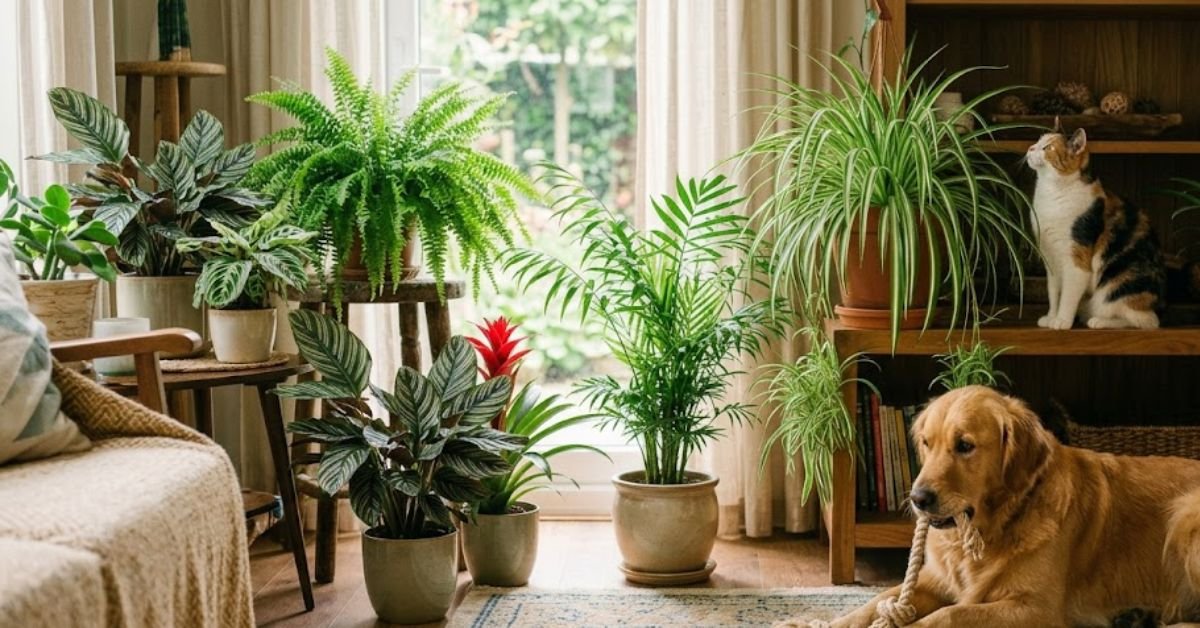
Before you run to your garden shed, we need to talk about pet safety. Many popular plants we divide like peace lilies, snake plants, and ZZ plants are toxic to cats and dogs.
When you perform a physical plant division, you are cutting open stems and roots. This releases sap that contains calcium oxalate crystals. If your curious cat or dog licks your tools, eats the discarded roots on the floor, or nibbles the freshly cut stems, they can end up with severe mouth irritation, drooling, or vomiting.
Always clean up your workspace immediately. Keep your pets in another room while you are slicing and dicing. If you want a 100% pet-safe plant to practice on, try dividing spider plants or Boston ferns.
Pet Safety Pro-Tip: I always lay down old newspapers on my kitchen counter when dividing houseplants. Once I’m done, I can just roll up all the toxic scraps and throw them directly into the trash can outside, keeping my dog completely safe.
Your Questions Answered: FAQ on Physical Plant Division
Q1: Can I divide any indoor plant?
No, you cannot. You can only divide plants that grow in clumps or have multiple crowns, offsets, or runners (like snake plants, peace lilies, cast iron plants, and ZZ plants). Single-stemmed plants like rubber trees or fiddle leaf figs cannot be divided this way; they must be propagated by stem cuttings or air layering.
Q2: What is the difference between physical plant division and taking cuttings?
Taking cuttings involves snipping off a stem or leaf and forcing it to grow entirely new roots from scratch. Physical plant division is much faster because you are separating an already-established root system into multiple plants. You get a fully functional, mature plant right from day one.
Q3: Do divided plants grow slower?
For the first few weeks, yes. They redirect all their energy toward repairing damaged roots rather than pushing out new leaves. Once the root system recovers (usually in about a month), they will take off and grow at a normal rate.
Q4: Why is my plant wilting after I divided it?
It is going through classic transplant shock. Since the root system was disrupted and likely reduced, it cannot supply water to the leaves fast enough. Keep it out of direct sunlight, boost the humidity, and let it rest. It should perk back up in a week or two.
Q5: Can I use faucet water right after physical plant division?
Yes, but let it sit in an open container for 24 hours first. Fresh faucet water often contains chlorine and heavy minerals that can irritate raw, damaged root endings. Room temperature water is also gentler on shocked roots than freezing cold water.
Q6: How small can I divide a plant?
Each divided section must have at least one healthy leaf crown (or growth point) and a decent cluster of roots. If you divide it too small—like a single leaf with zero roots—the plant will have an incredibly hard time surviving.
Q7: Do I need to fertilize my newly divided plants right away?
Absolutely not. This is a huge mistake. Fertilizers contain salts that can easily burn tender, freshly cut roots. Wait at least 4 to 6 weeks for the plant to establish itself in its new potting soil before you even think about feeding it.
Final Thoughts
Dividing plants might feel intimidating at first. The first time I sliced a massive fern in half with a serrated knife, I was convinced I had killed it. But nature is resilient. With some high-quality potting soil, a little patience, and keeping them away from those freezing AC vents, your divided plants will grow beautifully. It is the cheapest, most rewarding way to double your plant collection and keep your home looking incredibly green.

Amin Khalid is a professional horticulturist and the founder of LeafyWisdom. With a deep passion for home gardening and horticultural research, he specializes in providing practical, easy-to-follow care guides for indoor plants. Amin’s goal is to simplify gardening for everyone and help fellow plant lovers build their own thriving green spaces.

No responses yet