I have spent over fifteen years getting my hands dirty in both muddy backyard gardens and pristine living room plant shelves, and if there is one thing I have learned, it’s that finding the best potting soil for indoor plants is the single most important decision you will make for your green space. Most people treat dirt like an afterthought they buy a beautiful, expensive tropical plant, drag it home, and stuff it into whatever cheap bag of dirt they find at the local big-box store. Then they wonder why it dies two months later. Choosing the right mix isn’t about buying the most expensive brand; it is about understanding what happens to a plant’s roots when it gets trapped inside a plastic container inside an air-conditioned American home. Let’s fix your dirt setup once and for all.
Quick Guide to Selecting the Best Potting Soil for Indoor Plants
If you are just skimming for quick answers before running out to the garden center, here is the quick breakdown of what your specific plants actually need.
| Plant Group | Soil Needs | Ideal Texture & Composition |
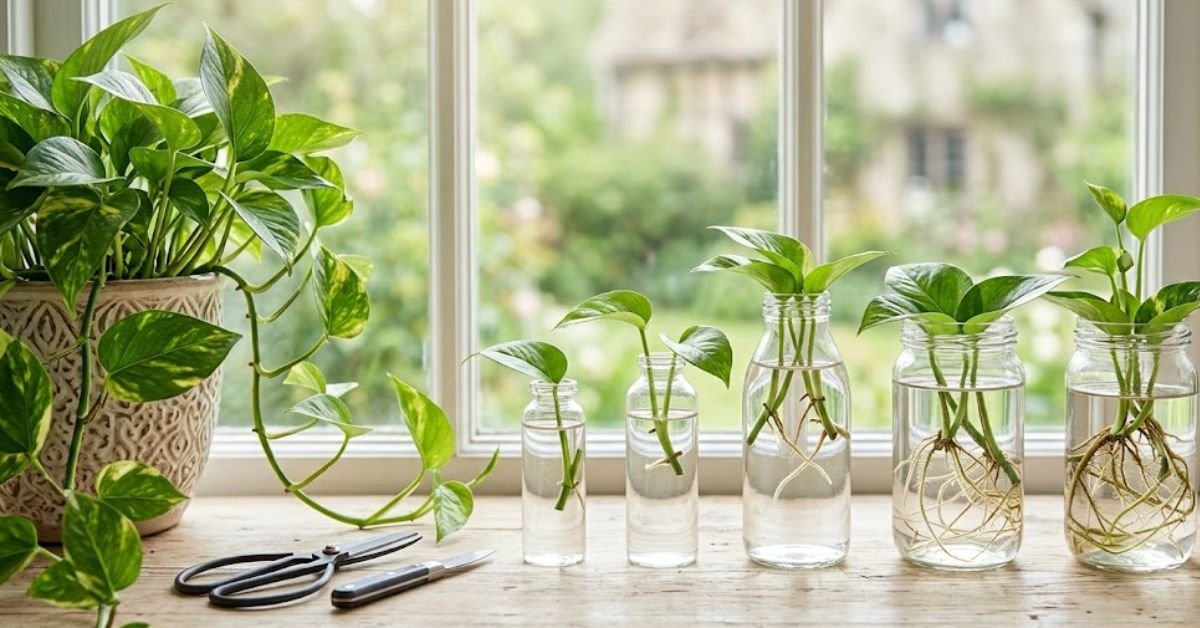
| Tropicals & Aroids (Monsteras, Pothos, Philodendrons) | High chunkiness, superb aeration, moderate moisture retention | 50% Standard indoor mix, 30% Orchid bark, 20% Perlite |
| Succulents & Cacti (Snake Plants, Echeveria, ZZ Plants) | Lightning-fast drainage, zero water pooling, gritty texture | 40% Potting soil, 40% Coarse sand or pumice, 20% Perlite |
| Moisture Lovers (Ferns, Calatheas, Caladiums) | Consistent, even moisture without turning into a swamp | 60% Peat moss or Coco coir, 20% Perlite, 20% Vermiculite |
Personal Pro-Tip: Never judge a soil by how it looks in the bag. Dump it into a bucket and squeeze a handful of it when it’s damp. If it stays in a hard, muddy ball when you open your hand, it lacks aeration. It needs perlite, immediately.
Why Americans Struggle with Indoor Potting Mixes
Look, if you are living in USDA Hardiness Zone 4 or Zone 9, it does not matter much once the plant is sitting on your living room side table. Inside your house, your thermostat dictates the climate.
But our modern American homes present a silent killer: central air conditioning and heavy heating systems.
In the Summer, your AC blasts cool air that strips the humidity from the room. In the Winter, your furnace turns your house into a desert. This constant airflow dries out the top inch of your soil incredibly fast, tempting you to run to the faucet every three days.
But guess what? The bottom half of that pot is still soaking wet because there is no wind or natural sunlight to evaporate it.
The roots end up drowning in a stagnant swamp, bacteria takes over, and root rot sets in. Another massive blunder I see constantly is people digging up dirt from their backyard. Outdoor garden soil belongs outdoors. It contains heavy clays and silt designed to work with earthworms and deep ground drainage. Put that in a small ceramic pot, and it packs down like wet concrete, suffocating your indoor roots within weeks. Always use a dedicated indoor potting soil that relies on soilless mediums like peat or coco coir.
Personal Pro-Tip: Keep your houseplants away from your HVAC vents. The direct air currents dry out the soil unevenly, tricking you into overwatering the root base.
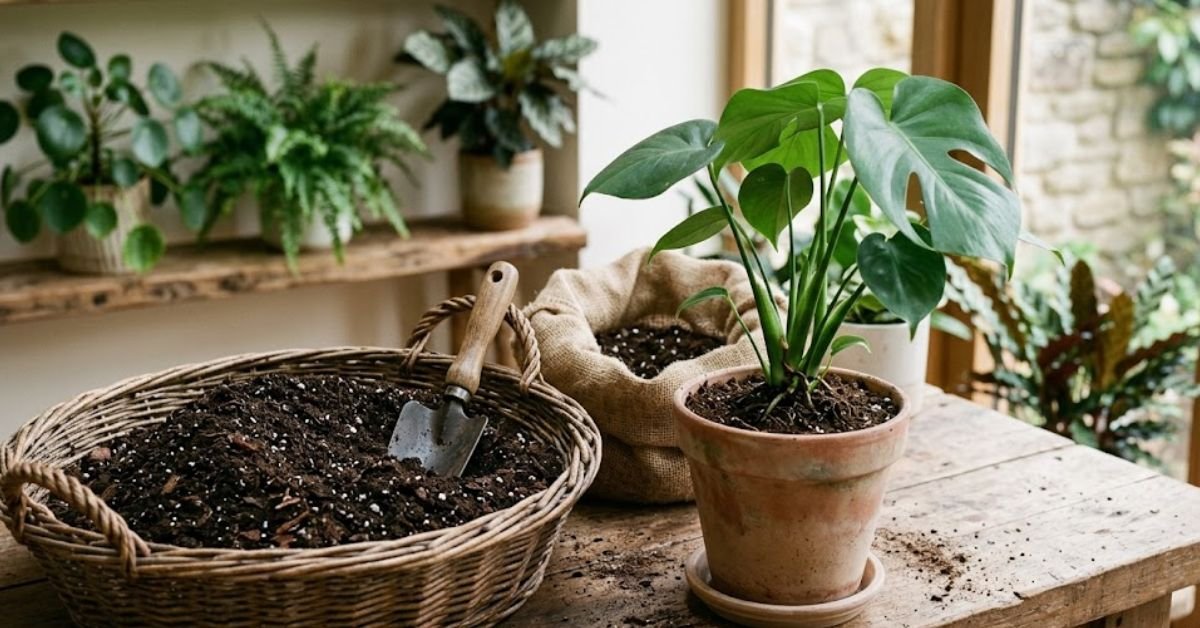
How to Mix the Best Potting Soil for Indoor Plants at Home
You do not have to settle for the dense, peat-heavy bags that sit on store shelves. I prefer to buy a basic, organic indoor base and customize it myself. It is cheaper in the long run and keeps my plants far happier.
Here is my go-to “Universal Chunky Mix” recipe that works beautifully for almost every tropical plant in my house:
- 4 parts commercial indoor potting mix (provides baseline nutrients)
- 2 parts coarse orchid bark (creates massive air pockets for roots)
- 2 parts perlite (the white volcanic glass that ensures fast drainage)
- 1 part worm castings (nature’s perfect, non-burning fertilizer)
When you blend these together, you get a light, fluffy substrate. When you pour water over it, the excess runs straight out of the bottom drainage holes within seconds, while the bark and coir hold just enough moisture to keep the plant hydrated. This is exactly what you want when looking for the best potting soil for indoor plants.
Deep Dive 1: Peat Moss vs. Coconut Coir in the Best Potting Soil for Indoor Plants
To really understand what makes a mix work, we have to look at the primary moisture-holding base. For decades, Canadian sphagnum peat moss has been the gold standard for American potting soils. It is fantastic at holding onto water and releasing it slowly to the plant roots. It also has a slightly acidic pH, which most tropical plants absolutely love.
But peat moss has a major flaw: when it dries out completely, it becomes hydrophobic. It shrinks away from the edges of your pot and repels water like a raincoat.
That is why many modern premium blends are shifting toward coconut coir.
Coir is a byproduct of the coconut harvesting industry, made from the fibrous husks of the fruit. It absorbs water almost instantly, even if it has been bone dry for weeks. It also degrades much slower than peat moss, meaning your soil won’t compact as fast over the years. The downside? Coir is completely sterile. It holds zero natural nutrients and can sometimes contain high levels of salt if it wasn’t washed properly during processing.
If you are mixing your own, I highly recommend a 50/50 blend of both. You get the pH benefits of peat along with the easy re-wetting properties of coir.
Personal Pro-Tip: If you buy cheap coconut coir bricks that require hydration at home, always flush them with fresh water from your faucet two or three times before mixing. This washes away any residual processing salts that could burn your plant’s sensitive roots.
Deep Dive 2: Perlite vs. Pumice for Aerating Your Houseplant Mixes
Roots need to breathe. It sounds strange because they live underground, but plant roots require oxygen exchange to survive. Without it, they literally suffocate. That is where aeration amendments come into play, and the battle usually comes down to perlite versus pumice.
Perlite is that white stuff that looks like crushed Styrofoam. It is actually volcanic glass that has been heated until it pops like popcorn. It is incredibly lightweight, dirt cheap, and readily available at every local US garden center.
The issue with perlite is its weight. Because it weighs next to nothing, it tends to float to the top of your pot every time you water. Over a year, you will find a thick layer of white crust on top of your soil, while the bottom of the pot has become dense and compacted again.
Pumice is the professional’s secret weapon.The catch? It is harder to find in standard big-box stores and costs more to ship because of the weight. If you have heavy pots or top-heavy plants like large Monstera Deliciosas, go with pumice. It adds excellent anchor weight to the base so your pots don’t tip over when the living room AC fan kicks on.
Personal Pro-Tip: For small pots under six inches, standard perlite works beautifully. For massive floor plants, skip the perlite entirely and use 3/8-inch horticultural pumice to maintain long-term soil structure that won’t collapse under the weight of the plant.
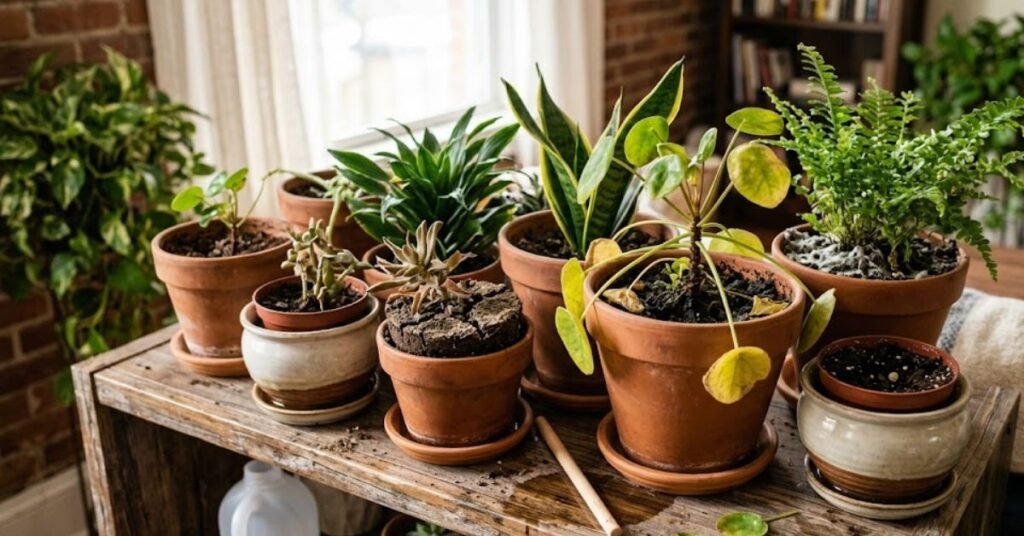
Troubleshooting Your Indoor Plant Soil Nightmares
The Soil Has Become a Hard Brick
If you pour water into your pot and it just sits on top like a puddle, or runs straight down the inside edges of the pot without soaking the middle, your soil has become hydrophobic. This happens when peat-heavy soils dry out completely.
- The Fix: Fill your sink with a few inches of lukewarm water from the faucet. Set the whole pot inside the sink and let it “bottom water” for a good 45 minutes. The soil will slowly suck up moisture from the bottom, rehydrating the peat blocks.
Tiny Black Bugs are Flying Everywhere
Those are fungus gnats. They do not look like much, but their larvae live in your soil and chew on your plant’s delicate root hairs. They love wet, decaying organic matter.
- The Fix: Stop watering so much. Let the top two inches of soil dry out completely to kill off the larvae. Toss a handful of mosquito bits into your watering can, or cover the topsoil with a thin layer of sand to stop the adults from laying more eggs.
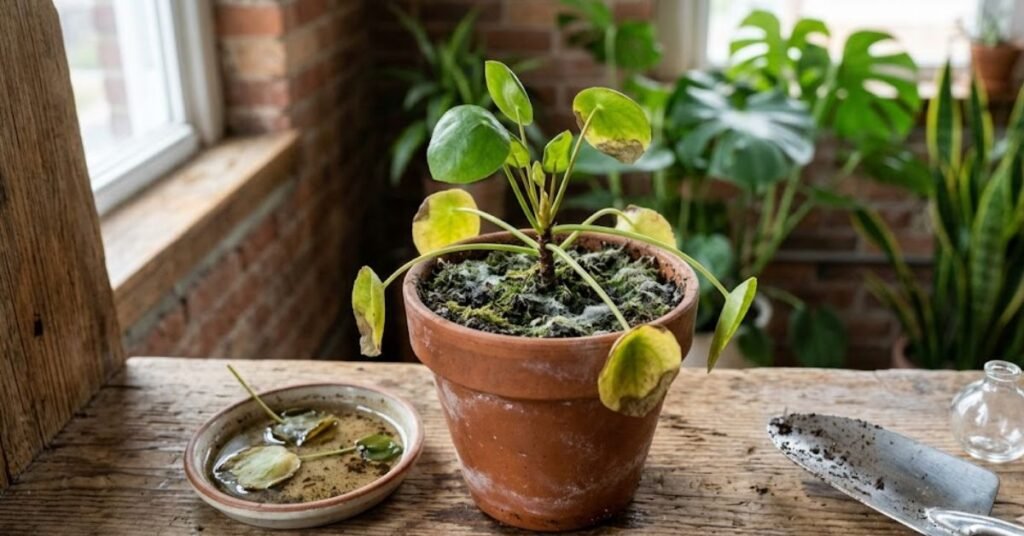
White, Fuzzy Mold on the Surface
You wake up and notice a layer of white fuzz sitting on top of your dirt. Don’t panic. It is usually a harmless saprophytic fungus. It means your soil is rich in organic matter, but it also means your room lacks air circulation.
- The Fix: Scrape off the top layer. Sprinkle a little ground cinnamon (a natural antifungal) over the fresh soil, and turn on a ceiling fan to get the air moving.
Personal Pro-Tip: If you see green algae or moss growing on top of your houseplant soil, it is a dead giveaway that you are overwatering or your pot doesn’t have a drainage hole. Change it out.
Is Your Indoor Plant Soil Safe for Pets?
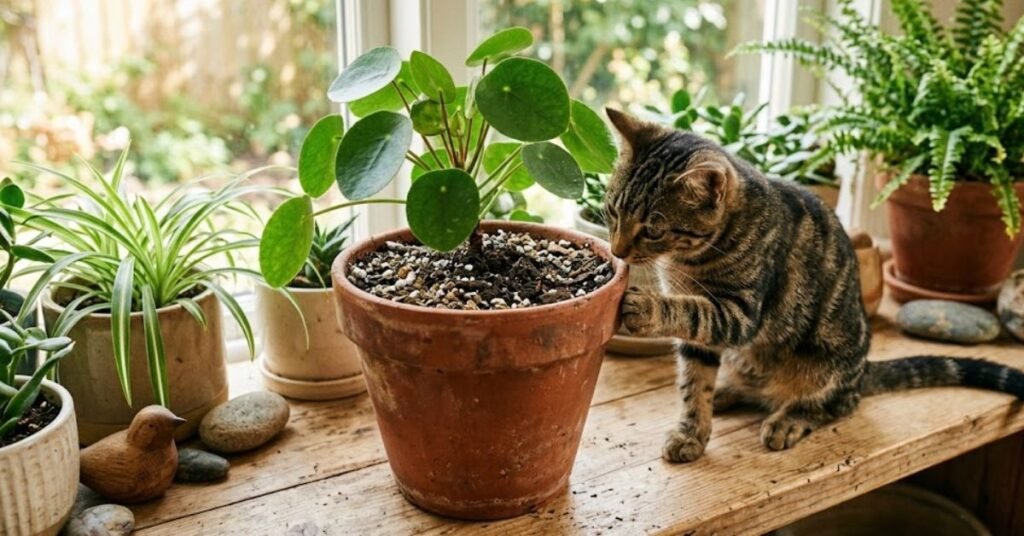
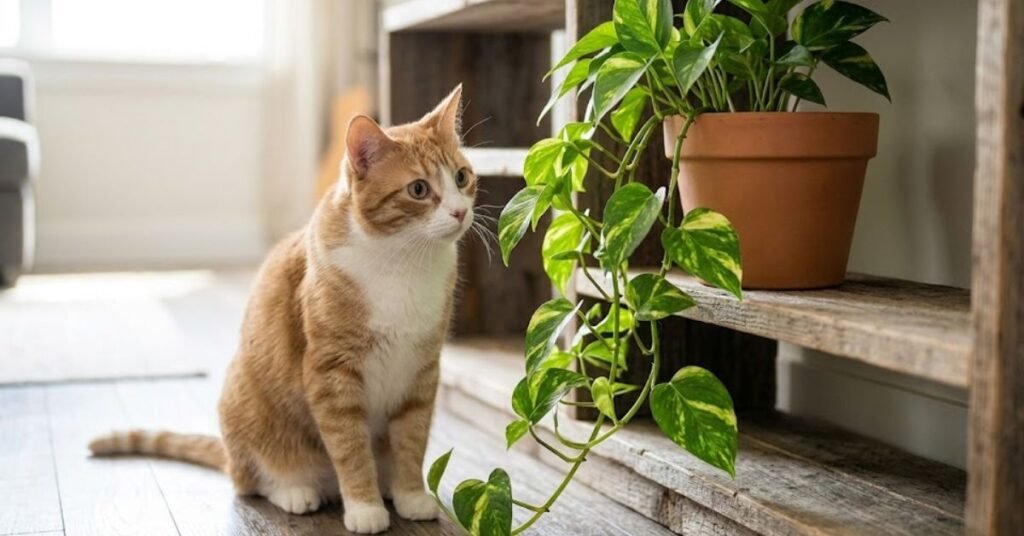
We love our furry roommates, but they can be incredibly goofy when it comes to houseplants. Pure, unadulterated potting soil is generally just dirty, not toxic. However, the hidden dangers lie in the additives.
Many cheap commercial soils include synthetic, time-release chemical fertilizer beads (those little green or blue round spheres). If your dog or cat digs into the pot and ingests a large concentration of these fertilizer beads, it can cause severe vomiting, diarrhea, or worse.
Additionally, avoid soils pre-treated with systemic insecticides or pesticides if you have a curious cat who likes to chew on leaves or dig in the dirt. I always stick to organic, OMRI-listed soils and use natural fertilizers like worm castings to keep my home safe for my retriever.
Personal Pro-Tip: If your cat treats your large indoor planters like a personal litter box, press a few pinecones or a layer of large, rough river stones directly onto the soil surface. They hate the texture on their paws and will stay away.
FAQs About the Best Potting Soil for Indoor Plants
Q1: Can I reuse old potting soil from a plant that died?
I highly advise against it. If that previous plant died from a root rot fungus or a pest infestation, those pathogens are still lingering in that old soil. Toss it in your outdoor compost pile instead and start fresh inside.
Q2: Why does my houseplant soil smell like rotten eggs?
That terrible smell means your soil is anaerobic, meaning it is completely waterlogged and lacks oxygen. Bacteria that live without air are taking over, and your roots are rotting. Repot the plant immediately into fresh, well-draining soil and trim away any mushy, black roots.
Q3: Does indoor potting soil expire or go bad in the bag?
It does not expire like milk, but if you leave an opened bag out in the garage for a year, it will dry out completely and lose its ability to absorb water easily. It can also attract outdoor bugs. Keep your opened bags sealed tightly in a plastic storage tote.
Q4: Do I really need to buy different soil for my succulents?
Yes. Regular potting soil retains water far too long for a succulent’s liking. Succulents store water in their fleshy leaves and their roots will rot incredibly fast if they sit in damp soil for more than a few days
Q5: Why does my indoor potting soil keep drying out into a hard crust? This happens when peat-heavy soils lose all their moisture and become “hydrophobic,” meaning they actually repel water instead of absorbing it. When you pour water from the faucet, it just runs down the inside edges of the pot. To fix this, mix more perlite or pumice into your potting soil to break up the texture, and try bottom-watering the pot in your sink to completely rehydrate the core.
Q6: Can I use outdoor compost in my indoor pots?
I love compost in my outdoor vegetable beds, but keep it out of the house unless it has been thoroughly pasteurized. Raw outdoor compost introduces weed seeds, wild fungi, and unwanted hitchhikers like centipedes or spider mites right into your living room.
Q7: How do I know when it’s time to completely replace my plant’s soil?
Generally, potting mixes break down and lose their structure every 12 to 18 months. If you notice the soil level has dropped significantly in the pot, feels heavy and compacted, or your plant has stopped growing during the Spring, it is time for a fresh repotting session.
Final Thoughts
At the end of the day, your indoor plants are entirely dependent on what you put in that pot. They cannot stretch their roots deeper into the earth to find nutrients or escape a soggy patch of mud. Spend a couple of extra bucks on a quality, airy indoor blend, toss in some extra perlite or orchid bark to keep things chunky, and watch your indoor jungle explode with healthy growth.

Amin Khalid is a professional horticulturist and the founder of LeafyWisdom. With a deep passion for home gardening and horticultural research, he specializes in providing practical, easy-to-follow care guides for indoor plants. Amin’s goal is to simplify gardening for everyone and help fellow plant lovers build their own thriving green spaces.