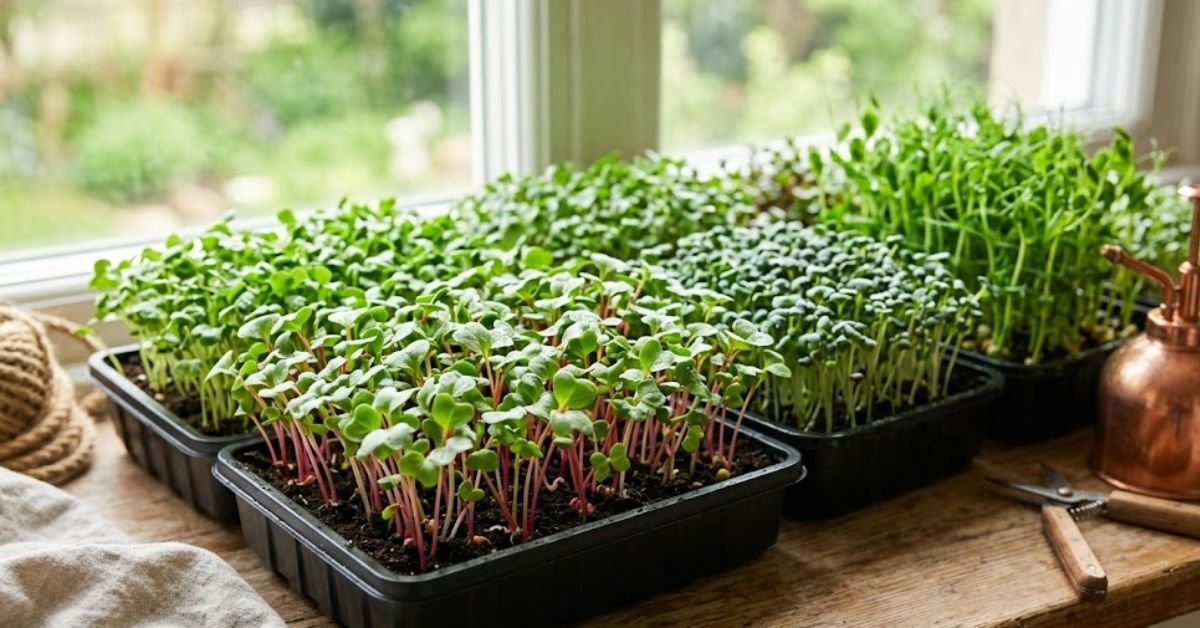
Growing your own food doesn’t require an acre of land or an expensive greenhouse setup. If you want to learn how to grow microgreens indoors, this practical guide cuts through the noise to show you exactly how to get a heavy, nutrient-dense harvest right on your kitchen counter with minimal gear.
| Growth Factor | Indoor Target / Requirement |
| Best Medium | High-quality, fine-textured potting soil or seed-starting mix |
| Lighting | 12–16 hours daily (LED grow lights or a bright South-facing window) |
| Watering Method | Bottom-watering via the faucet; keep damp, never soggy |
| Ideal Temperature | 65°F to 75°F (Keep clear of central heating/AC vents) |
| Blackout Phase | 2 to 4 days under an upside-down tray with a light weight |
| Days to Harvest | 7 to 14 days for most varieties (e.g., Radish, Broccoli, Peas) |
I remember the first time I tried to grow a tray of broccoli greens on my kitchen counter during a brutal winter up in USDA Hardiness Zone 5. My home furnace was running non-stop, blasting dry, hot air across the living room. Within four days, my beautiful little seedlings looked like tiny, withered pieces of straw. I learned the hard way that indoor gardening has its own distinct set of rules.
If you want to master how to grow microgreens indoors, you don’t need a massive backyard or a green thumb. Honestly, anyone can do it right next to their kitchen sink. Let’s break down exactly how to get a heavy harvest of crisp greens in less than two weeks without overcomplicating things.
Why You Should Learn How to Grow Microgreens Indoors
They are essentially super-concentrated versions of adult vegetables. Think about it: a tiny radish shoot can pack more punch and intense flavor than a full-grown radish from the grocery store. Plus, buying those tiny plastic clamshells at Whole Foods or your local supermarket will easily run you five or six bucks for a measly ounce.
When we handle the process at home, we spend pennies per batch. When we look at the logistics of how to grow microgreens indoors, it really comes down to controlling your immediate countertop environment. It is an easy, satisfying win.
Personal Pro-Tip
Don’t start with complicated, expensive setups. Grab some basic radish or broccoli seeds first. They are incredibly forgiving, germinate in a flash, and give you that quick win you need to build up your confidence.
The Step-by-Step Blueprint on How to Grow Microgreens Indoors
Let’s get our hands dirty. It doesn’t take much space, but it does require an orderly process.
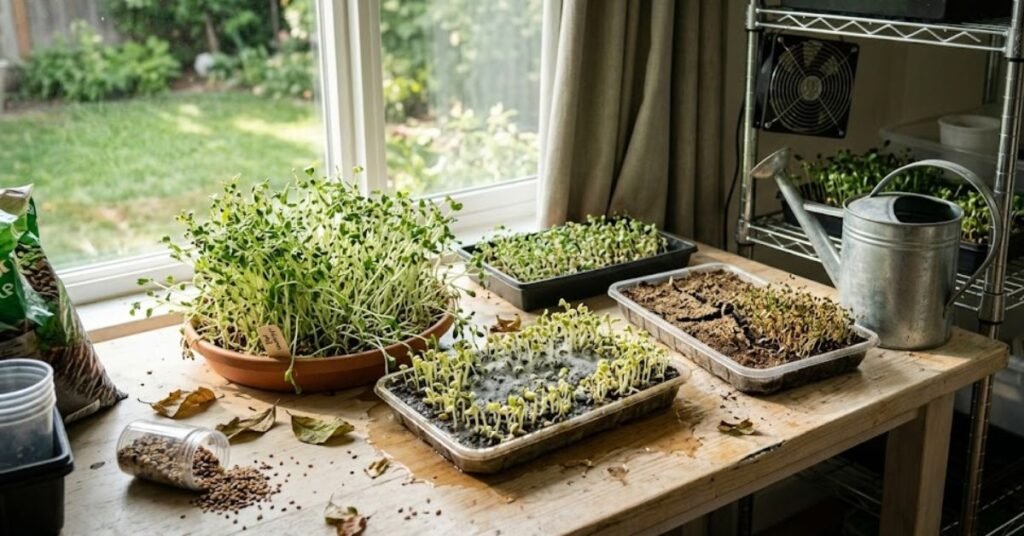
Selecting Your Trays and Potting Soil
Forget about backyard dirt. You need a clean, fine-textured indoor potting soil or a dedicated seed-starting mix. If your potting soil has massive chunks of wood or heavy bark, those tiny seeds will struggle to push their roots down.
I prefer shallow plastic trays specifically the standard 1020 trays you find at any local garden center or hardware store. You want one tray with drainage holes and one solid tray without holes to nestle it inside.
Personal Pro-Tip
If you don’t want to buy professional plastic garden trays, just poke some drainage holes in the bottom of an empty plastic berry clamshell from the grocery store. It works beautifully for small kitchen batches.
Sowing Seeds While Learning How to Grow Microgreens Indoors
Here is where most beginners hesitate. When you plant regular garden vegetables, you space seeds inches apart. With microgreens, we throw that rule out the window. We want a dense carpet.
Fill your tray with about an inch or two of moistened potting soil. Pat it down lightly so it’s flat like a tabletop, but don’t pack it tightly like a brick. Sprinkle your seeds evenly across the surface. They should be close, like sprinkles on a doughnut, but not piled on top of each other in heaps. Mist them thoroughly with a spray bottle using water straight from your kitchen faucet.
Personal Pro-Tip
For larger seeds like peas or sunflowers, soak them in a mason jar of water for about 8 to 12 hours before planting. This softens the hard outer shell and shaves days off your total growth time.
Managing the Crucial Dark Blackout Period
Once your seeds are sown and misted, they need darkness and a bit of pressure to build strong roots. Don’t put them under the light yet. Instead, cover the seeds with an upside-down tray or a piece of clean cardboard to block out all ambient light.
I even like to place a light weight like a small brick or a heavy book—right on top of the covering tray. It sounds crazy, but forcing the sprouts to push against a physical weight makes them grow thicker, stronger stems. Check them once a day to ensure the soil isn’t drying out.
Personal Pro-Tip
Keep the blackout area warm, ideally around 70°F. If your house is cold during a northern winter, place the tray on top of your refrigerator. The ambient heat from the fridge motor provides a perfect, gentle warmth.
Setting Up Light for Your Countertop Trays
After 3 to 4 days, you will lift the cover and see pale, yellowish, somewhat squished sprouts. Don’t panic. This is exactly what they should look like. Now they need light to start producing chlorophyll and turn a vibrant green.
A bright, South-facing window can work if you get at least 6 hours of direct sun. However, if you live in a place with gray, cloudy winters, a simple LED grow light suspended a few inches above the tray is a game-changer. Leave the lights on for about 12 to 16 hours a day.
Personal Pro-Tip
Do not let your grow lights sit too far away. If the light source is two feet above the tray, your microgreens will grow tall, skinny, and floppy as they stretch for it. Keep LEDs just 4 to 6 inches above the canopy.
Common Mistakes to Avoid When Learning How to Grow Microgreens Indoors
I have seen countless home gardeners fail because they treat these tiny greens like standard houseplants. They aren’t.
The biggest killer? Air conditioning and heating vents. If you place your tray directly under or over an active HVAC vent, the moving air will completely parch the soil or chill the plants, leading to sudden stunting.
Another massive mistake is watering from the top once the greens have sprouted. Dumping water directly onto the fragile leaves matts them down and traps moisture, which is an open invitation for fungal issues. Always water from the bottom by pouring water directly into the outer, solid tray and letting the soil wick it up.
Personal Pro-Tip
Get into the habit of picking up your grow tray. If it feels feather-light, it’s time to add water to the bottom tray. If it feels heavy, leave it alone. Your hands are the best moisture meters.
Troubleshooting When Figuring Out How to Grow Microgreens Indoors
Let’s look at the issues that pop up most frequently on gardening forums.
- Fuzzy White Stuff on the Soil: Beginners often mistake root hairs for mold. Look closely under a flashlight. If the fuzz is only tightly hugging the main root stem, those are beneficial root hairs searching for water. If the fuzz is web-like, spreading across multiple plants, and looks like a cobweb, it’s mold.
- The Fix: Increase your room’s air circulation with a small desk fan. If mold takes over early, spray it lightly with a diluted mix of food-grade hydrogen peroxide and water.
- Yellowing Leaves: If your greens remain pale yellow after two days under the light, they aren’t getting enough intensity, or the room is too cold.
- The Fix: Move your light source closer or move the setup away from a drafty winter window.
- Falling Over / Wilting: This is almost always a sign of severe dehydration.
- The Fix: Add water to the bottom tray immediately. They usually perk back up within a couple of hours if you catch them early enough.
Personal Pro-Tip
If a batch gets completely overrun by thick gray mold, do not try to save it. Toss the soil into your compost pile, wash the tray thoroughly with soap, and start fresh. It happens to everyone at some point.
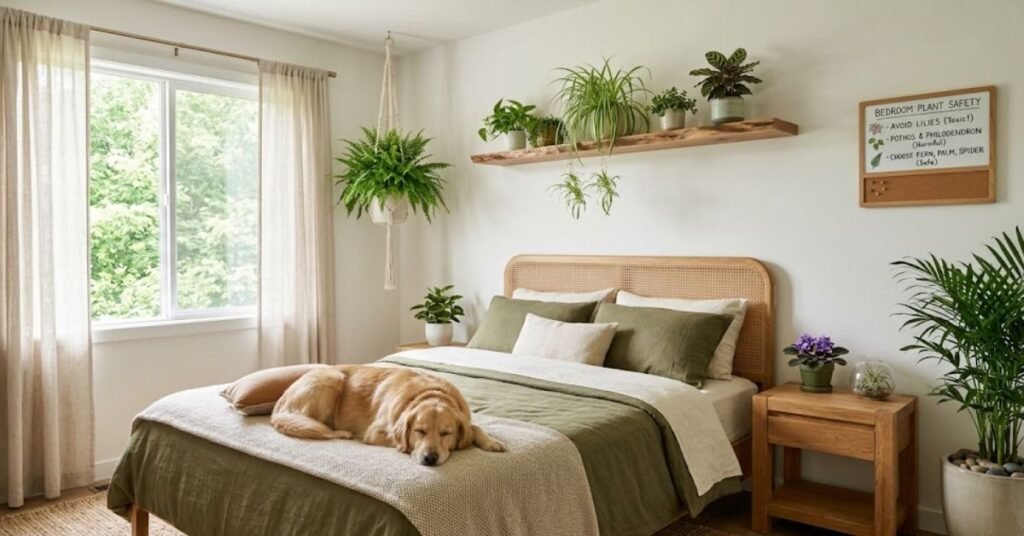
Microgreens Pet Toxicity Warning: Are They Safe for Cats and Dogs?
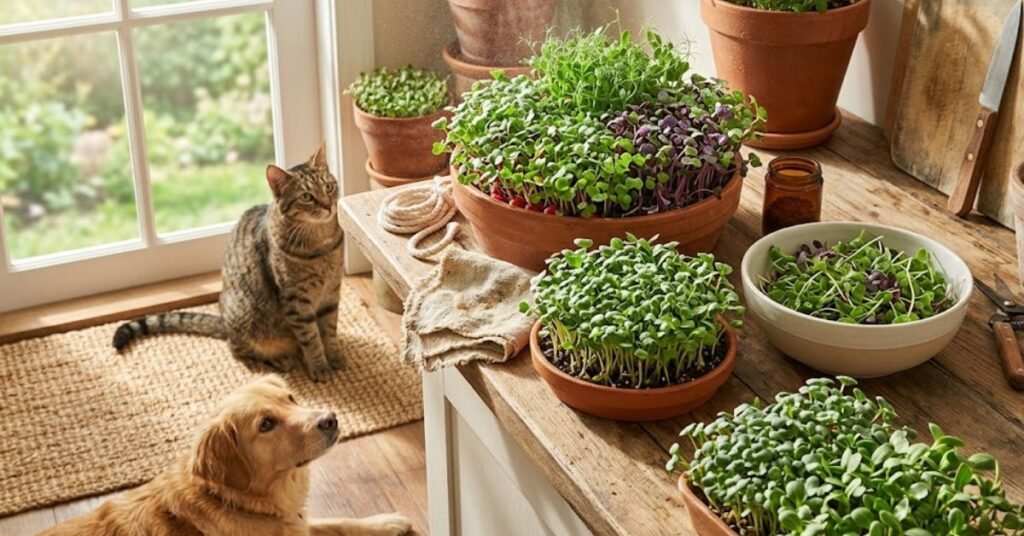
As a pet owner, I always check plant safety before bringing anything into my living space. Most common microgreens like broccoli, radish, sunflower, and pea shoots are completely non-toxic and safe for cats and dogs. In fact, many cats love nibbling on crunchy pea shoots.
However, you must avoid growing nightshade family crops as microgreens. Never grow tomatoes, peppers, or eggplants as microgreens. Their sprouts contain solanine, a toxic alkaloid that can make your pets (and you) incredibly sick. Stick to safe brassicas, legumes, and grains.
Personal Pro-Tip
If your cat views your microgreen trays as a personal salad bar, place a wire mesh dome or an extra plastic crate upside down over the greens during the light phase to keep curious paws away.
Frequently Asked Questions About How to Grow Microgreens Indoors
Q1Can I reuse the potting soil for a second batch?
I highly advise against it. The old root mats left behind will decay, creating a breeding ground for mold and fungal pathogens that will destroy your next round of seeds. Always use fresh, clean potting soil for every single tray.
Q2Do I need to add fertilizer to my indoor microgreen trays?
No. This is the beauty of the process. A seed contains all the energy and nutrients required to grow its first set of leaves. Because we harvest them so early, supplemental fertilizers are completely unnecessary.
Q3How long do microgreens take to grow from start to finish?
Most varieties are ready to harvest in 7 to 14 days. Radishes are lightning-fast and can be ready in a week, while slower herbs like cilantro or basil might take up to three weeks.
Q4Can I grow microgreens using water from my home faucet?
Yes, standard faucet water is perfectly fine. If your municipal water has a heavy chlorine smell, let it sit out in an open pitcher for 24 hours before watering your plants so the chlorine can naturally dissipate.
Q5Why are my microgreens growing so tall and leggy?
They are starving for light. When the light source is too weak or too far away, the seedlings stretch their stems upward as fast as possible to reach it, making them weak and prone to falling over.
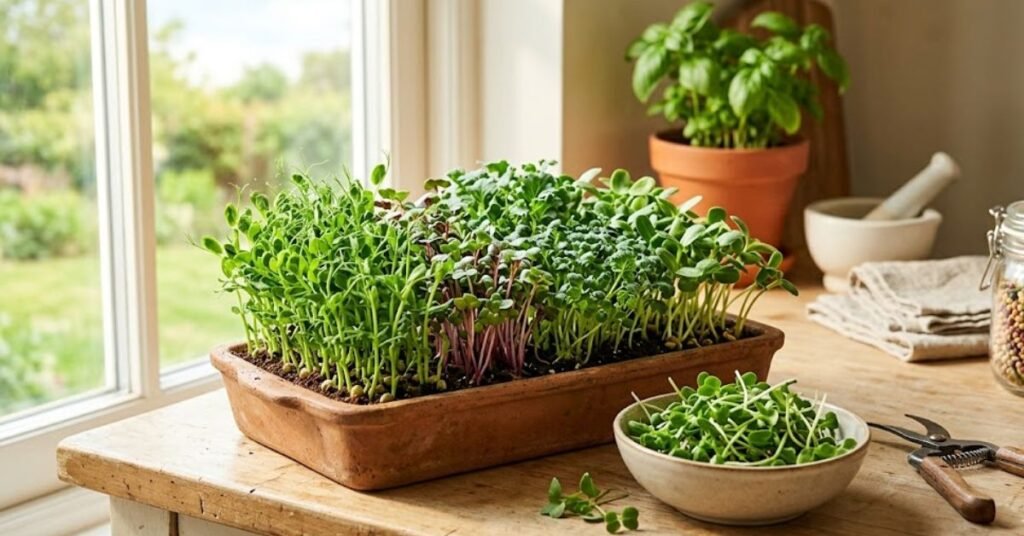
Q6How do I harvest my indoor microgreens cleanly?
Grab a sharp pair of kitchen scissors or shears. Hold a small bunch of the greens gently by the tips and snip the stems about a quarter-inch above the soil line to avoid getting dirt in your harvest.
Q7Do microgreens grow back after you cut them?
Generally, no. Since you are cutting off the growing tip and the first leaves, the plant cannot generate new growth. Pea shoots are the rare exception; if you leave a node at the base, they might throw out a small second flush, but it’s usually best to compost the tray and replant.
Personal Pro-Tip
After harvesting, don’t wash your greens until right before you eat them. Storing damp microgreens in the fridge makes them turn into a slimy mess within 48 hours. Keep them dry in a container lined with a clean paper towel.
Final Thoughts
Getting a steady supply of fresh greens right inside your home is incredibly rewarding. It cuts down your grocery bill, bypasses whatever is happening with outdoor weather, and keeps your kitchen feeling alive all year round. Start small, watch your watering, and enjoy the crisp crunch of your home-grown harvest.

Amin Khalid is a professional horticulturist and the founder of LeafyWisdom. With a deep passion for home gardening and horticultural research, he specializes in providing practical, easy-to-follow care guides for indoor plants. Amin’s goal is to simplify gardening for everyone and help fellow plant lovers build their own thriving green spaces.