Day: May 13, 2026

  • Stop Overwatering! 7 Crucial Signs of Root Rot in Peace Lily and How I Save Them

    Stop Overwatering! 7 Crucial Signs of Root Rot in Peace Lily and How I Save Them

    Signs of root rot in peace lily plants often appear when you least expect them. As a professional horticulturist, I see these symptoms frequently in indoor gardens. Specifically, you must identify these red flags early to save your plant. Understanding these signals will help you revive your greenery and prevent permanent damage.

    Quick Care Guide for US Peace Lily Owners

    Care FactorIdeal RequirementUS Home Tip
    LightBright, indirect lightKeep away from drafty AC vents in Summer.
    WaterDistilled or filtered waterUse lukewarm water straight from the faucet (if filtered).
    SoilWell-draining potting soilMix in some perlite to prevent “wet feet.”
    Temp$65^{\circ}F – 85^{\circ}F$Protect from chilly window drafts in Winter.
    USDA ZonesZones 11–12Best kept as an indoor perennial in most of the US.

    The Sneaky Signs of Root Rot in Peace Lily You Might Miss

    The Sneaky Signs of Root Rot in Peace Lily You Might Miss
    The Sneaky Signs of Root Rot in Peace Lily You Might Miss

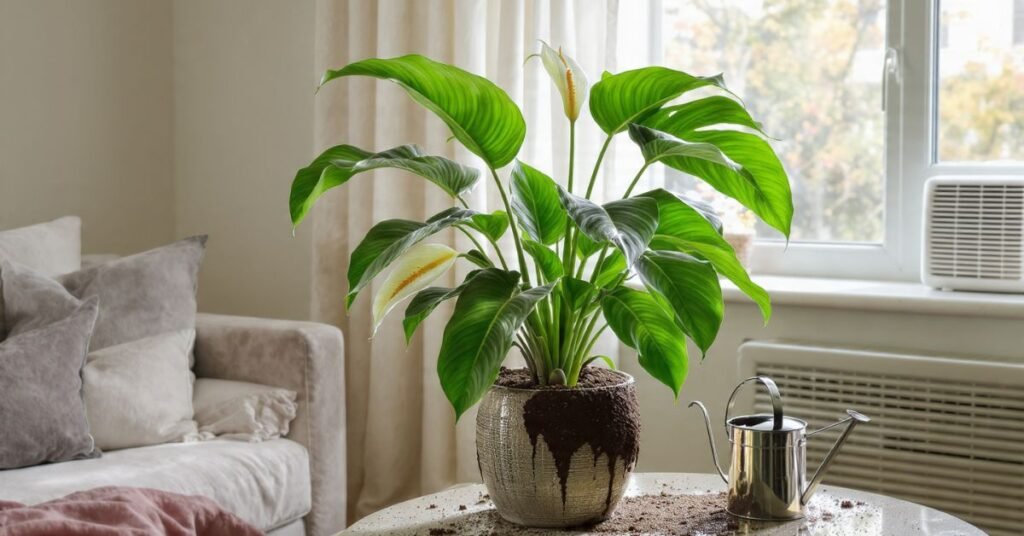
    In my experience, the hardest part for most gardeners is realizing that a wilting plant doesn’t always need more water. If you’ve been topping off the pot every few days and the leaves are still drooping, your roots are likely suffocating.

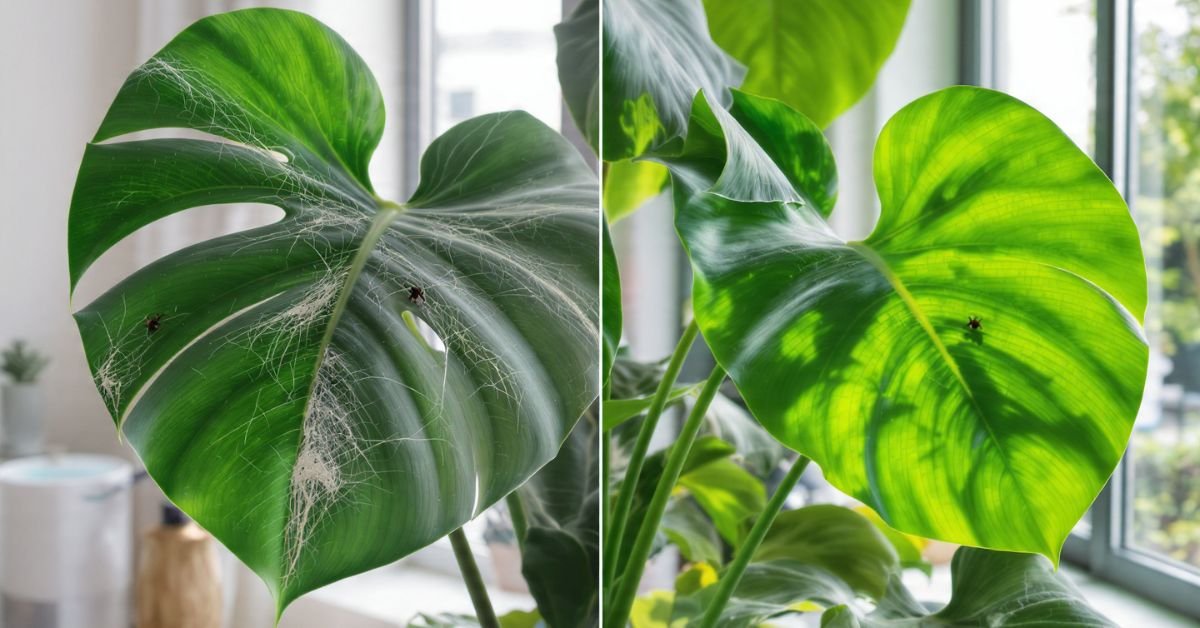
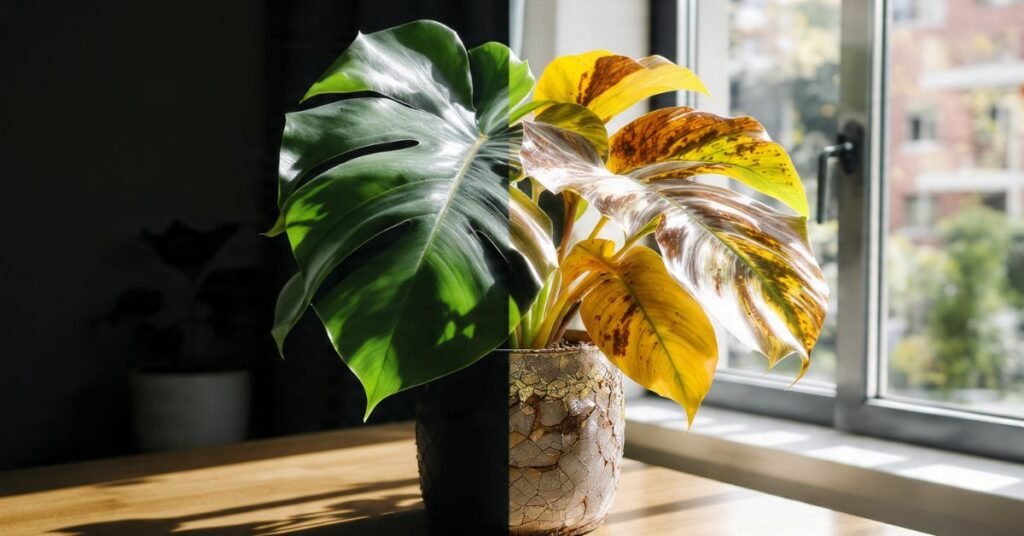
    One of the first signs of root rot in peace lily is yellowing leaves that start at the bottom of the plant. Unlike the crisp brown edges you see from low humidity (common in dry, air-conditioned American homes), root rot leaves feel soft, limp, and eventually turn a sickly translucent yellow.

    Personal Pro-Tip: I always perform the “Sniff Test.” If you put your nose near the potting soil and it smells like a swamp or rotting vegetables instead of fresh earth, you’ve got a fungal issue below the surface.

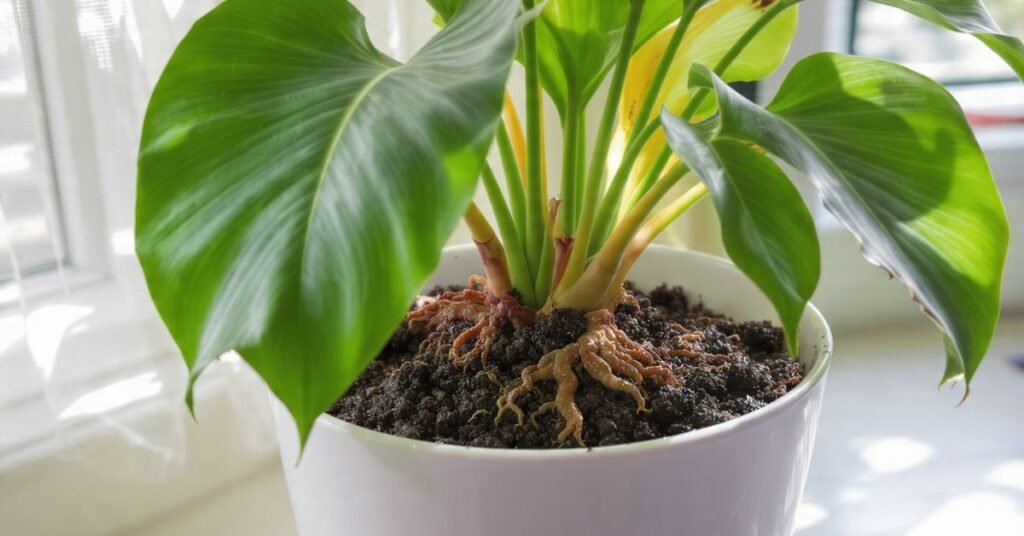
    Mushy Stems: A Major Sign of Root Rot in Peace Lily

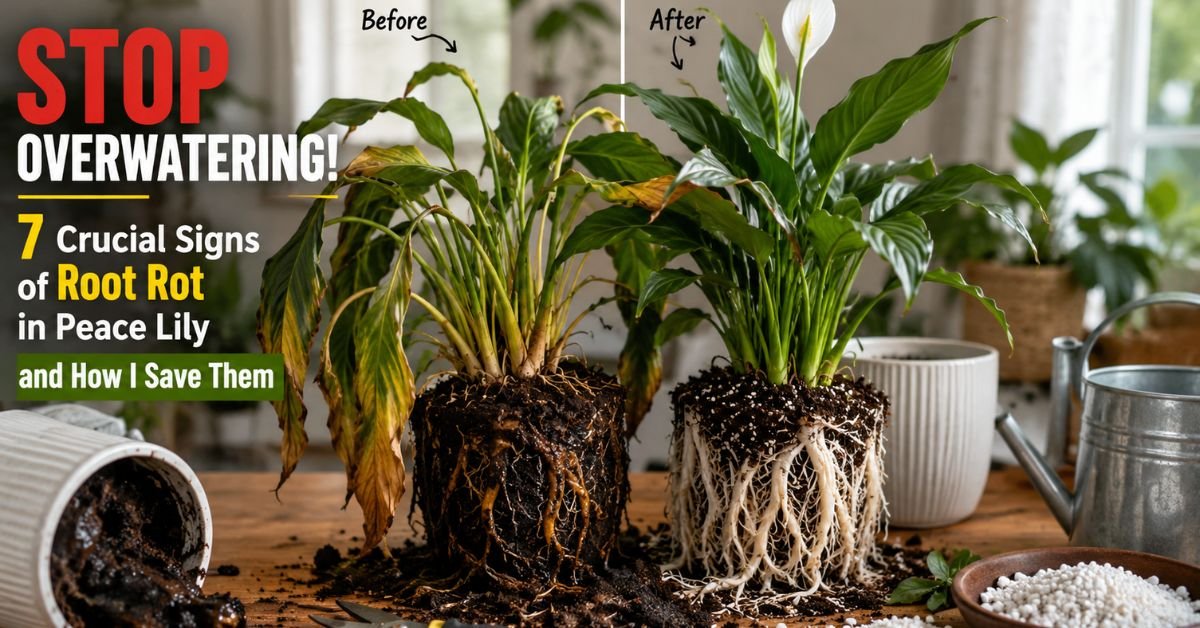
    If you reach down to the base of your plant and the stems feel squishy or come off in your hand with a gentle tug, the rot has moved from the roots into the crown. This is a critical stage. When we see these signs of root rot in a peace lily, time is of the essence. Healthy roots should be firm and white; rotted roots are black, slimy, and fall apart when touched.

    Personal Pro-Tip: If you’re unsure, gently lift the plant out of its nursery pot. If the soil at the bottom is a muddy mess and the roots look like dark noodles, it’s time for emergency surgery.

    Why Do Americans Often Fail with Peace Lilies?

    Why Do Americans Often Fail with Peace Lilies
    Why Do Americans Often Fail with Peace Lilies

    I see the same three mistakes popping up in homes from New York to California:

    1. The “AC Effect”: We love our air conditioning, but the dry air can trick you into thinking the plant is dry because the top inch of soil feels “crusty.” Meanwhile, the bottom of the pot is a lake.
    2. Using the Wrong “Dirt”: Many beginners use heavy outdoor garden soil or “compost” meant for raised beds. In a container, you must use a dedicated potting soil to allow for aeration.
    3. The “Calendar Watering” Trap: Watering every Monday regardless of the weather is a recipe for disaster. In the Fall and Winter, Peace Lilies grow slower and need significantly less water than in the Spring.

    My Step-by-Step Fix for Signs of Root Rot in Peace Lily

    My Step by Step Fix for Signs of Root Rot in Peace Lily (1)
    My Step by Step Fix for Signs of Root Rot in Peace Lily (1)

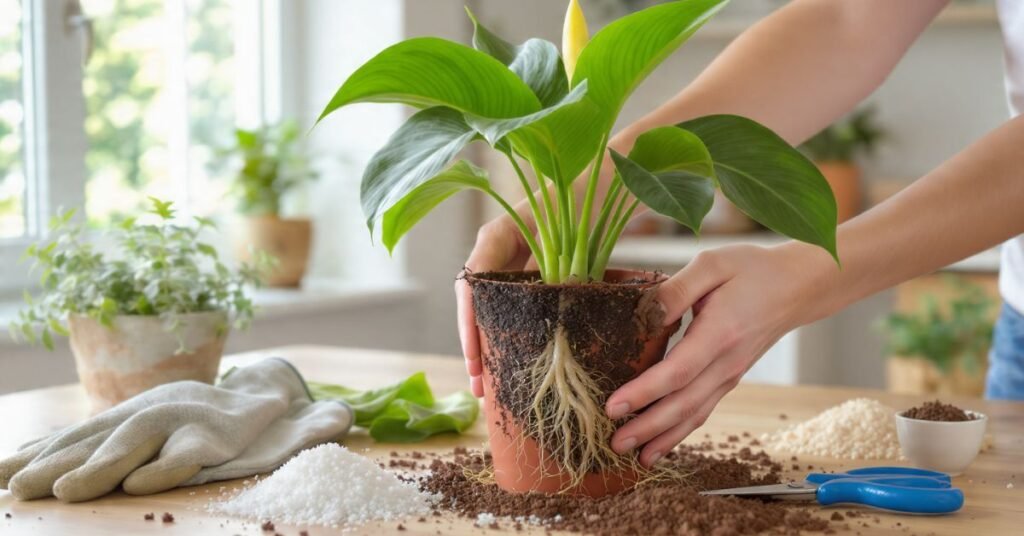
    If you’ve spotted the signs of root rot in peace lily, don’t panic. Here is my “recovery room” protocol:

    • Remove and Rinse: Take the plant out of the pot and wash all the old, infected potting soil off the roots under a faucet.
    • Prune the Rot: Use sterilized scissors to snip off any black or mushy roots.
    • Disinfect: I like to dip the remaining healthy roots in a mixture of one part 3% hydrogen peroxide to two parts water to kill lingering fungus.
    • Repot Fresh: Use a new pot (or bleach the old one) and fresh, chunky potting soil.

    Personal Pro-Tip: After repotting a recovering plant, I hold off on fertilizer for at least a month. The plant needs to focus on growing new “toes” (roots) before it tries to grow new “fingers” (leaves).

    Troubleshooting Other Common Issues

    • Brown Leaf Tips: Usually caused by the chlorine or fluoride in US municipal tap water. Try using filtered water or letting your water sit out overnight.
    • No Flowers: Your plant likely isn’t getting enough light. Move it closer to an East-facing window.
    • Dusty Leaves: Large leaves are magnets for dust in US homes. Wipe them down with a damp cloth so the plant can “breathe.”

    Toxicity Warning: Keep Your Furry Friends Safe

    In the US, we love our pets, and it’s vital to know that the Peace Lily is toxic to both cats and dogs. It contains calcium oxalate crystals. If chewed, it can cause intense oral irritation, drooling, and vomiting. If you have a curious tabby, keep this plant on a high shelf or a hanging planter.

    Frequently Asked Questions

    Q1. Can a peace lily recover from root rot?

    Yes, but only if you catch it while there are still some firm, white roots left. If the entire root ball is mush, it’s usually better to take a healthy leaf cutting (if possible) or start over.

    Q2. How often should I water to avoid signs of root rot in peace lily?

    Don’t follow a schedule. Stick your finger two inches into the soil; if it feels dry, water it. If it’s damp, wait two more days.

    Q3. Does the pot type matter?

    Absolutely. I always recommend terra cotta for “heavy-handed” waterers because it’s porous and helps the soil dry out faster. If you use plastic or ceramic, ensure there are plenty of drainage holes.

    Q4. Why is my peace lily still drooping after I watered it?

    This is the classic “false thirst” sign. If the soil is wet but the plant is wilting, the roots are too damaged to “drink” the water. This is one of the most common signs of root rot in peace lily.

    Q5. Should I use a moisture meter?

    They can be helpful, but they aren’t always 100% accurate. Your finger is usually the best tool you have!

    Q6. Can I use “tap water” from my faucet?

    Most Peace Lilies are sensitive to the chemicals in US city water. If you see brown tips, switch to rainwater or distilled water.

    Q7. Does AC affect root rot?

    Indirectly, yes. AC vents can dry out the leaves, making you think the plant needs water when the roots are actually still wet.

    Final Thoughts on Peace Lily Care

    Caring for these plants is a learning curve. I’ve personally “drowned” a few plants in my early days before I learned to read the signs of root rot in peace lily. The key is to stop, look at the leaves, and feel the soil before you reach for the watering can.

    If you give them the right drainage and keep them away from those chilly AC drafts, your Peace Lily will reward you with those iconic white blooms for years to come. Just remember: when in doubt, let it dry out!

  • The Ultimate Guide: How to Get Rid of Spider Mites on Indoor Plants Naturally

    The Ultimate Guide: How to Get Rid of Spider Mites on Indoor Plants Naturally

    If you want to learn how to get rid of spider mites on indoor plants naturally, you are not alone. These tiny pests can quickly damage healthy houseplants by causing yellow leaves, webbing, and weak growth. Fortunately, you can stop spider mites naturally with simple organic methods like Neem oil, humidity control, and proper plant cleaning—without using harsh chemicals.

    Quick Care & Identification Table

    FeatureWhat to Look For
    Primary SymptomTiny yellow or white “stippling” (dots) on leaves.
    Visual ConfirmationFine, silky webbing, usually in the joints of stems.
    Mite ColorTiny red, brown, or pale specks (use a magnifying glass!).
    Favorite ConditionsHot, dry air (near AC vents or heaters).
    Primary Organic FixHigh humidity and Neem oil or Castile soap.

    Why Common Mistakes Make Spider Mites Worse in US Homes

    Why Common Mistakes Make Spider Mites Worse in US Homes
    Why Common Mistakes Make Spider Mites Worse in US Homes

    One of the biggest reasons I see my fellow American plant parents struggle is our love for Air Conditioning. In many USDA Hardiness Zones (especially the hot, humid South or the dry Southwest), we blast the AC or the furnace year-round. This creates a “desert-like” micro-climate inside that spider mites absolutely adore.

    Common US Gardening Blunders:

    • The AC Vent Trap: Placing a plant directly in the path of an AC or heater vent dries out the foliage, making it a buffet for mites.
    • The “Nursery Hitchhiker”: Bringing a plant home from a big-box store without a “quarantine” period in a separate room.
    • Over-fertilizing with Nitrogen: Research suggests that high nitrogen levels in potting soil can actually increase mite density (Zhao et al., 2023).

    Personal Pro-Tip: Whenever I bring a new plant home, it stays in the “guest room” (my makeshift quarantine zone) for at least two weeks. I also keep a cheap hygrometer next to my plants to ensure the humidity stays above 50%.

    Step 1: The First Bath—How to Get Rid of Spider Mites on Indoor Plants Naturally with Water

    Before you reach for any sprays, the most effective first step is a simple trip to the faucet. Physically knocking the mites off the plant is 70% of the battle.

    1. Take your plant to the sink or shower.
    2. Use a lukewarm, steady stream of water to blast the undersides of every leaf.
    3. Pro-Tip: Don’t forget the “elbows” of the plant where the leaf meets the stem; that’s their favorite hiding spot.

    Personal Pro-Tip: For larger plants like a heavy Bird of Paradise, I use a damp microfiber cloth to wipe every single leaf individually after the “shower” to ensure no stragglers remain.

    Step 2: The Neem Strategy for How to Get Rid of Spider Mites on Indoor Plants Naturally

    If the water bath doesn’t finish them, it’s time for Neem oil. Neem is a natural derivative of the Azadirachta indica tree and is incredibly effective because it interferes with the mites’ ability to feed and lay eggs (Souto et al., 2021).

    My Go-To Organic Spray Recipe:

    • 1 quart of warm water
    • 1.5 tsp organic Neem oil
    • 0.5 tsp Dr. Bronner’s Peppermint Castile Soap (this acts as an emulsifier and a natural repellent)

    Note: Always test a single leaf first. Some sensitive plants, like ferns, can be “burned” by oils.

    Personal Pro-Tip: Only apply this spray in the evening. If you spray your plants and then they sit in a sunny window, the oil can “cook” the leaves, leading to ugly brown patches.

    Step 3: Using Rubbing Alcohol to Spot-Treat Spider Mites Naturally

    For smaller infestations, I’ve found that a simple bottle of 70% Isopropyl (rubbing) alcohol is a lifesaver. You can take a cotton swab, dip it in the alcohol, and dab it directly onto the webbing and the mites.

    The alcohol melts the mites’ exterior on contact. It’s strangely satisfying, but be careful—do not use higher concentrations (like 90%) as it evaporates too quickly and can chill and damage the plant tissue (Johnson, 2008).

    Personal Pro-Tip: I keep a pre-mixed spray bottle of 1 part alcohol to 4 parts water for a quick “preventative” misting on my more “mite-prone” plants like Ivies or Calatheas.

    Troubleshooting: Why Are My Leaves Still Turning Yellow?

    Troubleshooting Why Are My Leaves Still Turning Yellow
    Troubleshooting Why Are My Leaves Still Turning Yellow

    If you’ve followed the steps for how to get rid of spider mites on indoor plants naturally and you’re still seeing damage, check these three things:

    1. The Egg Cycle: Most natural treatments don’t kill eggs. You must repeat your treatment every 3-5 days for at least two weeks to catch the new “hatchlings.”
    2. Humidity: If your home is below 30% humidity (common in US winters), the mites will just keep coming back. Buy a humidifier!
    3. Hidden Reservoirs: Check the rim of your potting soil and the bottom of the nursery pot. Mites often hide in the cracks of the plastic.

    Toxicity Warning: Is This Safe for Pets?

    Toxicity Warning Is This Safe for Pets
    Toxicity Warning Is This Safe for Pets

    As a dog owner myself, I’m always cautious.

    • Neem Oil: Generally considered non-toxic to dogs and cats in diluted forms (Wylie & Merrell, 2022). However, if your cat is a “leaf-chewer,” it might cause a mild upset stomach.
    • Castile Soap: Safe, but ensure it doesn’t contain essential oils like tea tree, which can be toxic to cats.
    • Rubbing Alcohol: Highly toxic if ingested. Ensure the plant is completely dry before letting your pets back into the room.

    Final Thoughts on How to Get Rid of Spider Mites on Indoor Plants Naturally

    Getting rid of these pests is a marathon, not a sprint. I’ve had “wars” with spider mites that lasted a month, but with consistency and a bit of humidity, you will win. Remember, a healthy plant is its own best defense—keep that soil rich and that air moist!

    Frequently Asked Questions

    Q1. Can I use dish soap to get rid of spider mites naturally?

    Yes, but avoid “detergents” with degreasers (like Dawn). Stick to true soaps like Castile soap, which are gentler on the plant’s natural wax coating.

    Q2. How do I know if the spider mites are actually gone?

    The “Paper Test” is my favorite method. Shake a leaf over a white piece of printer paper. If you see tiny specks moving, they’re still there.

    Q3. Do predatory mites actually work for indoor plants?

    Absolutely! In the US, you can order Phytoseiulus persimilis online. They are “good bugs” that eat the “bad bugs” and then die off once the food source is gone (Zhao et al., 2023).

    Q4. Why do spider mites love my AC vents so much?

    AC vents create localized areas of low humidity and moving air, which prevents moisture from settling on leaves—creating the perfect dry environment for mites to thrive.

    Q5. Can spider mites live in my potting soil?

    While they primarily live on the leaves, they can certainly hide in the top layer of dry soil or on the rim of the pot. Always wipe down the pot when treating.

    Q6. Does cinnamon help get rid of spider mites?

    It’s a great antifungal, but it’s not a very effective miticide. It might deter them slightly, but it won’t stop an infestation.

    Q7. How often should I spray my plants to get rid of spider mites naturally?

    Every 3 to 5 days. You have to break their life cycle, and since eggs hatch quickly in warm US homes, a weekly spray usually isn’t frequent enough.