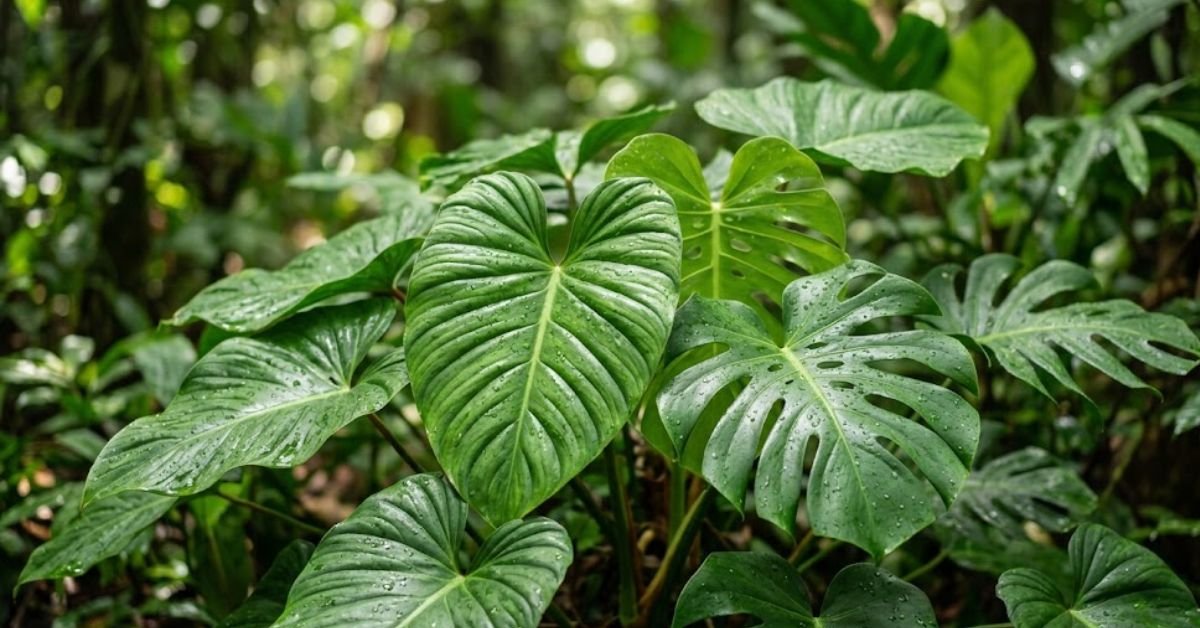
Walk into almost any American home where the central heating or air conditioning runs constantly, and you will see it. Dust. In my fifteen years working as a horticulturist traveling from coast to coast, dusty leaves are the number one issue I see in indoor jungles. Most online advice reads like a dry, robotic textbook, but learning how to clean plant leaves correctly is a vital, no-nonsense skill that keeps your greenery breathing easy and growing beautifully. Here is a quick reference table for the skimmers out there who want immediate answers.
Quick Care Reference for Leaf Cleaning
| Plant Leaf Type | Best Cleaning Method | Frequency | Tools Needed |
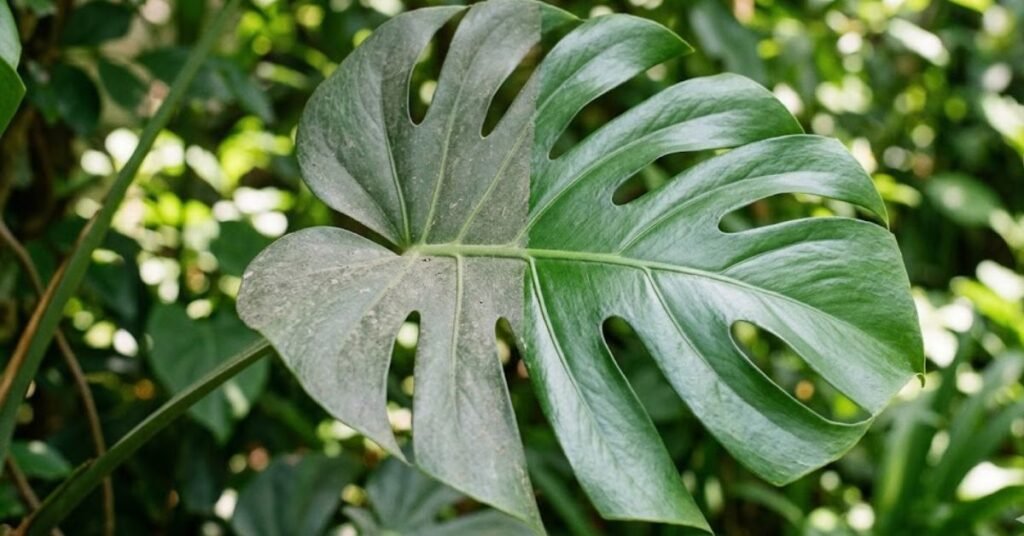
| Large & Broad (Fiddle Leaf, Monstera) | Hand wiping | Once a month | Microfiber cloth + tepid water |
| Small & Abundant (Pothos, English Ivy) | Faucet or shower rinse | Every 2–3 months | Sink faucet + plastic bag for soil |
| Hairy or Fuzzy (African Violets) | Dry dusting | As needed | Soft paintbrush or cosmetic brush |
| Cacti & Succulents | Compressed air / Brush | Twice a year | Soft bristle brush or air duster |
Why You Actually Need to Know How to Clean Plant Leaves
Dust layers act like a heavy curtain blocking sunlight. When your home’s air conditioning system kicks on during a scorching July, it circulates dry dust that settles directly on your foliage. This layer physically blocks the microscopic pores called stomata that your plants use to breathe.
If they can’t breathe or get light, photosynthesis plummets. They won’t grow beautifully. They just sit there, stagnant.
Dirty leaves are also a five-star resort for pests. Spider mites absolutely love dry, dusty environments. By knowing how to clean plant leaves regularly, you literally wipe out their habitat before an infestation takes over your living room.
Personal Pro-Tip: In my years of maintaining tropical displays in drafty corporate offices, I noticed that plants near floor-level AC vents collect double the dust. If you can’t move the plant, you’ll need to clean its leaves every two weeks instead of monthly.
Simple Methods: How to Clean Plant Leaves Safely
Different plants need completely different treatments. You can’t treat a delicate fern the same way you treat a rugged rubber tree.
The Faucet Rinse: How to Clean Small Plant Leaves Fast
For your smaller potted friends like neon pothos or spider plants, the easiest path is a trip to the kitchen sink.
- Take the plant to your kitchen sink faucet.
- Wrap a plastic grocery bag around the base of the plant to cover the potting soil. This stops the dirt from washing away or getting waterlogged.
- Turn on the faucet to a gentle, lukewarm spray. Avoid cold water! Cold water shocks tropical roots.
- Gently rinse the foliage, letting the dust wash down the drain.
- Leave it in the sink for an hour to drip-dry before returning it to its saucer.
Personal Pro-Tip: Never use the high-pressure setting on your faucet nozzle. I once saw an enthusiastic collector blast half the foliage off a fragile trailing plant because they used the “jet” setting. Keep it soft.
The Damp Cloth Routine: How to Clean Plant Leaves of Large Varieties
Big, statement plants like Bird of Paradise or Rubber Trees require a hands-on approach.
Get a high-quality microfiber cloth. Dampen it with lukewarm water and wring it out completely. It should be damp, not dripping.
Support each individual leaf from underneath with your palm. Wipe gently from the base of the leaf outward to the tip. If you don’t support the leaf, the pressure of your hand can easily snap the stems.
Personal Pro-Tip: Keep a couple of cloths handy. If you use the same dirty rag on every single plant, you risk spreading invisible fungal spores or hidden pest eggs from one pot to your entire collection. Wash your rags between uses.
Common Mistakes People Make When Trying to Clean Plant Leaves
The absolute biggest mistake I see across the US is the use of commercial “leaf shine” products.
People love that artificial, oily gloss. But those products contain waxes and petroleum distillates that completely clog the plant’s pores. It turns the leaf into a sticky dust-magnet. Within two weeks, your plant looks filthier than it did before. Just use plain water or a highly diluted natural mixture.
Another massive blunder is ignoring your indoor climate. If you clean your plants in the middle of winter when your home heater is blasting, or in summer under heavy air conditioning, don’t leave the wet plants directly in front of the vents. Cold drafts on wet leaves cause unsightly brown spotting and cell collapse.
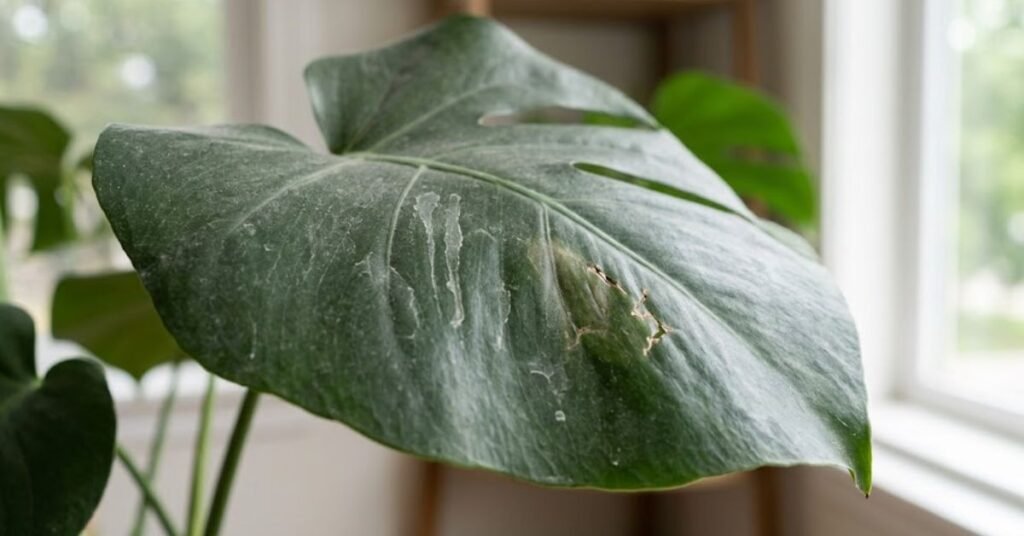
Finally, using heavy well water or highly chlorinated city water can leave nasty white crusts on the foliage. Those are calcium and mineral deposits. If your local water is hard, use distilled water or add a tiny splash of lemon juice to dissolve the minerals.
Personal Pro-Tip: If you see white, chalky rings on your leaves after they dry, stop using raw faucet water. Switch to rainwater or filtered water for your wiping routine. It makes a night-and-day difference in the natural sheen of the foliage.
Troubleshooting Bad Reactions After Wiping Your Plants
Did your plant throw a tantrum after its bath? Let’s figure out what went wrong.
- Yellowing leaves a few days later: You likely accidentally soaked the potting soil during the cleaning process, causing temporary root suffocation. Let the potting soil dry out completely before watering again.
- Brown, crispy edges: This happens if you use harsh dish soaps or vinegar mixtures that are too strong. The acid or chemicals burn the delicate outer tissue. Stick to plain water or specialty castile soap solutions.
- Drooping stems: The water was probably too cold or too hot. Tropical plants hate thermal shock. Always match the water temperature to a comfortable room temperature.
Personal Pro-Tip: If a leaf tears during cleaning, don’t panic. Just trim the jagged edge with clean scissors. The plant will be fine, though your pride might take a hit.
Is Dusting Safe for Household Pets? A Quick Toxicity Check
When you start wiping down your indoor jungle, you stir up things and change the environment.
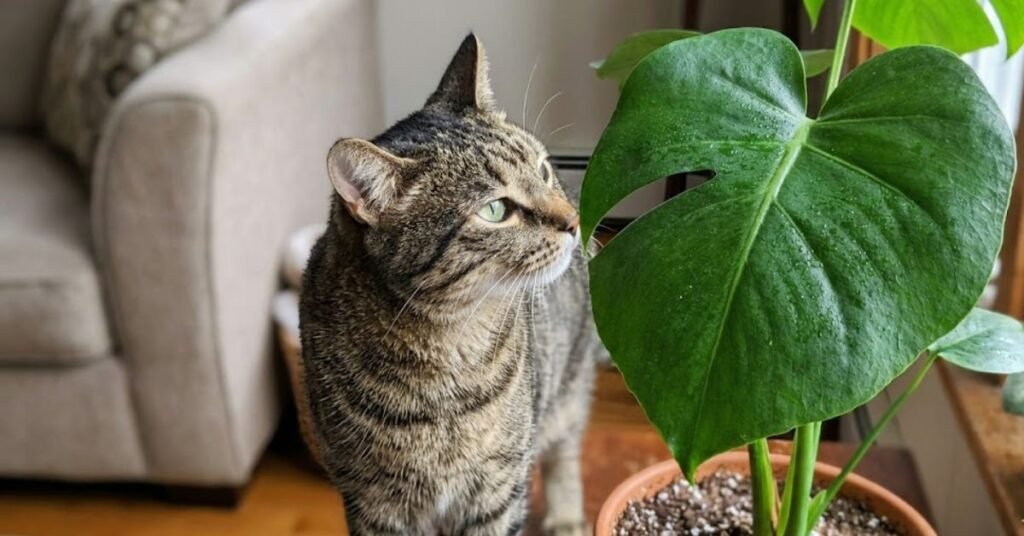
Many common houseplants like Monstera deliciosa, Philodendrons, and Dumb Cane (Dieffenbachia) contain insoluble calcium oxalate crystals. When you wipe these leaves, microscopic amounts of sap can get onto your hands or your cleaning towels.
If your cat or dog likes to chew on wet things, they might find the damp clothes tempting. Always wash your cleaning tools immediately, and keep pets out of the room while you work to prevent accidental ingestion or skin irritation.
Personal Pro-Tip: I keep a spray bottle of highly diluted neem oil nearby when cleaning toxic plants. Pests hate it, and the bitter taste naturally discourages curious cats from taking a bite out of the freshly cleaned leaves.
Frequently Asked Questions About How to Clean Plant Leaves
Q1Can I use mayonnaise to make plant leaves shiny?
Please, no. This is an old-school myth that won’t die. Mayonnaise contains oils and fats that spoil, emit a terrible odor over time, clog leaf pores, and attract fruit flies like crazy. Stick to a damp cloth.
Q2How often should I clean my indoor plants?
A good rule of thumb for most US homes is once a month. If you live in an arid region like USDA Zone 9 or 10 in the Southwest where dust storms or desert winds are common, you might need to increase this to every two weeks.
Q3Can I use dish soap to wash the leaves?
You can, but it must be incredibly diluted. One or two drops of a mild, clear dish soap in a half-gallon of water is plenty. Heavy detergents will strip the protective waxy cuticle off the foliage, leaving it vulnerable to diseases.
Q4Should I clean the underside of the leaves too?
Yes! While dust mostly settles on the top, pests like spider mites, thrips, and mealybugs exclusively build their empires on the undersides of leaves. Wiping the bottoms breaks up their breeding cycles.
Q5Is it safe to put my houseplants outside in the rain to clean them?
It depends entirely on your USDA Hardiness Zone and the season. If it’s a warm Spring day in Zone 7 or 8 and the rain is gentle, your plants will love the natural rinse. But if it’s chilly, or if the summer sun comes out immediately after the rain, you risk freezing the roots or burning the wet leaves.
Q6What happens if I don’t clean my plant’s leaves?
Your plant will slowly starve for light. Growth will stunt, the vibrant green colors will fade to a dull grey-green, and the plant will become highly susceptible to devastating pest outbreaks.
Q7Can I use vinegar to remove hard water spots from leaves?
Yes, but use it sparingly. Mix one teaspoon of white vinegar into a quart of distilled water. The mild acidity dissolves the mineral crust without harming the plant, but never apply this solution under direct, hot sunlight.
Final Thoughts
Cleaning your plants isn’t just about making your living space look like an interior design magazine. It’s basic healthcare for your green companions. Spending twenty minutes a month wiping down your collection pays huge dividends in new growth, brighter colors, and a pest-free home. Grab a soft cloth, turn on the faucet, and give your plants the breath of fresh air they deserve.

Amin Khalid is a professional horticulturist and the founder of LeafyWisdom. With a deep passion for home gardening and horticultural research, he specializes in providing practical, easy-to-follow care guides for indoor plants. Amin’s goal is to simplify gardening for everyone and help fellow plant lovers build their own thriving green spaces.