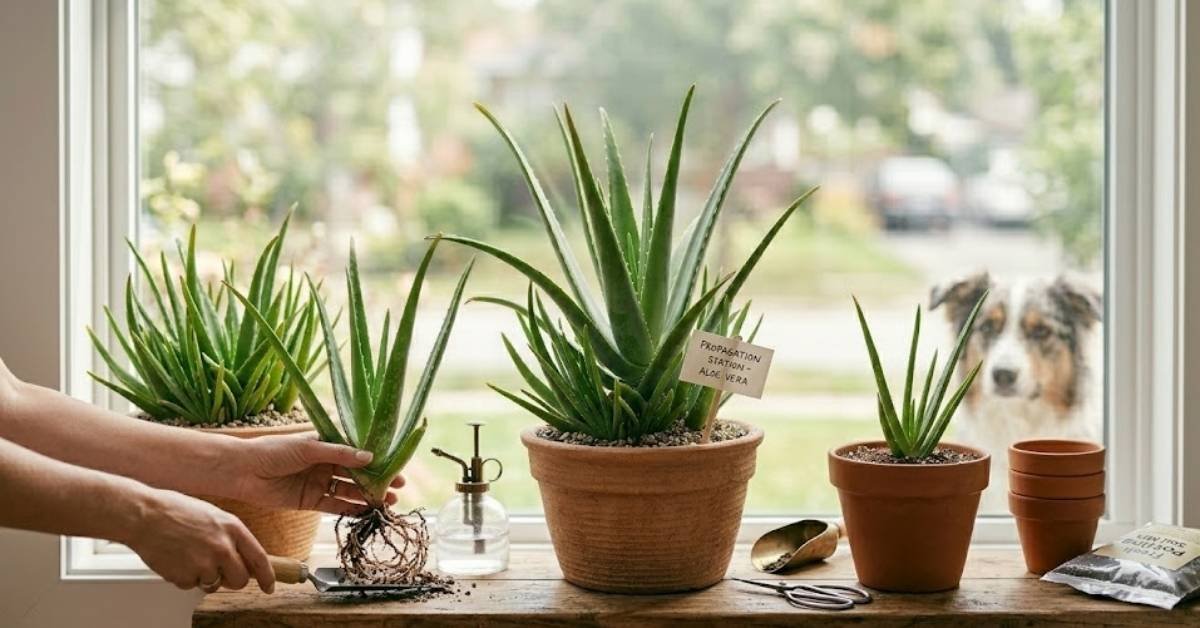
I’ve spent the better part of my life with dirt under my fingernails, and if there is one plant that gives American homeowners the most “bang for their buck,” it’s the Aloe. Whether you keep it on your kitchen windowsill for minor burns or just love its architectural vibe, learning the art of aloe vera plant propagation is the most rewarding way to multiply your indoor jungle for free.
In my years of growing this plant across different climates, I’ve found that people often overcomplicate the process. You don’t need a high-tech greenhouse to make this work. You just need a little patience, the right potting soil, and an understanding of how these resilient desert natives actually grow.
Quick Care Guide for Aloe Offsets (Pups)
| Feature | Requirement | Expert Observation |
| Light | Bright, Indirect | Keep new pups away from scorching Southern exposure initially. |
| Water | Very Infrequent | Let the soil dry 100% before you even look at the faucet. |
| Soil | Cactus/Succulent Mix | Standard indoor potting soil holds too much moisture. |
| Temperature | 60°F – 80°F | Keep away from cold windows in the Winter and AC vents in the Summer. |
| USDA Zone | 9 – 11 (Outdoors) | Strictly an indoor houseplant for most of the US. |
My Proven Method for Aloe Vera Plant Propagation
The biggest misconception about aloe vera plant propagation is that you can just snip off a leaf, stick it in a glass of water, and watch roots grow. While that works beautifully for a Pothos, a fleshy aloe leaf will simply turn into a rotting, smelly mess.
Instead, we rely on “pups”—the tiny baby plants that pop up in the dirt around the base of the mother plant.
Here is exactly how I do it:
- Wait for the Right Size: I never separate a pup until it’s at least 3 to 4 inches tall and has a few leaves of its own. At this size, it has usually developed its own independent root system.
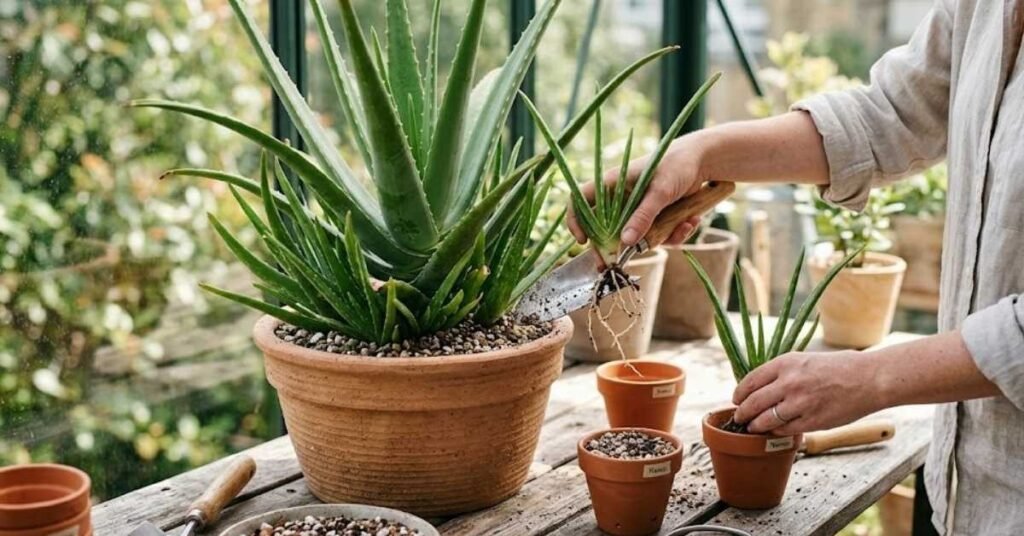
- Unpot the Mother: It’s much easier to gently take the entire plant out of its pot. Lay it on a newspaper and brush away the dirt so you can see where the pup connects to the main stem.
- The Cut: Use a clean, sharp knife to sever the connection. I try to ensure the pup comes away with at least a few of its own roots attached.
- The Healing Period: Do not plant it immediately! Lay the newly separated pup in a warm, dry place out of direct sunlight for about two to three days. You want that cut wound to “callus” (scab over). If you plant a fresh cut into moist dirt, it’s an open invitation for fungal rot.
Personal Pro-Tip: The best time for aloe vera plant propagation is early Spring or late Summer. The plant is in its active growing phase and will recover much faster than if you try to chop it up in the dead of Winter.
The Best Soil and Pots for Your Aloe Vera Plant Propagation Success
Once your pup is callused, it’s time to pot. Americans tend to love heavy, peat-based potting soils because they are cheap at the local hardware store. But for an aloe pup, that heavy dirt is a death sentence.
I mix standard potting soil with a heavy dose of perlite or pumice—usually a 50/50 ratio. You want the water to run through the pot almost instantly.
As for pots, always choose terracotta over plastic. Terracotta is porous, meaning it “breathes” and allows moisture to evaporate through the sides. Since overwatering is the enemy of young succulents, terracotta acts as a great safety net.
Personal Pro-Tip: When you finally pot the callused pup, do not water it right away. Wait a full week. The dry soil encourages the roots to reach out and establish themselves, searching for moisture.
Common Mistakes Americans Make When Propagating Aloe
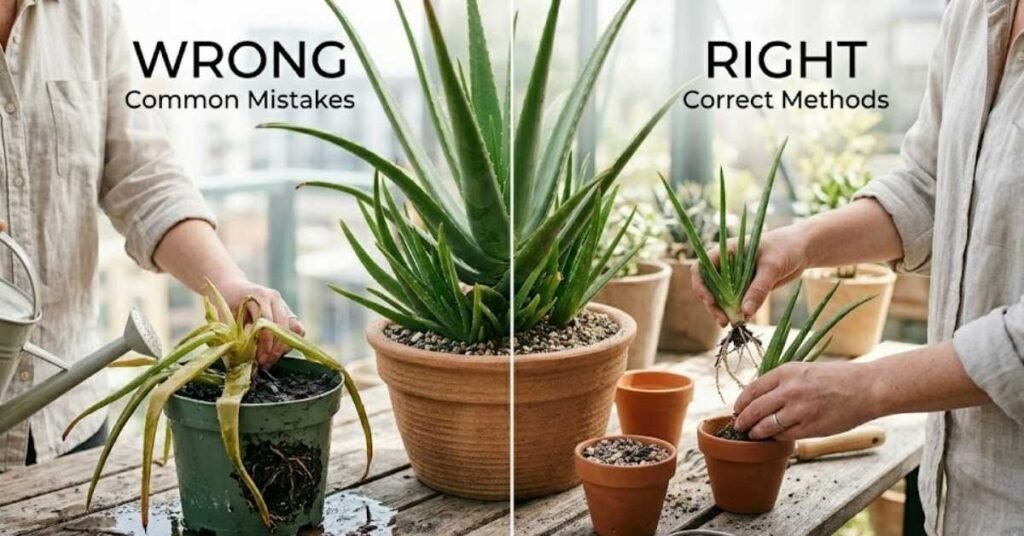
I see the same a few mistakes constantly when I do home consultations. It usually stems from a place of love—we want to pamper our plants—but aloe thrives on a little bit of neglect.
- The AC Vent Freeze: We love our central Air Conditioning, but placing a newly potted, vulnerable aloe pup right near an AC vent will shock it. The dry, frigid air stunts their root growth immediately.
- The “Faucet Habit”: Watering on a strict schedule (like every Sunday) is a recipe for disaster. Only water your propagated aloes when the soil is bone dry all the way to the bottom.
- Burying it Too Deep: When you pot your new pup, don’t bury the green fleshy leaves under the soil. Plant it only as deep as the roots. If the leaves are under wet dirt, they will rot at the crown.
Personal Pro-Tip: If your newly potted pup is a little wobbly in the dry soil, don’t pack the dirt down hard to stabilize it. Instead, use a few decorative rocks or a layer of gravel to prop it up until the roots take hold.
Troubleshooting Your New Plants After Aloe Vera Plant Propagation
Even with the best intentions, things can go a little sideways while the plant gets established. Here is how I read what the plant is trying to tell me:
- Leaves Turning Yellow and Mushy: Stop watering immediately. This is the classic sign of root rot. Pull the plant out, snip off any black/slimy roots, let it dry for a few days, and repot in fresh, dry soil.
- Brown, Crispy Tips: This is usually chemical burn from city tap water, or a sign of intense, sudden sunburn. Let your faucet water sit in a jug overnight so the chlorine can evaporate before watering.
- Leaves Curling Inward: Your plant is actually thirsty! When an aloe uses up its internal water reserves, the plump leaves will start to hollow out and curl like a taco. Give it a deep soak until water runs out the drainage hole.
Personal Pro-Tip: If you are moving your new aloe to a sunny Southern window, do it gradually. Start with an hour of morning sun and increase it over a week. Going straight from a dim kitchen to full sun will scorch the leaves brown.
Toxicity Warning: Are Aloe Plants Safe for Dogs and Cats?
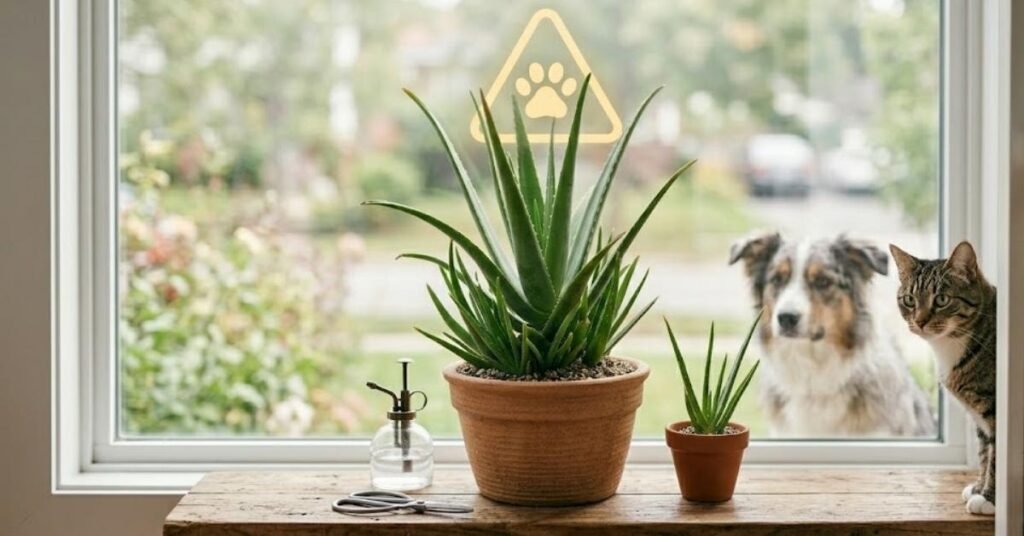
This is something I highlight for every single client with pets. While aloe is incredibly healing for human skin, it is toxic to cats and dogs. The latex (the yellow juice found just under the skin of the leaf) contains saponins, which act as a heavy purgative. If your golden retriever or curious tabby chews on an aloe pup, they will likely experience lethargy, vomiting, and severe diarrhea.
Personal Pro-Tip: Because aloes need bright light, they usually end up on accessible windowsills. If you have pets, I highly recommend using a heavy, elevated plant stand, or keeping your aloes in a room where the door stays shut while you are away.
Frequently Asked Questions About Aloe Vera Plant Propagation
Q1. Can I do aloe vera plant propagation from just a leaf cutting?
Technically, yes, but the success rate is incredibly low. Fleshy aloe leaves hold so much water that they almost always rot before they can push out roots. Stick to separating the pups for a 99% success rate.
Q2. How long does it take for a new aloe pup to root?
If you followed the steps to let it callus and planted it in dry soil, it usually takes about 3 to 4 weeks for the root system to “grab” the soil. Give the plant a very gentle tug; if there is resistance, you have roots!
Q3. Do I need to use a rooting hormone powder?
Not at all. I rarely use rooting hormones on succulents. Their natural survival instinct in dry conditions is to push out roots on their own.
Q4. When is the best time of year to propagate my aloe?
Late Spring or early Summer is ideal. The longer, warmer days trigger the plant’s active growth cycle, meaning both the mother plant and the baby will heal from the separation much faster.
Q5. Why is my new aloe pup turning gray or purple?
Don’t panic! This is called “stress coloring.” When an aloe is separated from its mother, placed in new soil, or exposed to brighter light, it produces pigments to protect itself. Once it settles in and roots, it will turn vibrant green again.
Q6. Can I use regular compost or garden dirt for my new plants?
Absolutely not. Garden dirt from your yard is too dense, carries pests, and won’t drain in a container. Always use a bagged, well-draining indoor potting mix amended with perlite.
Q7. How big should the mother plant be before it starts producing pups?
Usually, an aloe needs to be mature—about 3 to 5 years old—and slightly “rootbound” in its pot before it feels the urge to reproduce. If your aloe is in a massive pot with lots of empty space, it will focus on growing bigger rather than making babies.
Final Thoughts on Growing Your Aloe Family
Looking back at my first few attempts at aloe vera plant propagation, I realize that the most important tool I ever used wasn’t a fancy trowel or a high-end fertilizer—it was my own ability to just leave the plant alone. We Americans tend to be “fixers,” often hovering over our plants with the faucet ready to go. But with Aloe, the real magic happens when you give it the right potting soil, a bright spot away from the AC blast, and the space to do its thing.
Once you see that first bit of vibrant green growth poking out from the center of a new pup, you’ll know you’ve mastered a skill that keeps on giving. These plants are legendary survivors, and before you know it, your one kitchen-window plant will have turned into a whole lineage of greenery spread throughout your home.
Personal Pro-Tip
The absolute best part of mastering aloe vera plant propagation is that you’ll never have to buy a housewarming gift again. I keep a stash of small terracotta pots and a bag of grit-heavy potting soil on hand. When a neighbor moves in, I just pull a pup from my “mother” plant, pot it up, and hand over a piece of my garden. It’s a gift that’s practical, beautiful, and uniquely personal.

Amin Khalid is a professional horticulturist and the founder of LeafyWisdom. With a deep passion for home gardening and horticultural research, he specializes in providing practical, easy-to-follow care guides for indoor plants. Amin’s goal is to simplify gardening for everyone and help fellow plant lovers build their own thriving green spaces.